Redragon K720 Pro Tri-Mode Wireless Mechanical Keyboard
When Redragon reached out to me to write about their boards, the K720 Pro was top of my list. Why not, after all, let them put their best foot forward. It’s a hefty metal board with an exploded 75% layout comprising 79 keys, a little colour LCD and a knob. It’s very by the books, but at just £103 for a complete keyboard it has a price advantage over entry-level favourites. It seems to be an aluminium CNC version of the K724.
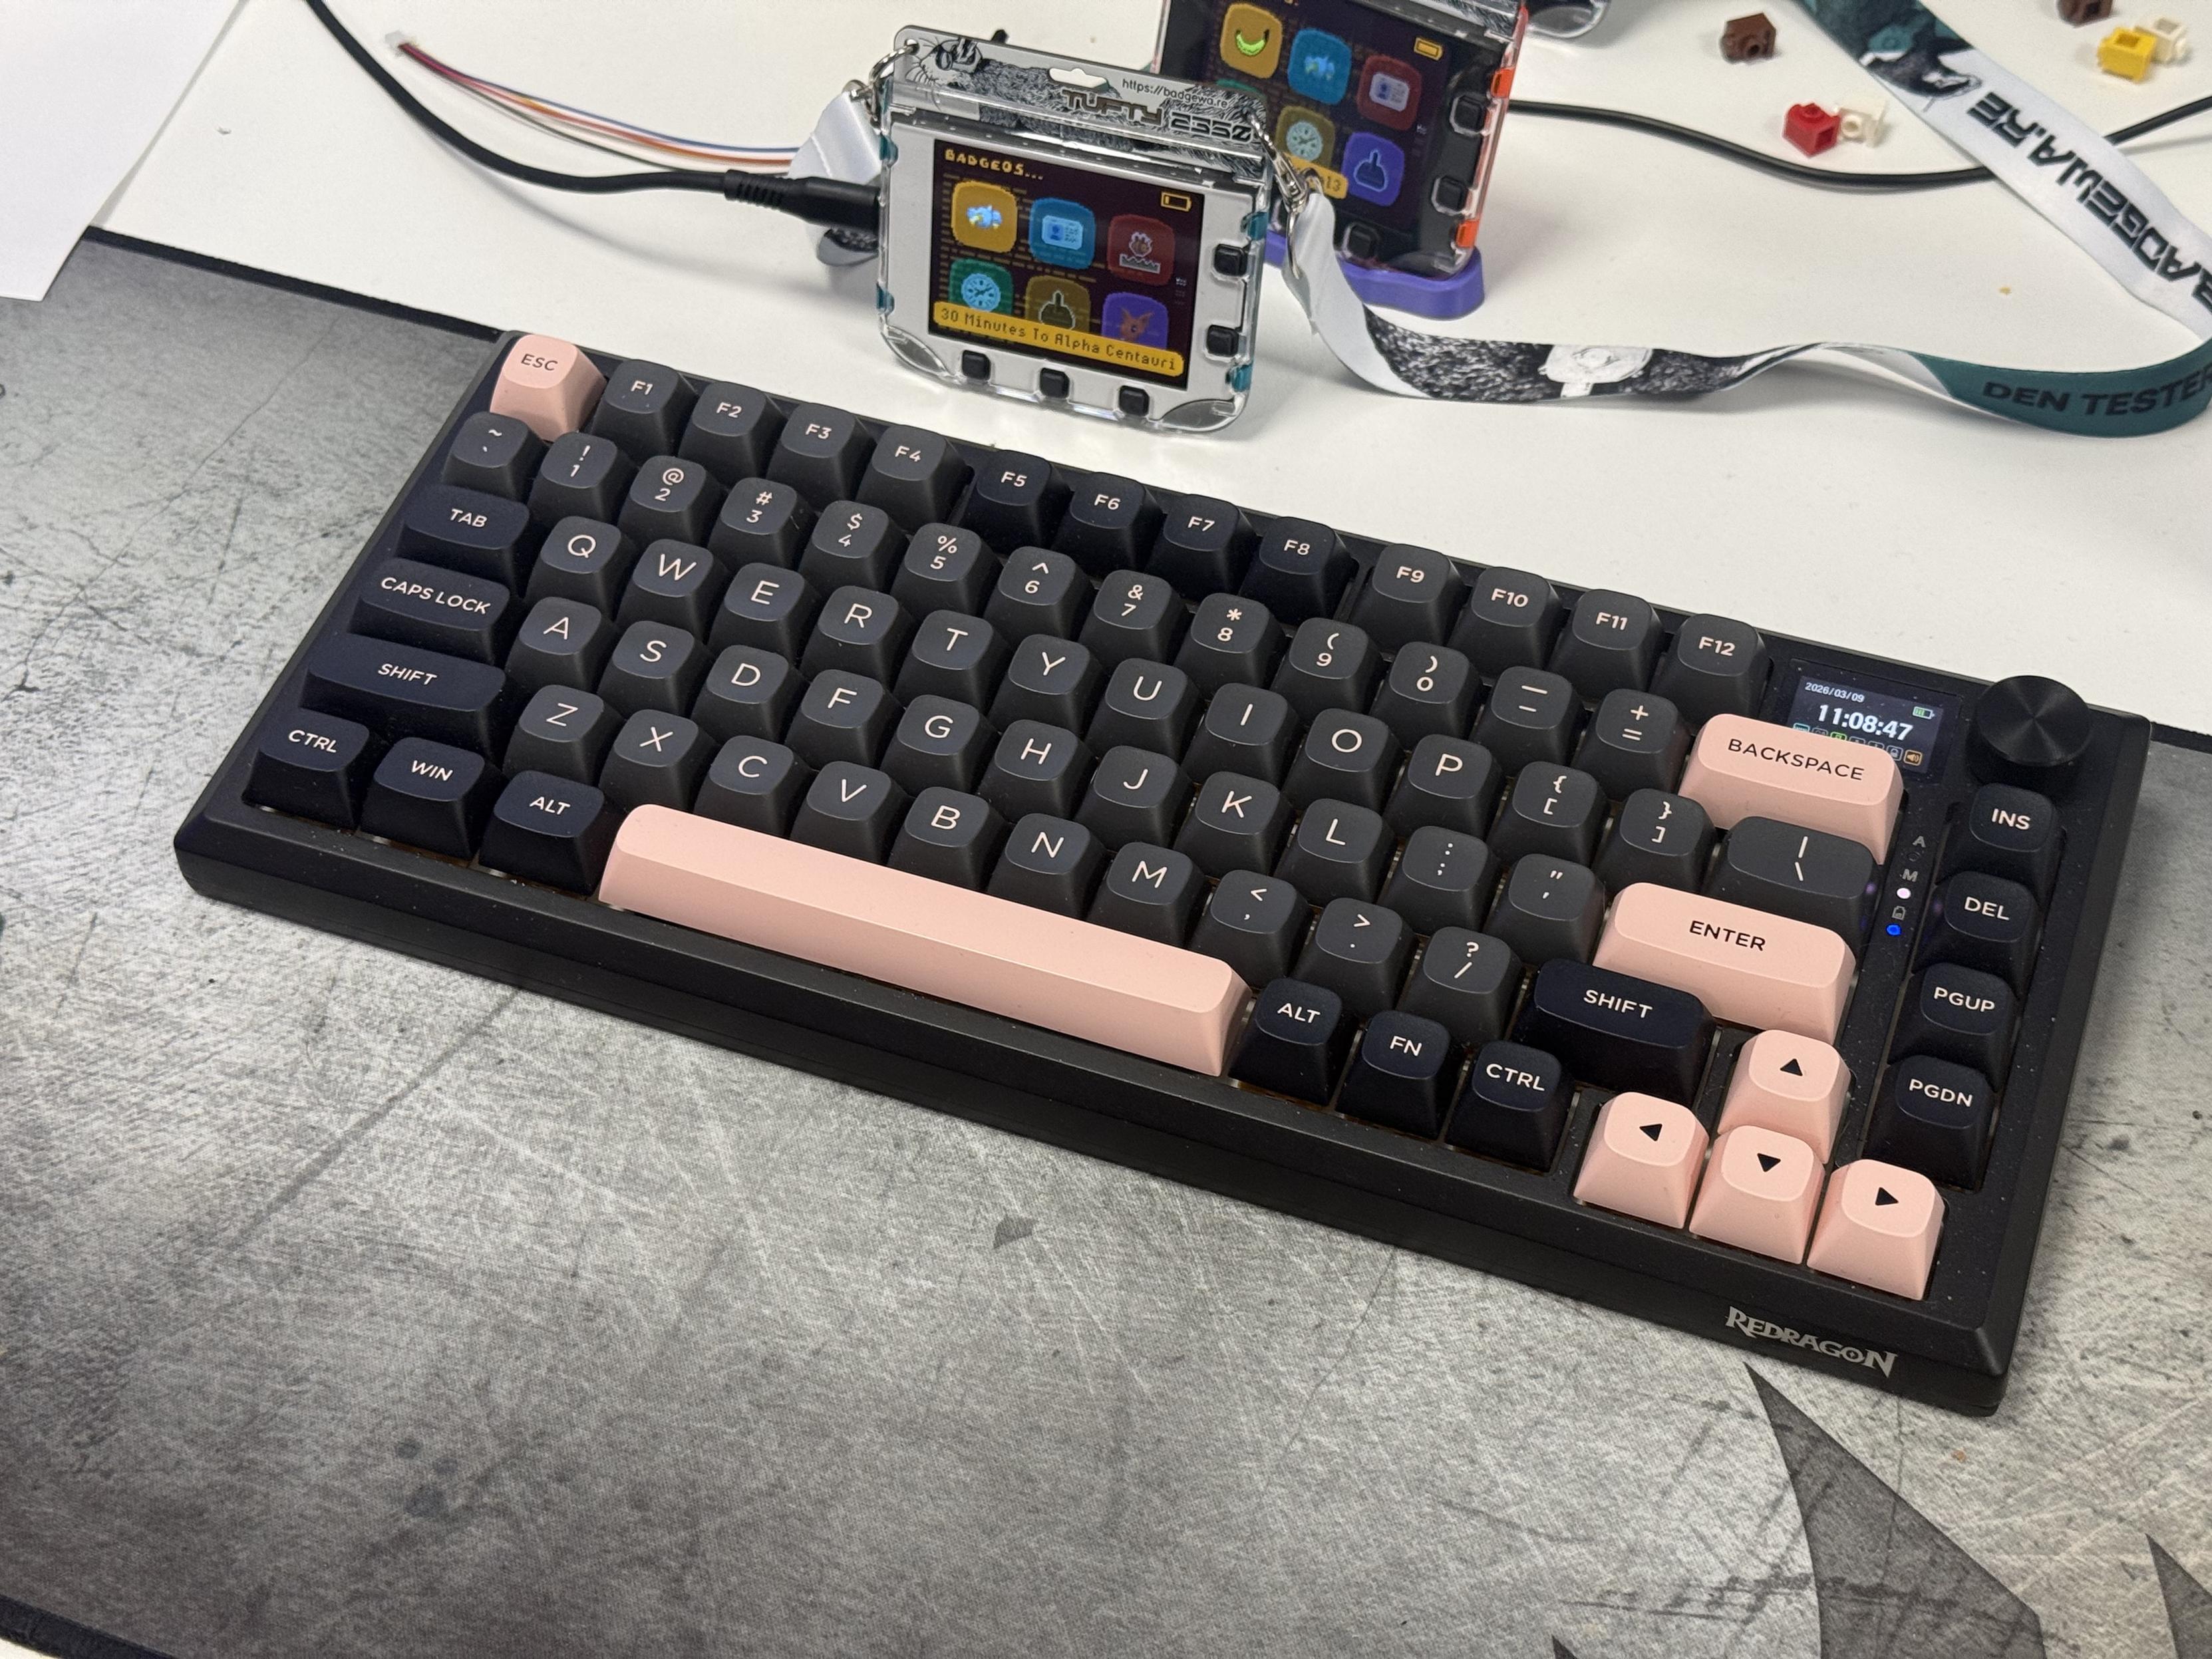
The Redragon Exkipse K720 Pro!
As you would expect from a CNC aluminium enclosure it’s hefty and rock solid with no flex or give. The no frills design eschews any badge details – the reverse of the board has an ugly and slightly wonky sticker in the corner instead – but has a big, bold chamfer around the top edge. As is typical with aluminium boards, it’s at a fixed angle with no angle adjustment. The USB Type-C port, located on the back edge towards the right, is deeply recessed making aftermarket cables a bit of a gamble. I have a right-angle cable that wouldn’t fit, and anything without at least 8mm length on the shroud and a very standard shape is going to be a no go.
The board is finished in black, but it has a very subtle sparkle under direct light. There’s also a Redragon logo, presumably laser rastered, on the front edge.
The keycaps are decent. The alphas are a very nice dark slate grey with muted salmon pink legends. A handful of keys are picked out in the inverse, and the mods are black- a subtle differentiation.The legends are consistent and clear with uniform font sizes and no awkward attempts to squeeze in anything too long. Font weights are a little odd, with backspace looking much leaner than Enter. But on the whole, better than many low-end boards. The caps are stepped with a profile that roughly follows Cherry but with rounded tops that I much prefer over the ubiquitous, stock standard square.
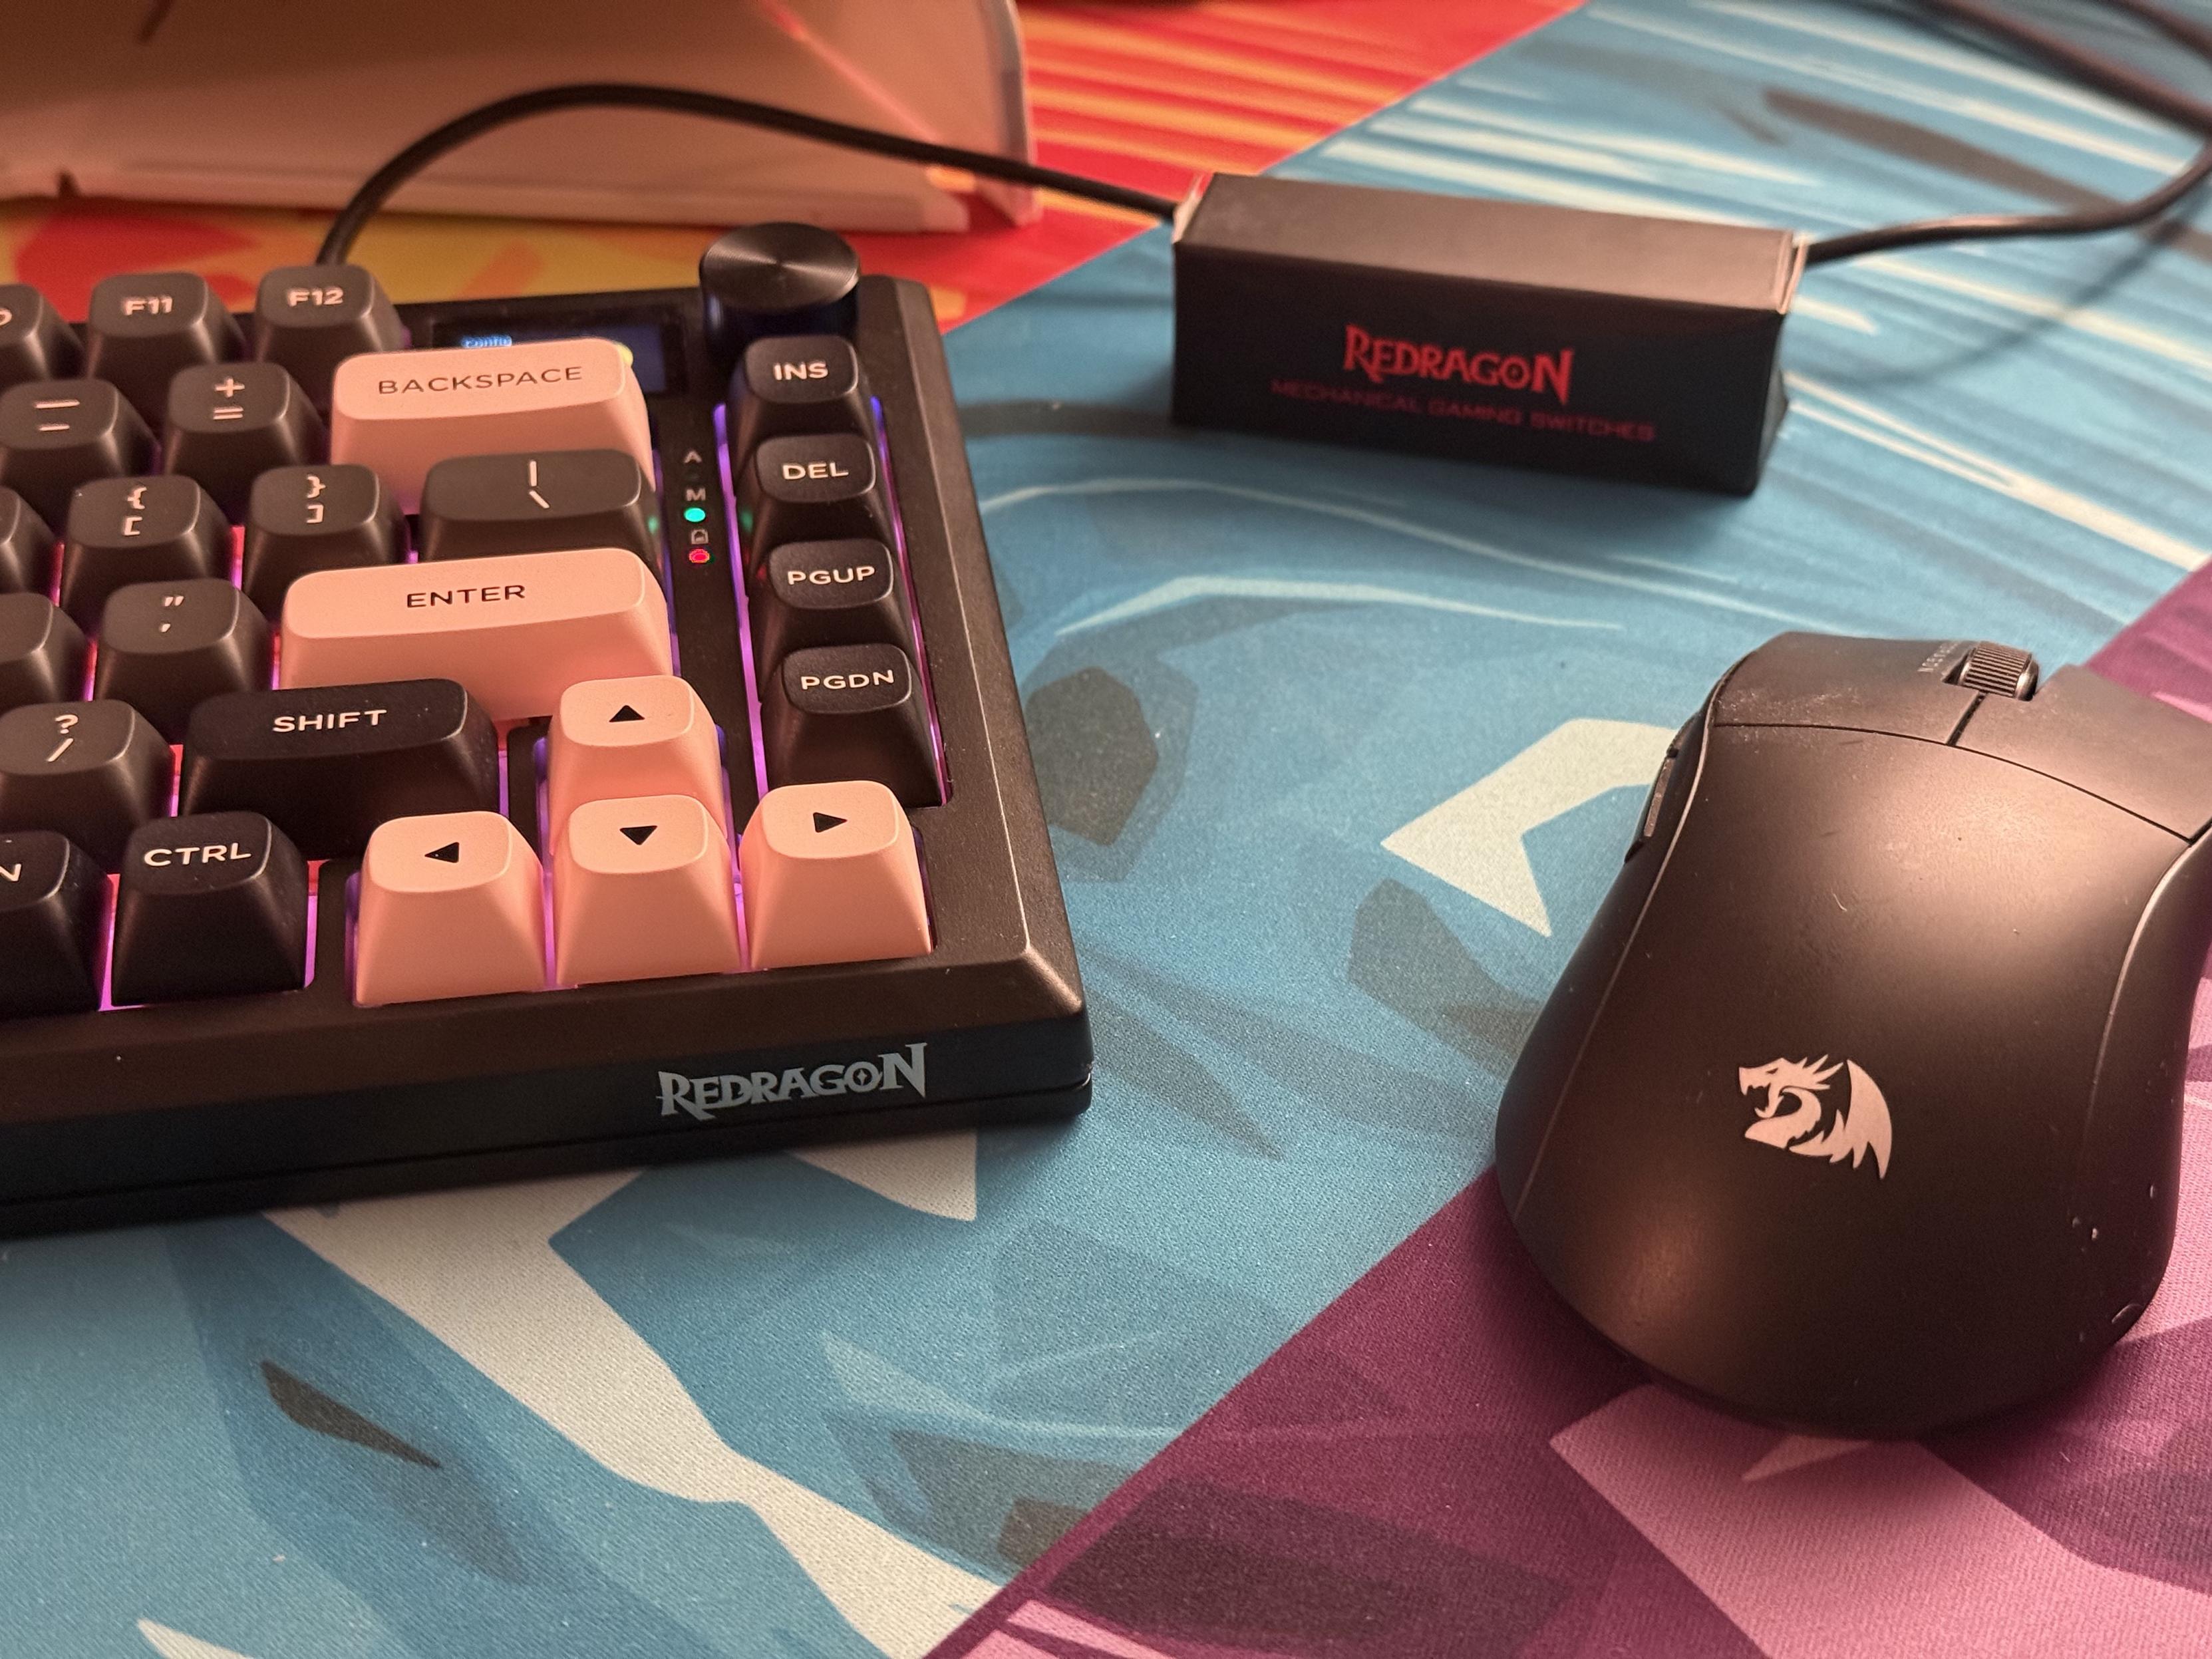
A perfectly cromulent setup
The board is relatively quiet with a gentle clack characterising the typing sound. It sounds great out of the box though the spacebar is a touch rattly and wobbly. The separated navigation cluster – Ins, Del, PgUp and PgDn – is begging to be used for macros or shortcuts.
The key backlights are north facing, an unusual choice that would normally be paired with shine-through legends (no such thing to be found here). This means Redragon could pinch pennies by omitting LED diffusers without the LEDs glaring in your face. The lighting is competent and consistent, though it does glare a little off the bottom of the keycaps producing some apparent hotspots over the board.
The Redragon Eclipse K720 Pro has, perhaps, the best knob implementation I’ve encountered on a mechanical keyboard yet. Not because it’s especially well engineered – it still misses steps if you turn it fast enough – but because it provides intuitive, easy to find control for the integrated LCD. By default a turn of the knob will control volume, but push it and the LCD instantly switches to the lighting control menu where you can, for the most part, control the effect, brightness, colour and speed of lighting in addition to changing the LCD’s language. You can change the backlight colour, but only to one of eight pre-set colours, one of which is rainbow. It seems like you can override these colours using the desktop software, but they don’t update on the display. My red, for example, is now a knocked-back pink to match the keycaps.
Unfortunately there’s no side-light control via the LCD. While it’s not uncommon for boards with multiple lighting zones to have multiple ways of controlling them, I wish manufacturers would just link all the zones together because I seldom want different colours in each. I understand why they don’t – some effects such as per-key reactive backlighting – don’t necessarily translate well to sidelights… but there’s got to be a better way to do lighting controls!
The presence of a dedicated mac/windows switch, which I haven’t seen in a while, is appreciated, and the typical Off/2.4GHz/Bluetooth switch for tri-mode makes an appearance. I’ve found keyboards without these tend to have varying different ways of switching modes and none of them are especially memorable. Dedicated switches are much appreciated.
On 2.4GHz it shows up as SINOWEALTH in macOS keyboard identifier, which gives a clue as to what’s inside this thing. There’s also thankfully a little recess in the back of the board for the 2.4GHz USB dongle.
Beneath the LCD between backspace and the condensed navigation cluster are some status LEDs for charging and mode. These aren’t overwhelmingly bright, but are a little redundant since they’re also show on the LCD.
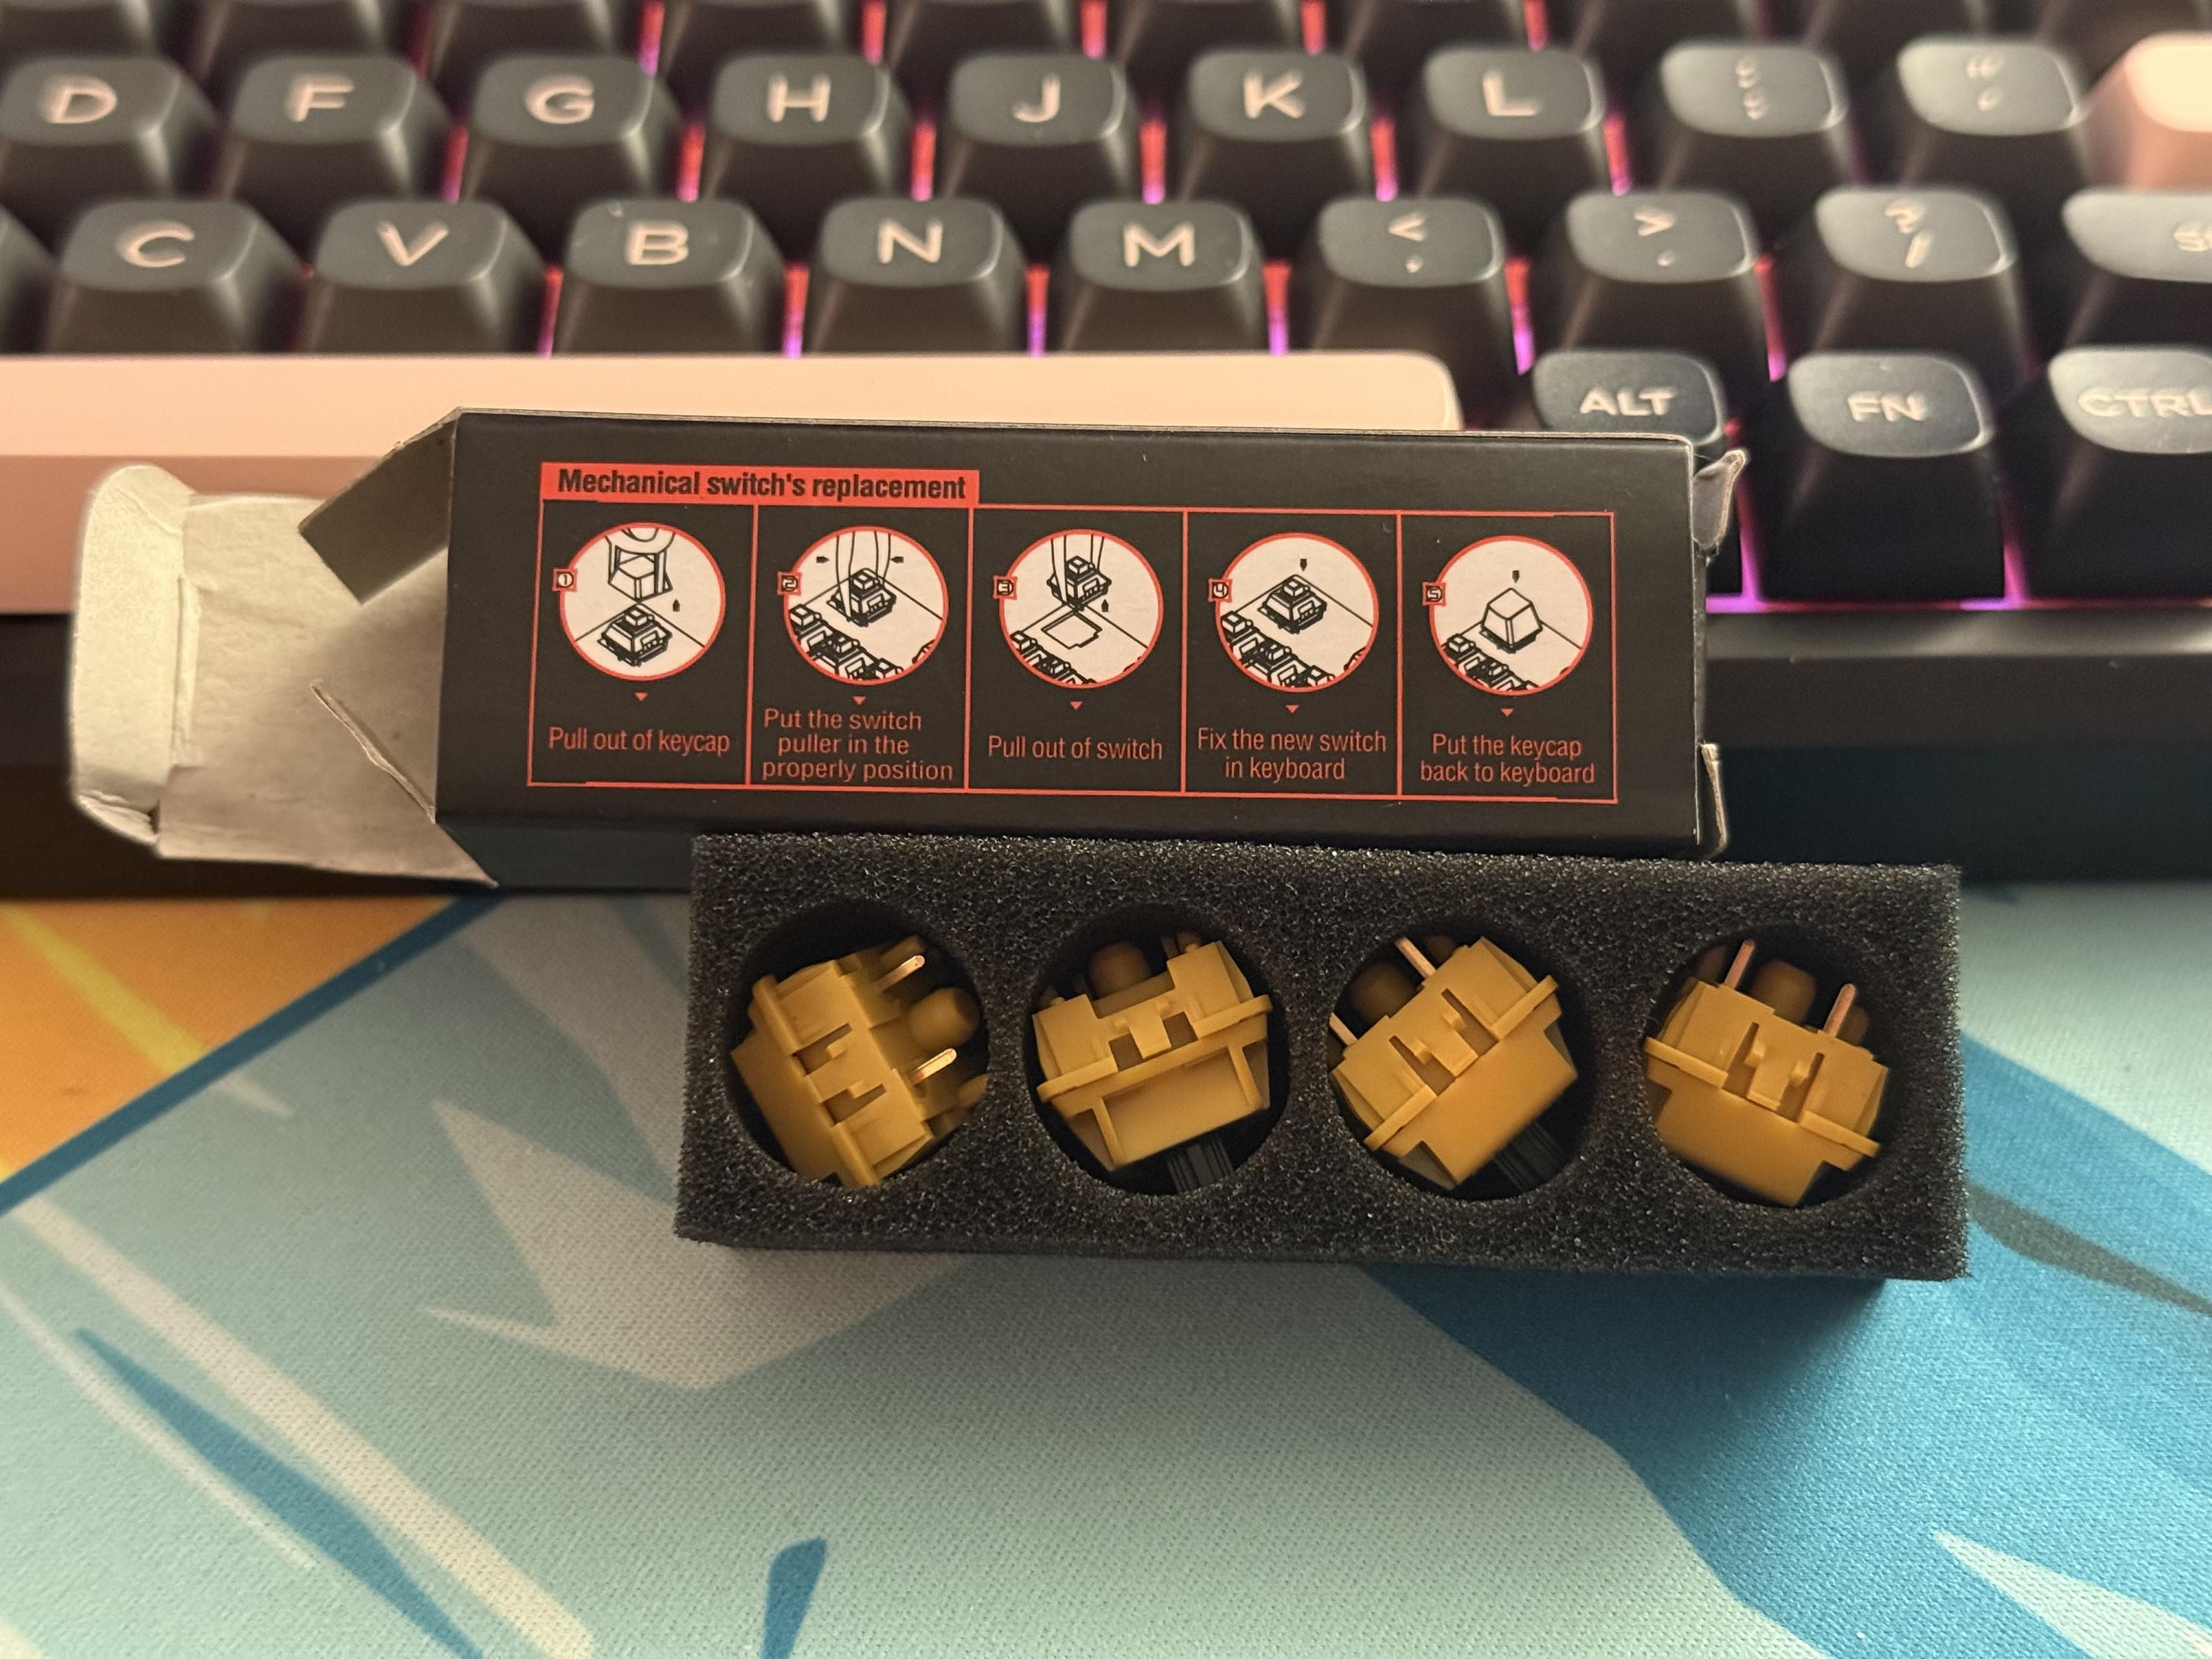
A little boxed set of spare switches is bougie, but a nice touch!
In the box you get a USB cable (that fits the recessed port), a hybrid switch/keycap puller (these make for awful switch pullers, but they work) and a little box of very overpackaged replacement switches complete with a handy little replacement guide on the back. Not bad!
There are, however, no replacement keycaps for macOS mode.
Teardown
Tearing down the board is easy enough, flip it over and remove the six cross-head screws. Four of these are hidden under the outer edges of the rubber feet. The one towards the back is quite deeply recessed (a theme with this board, it seems) and will need a standalone screwdriver or an extra long bit. I opted not to tighten the hidden ones again for future disassembly efforts. The knob is friction fit and pulls off easily.
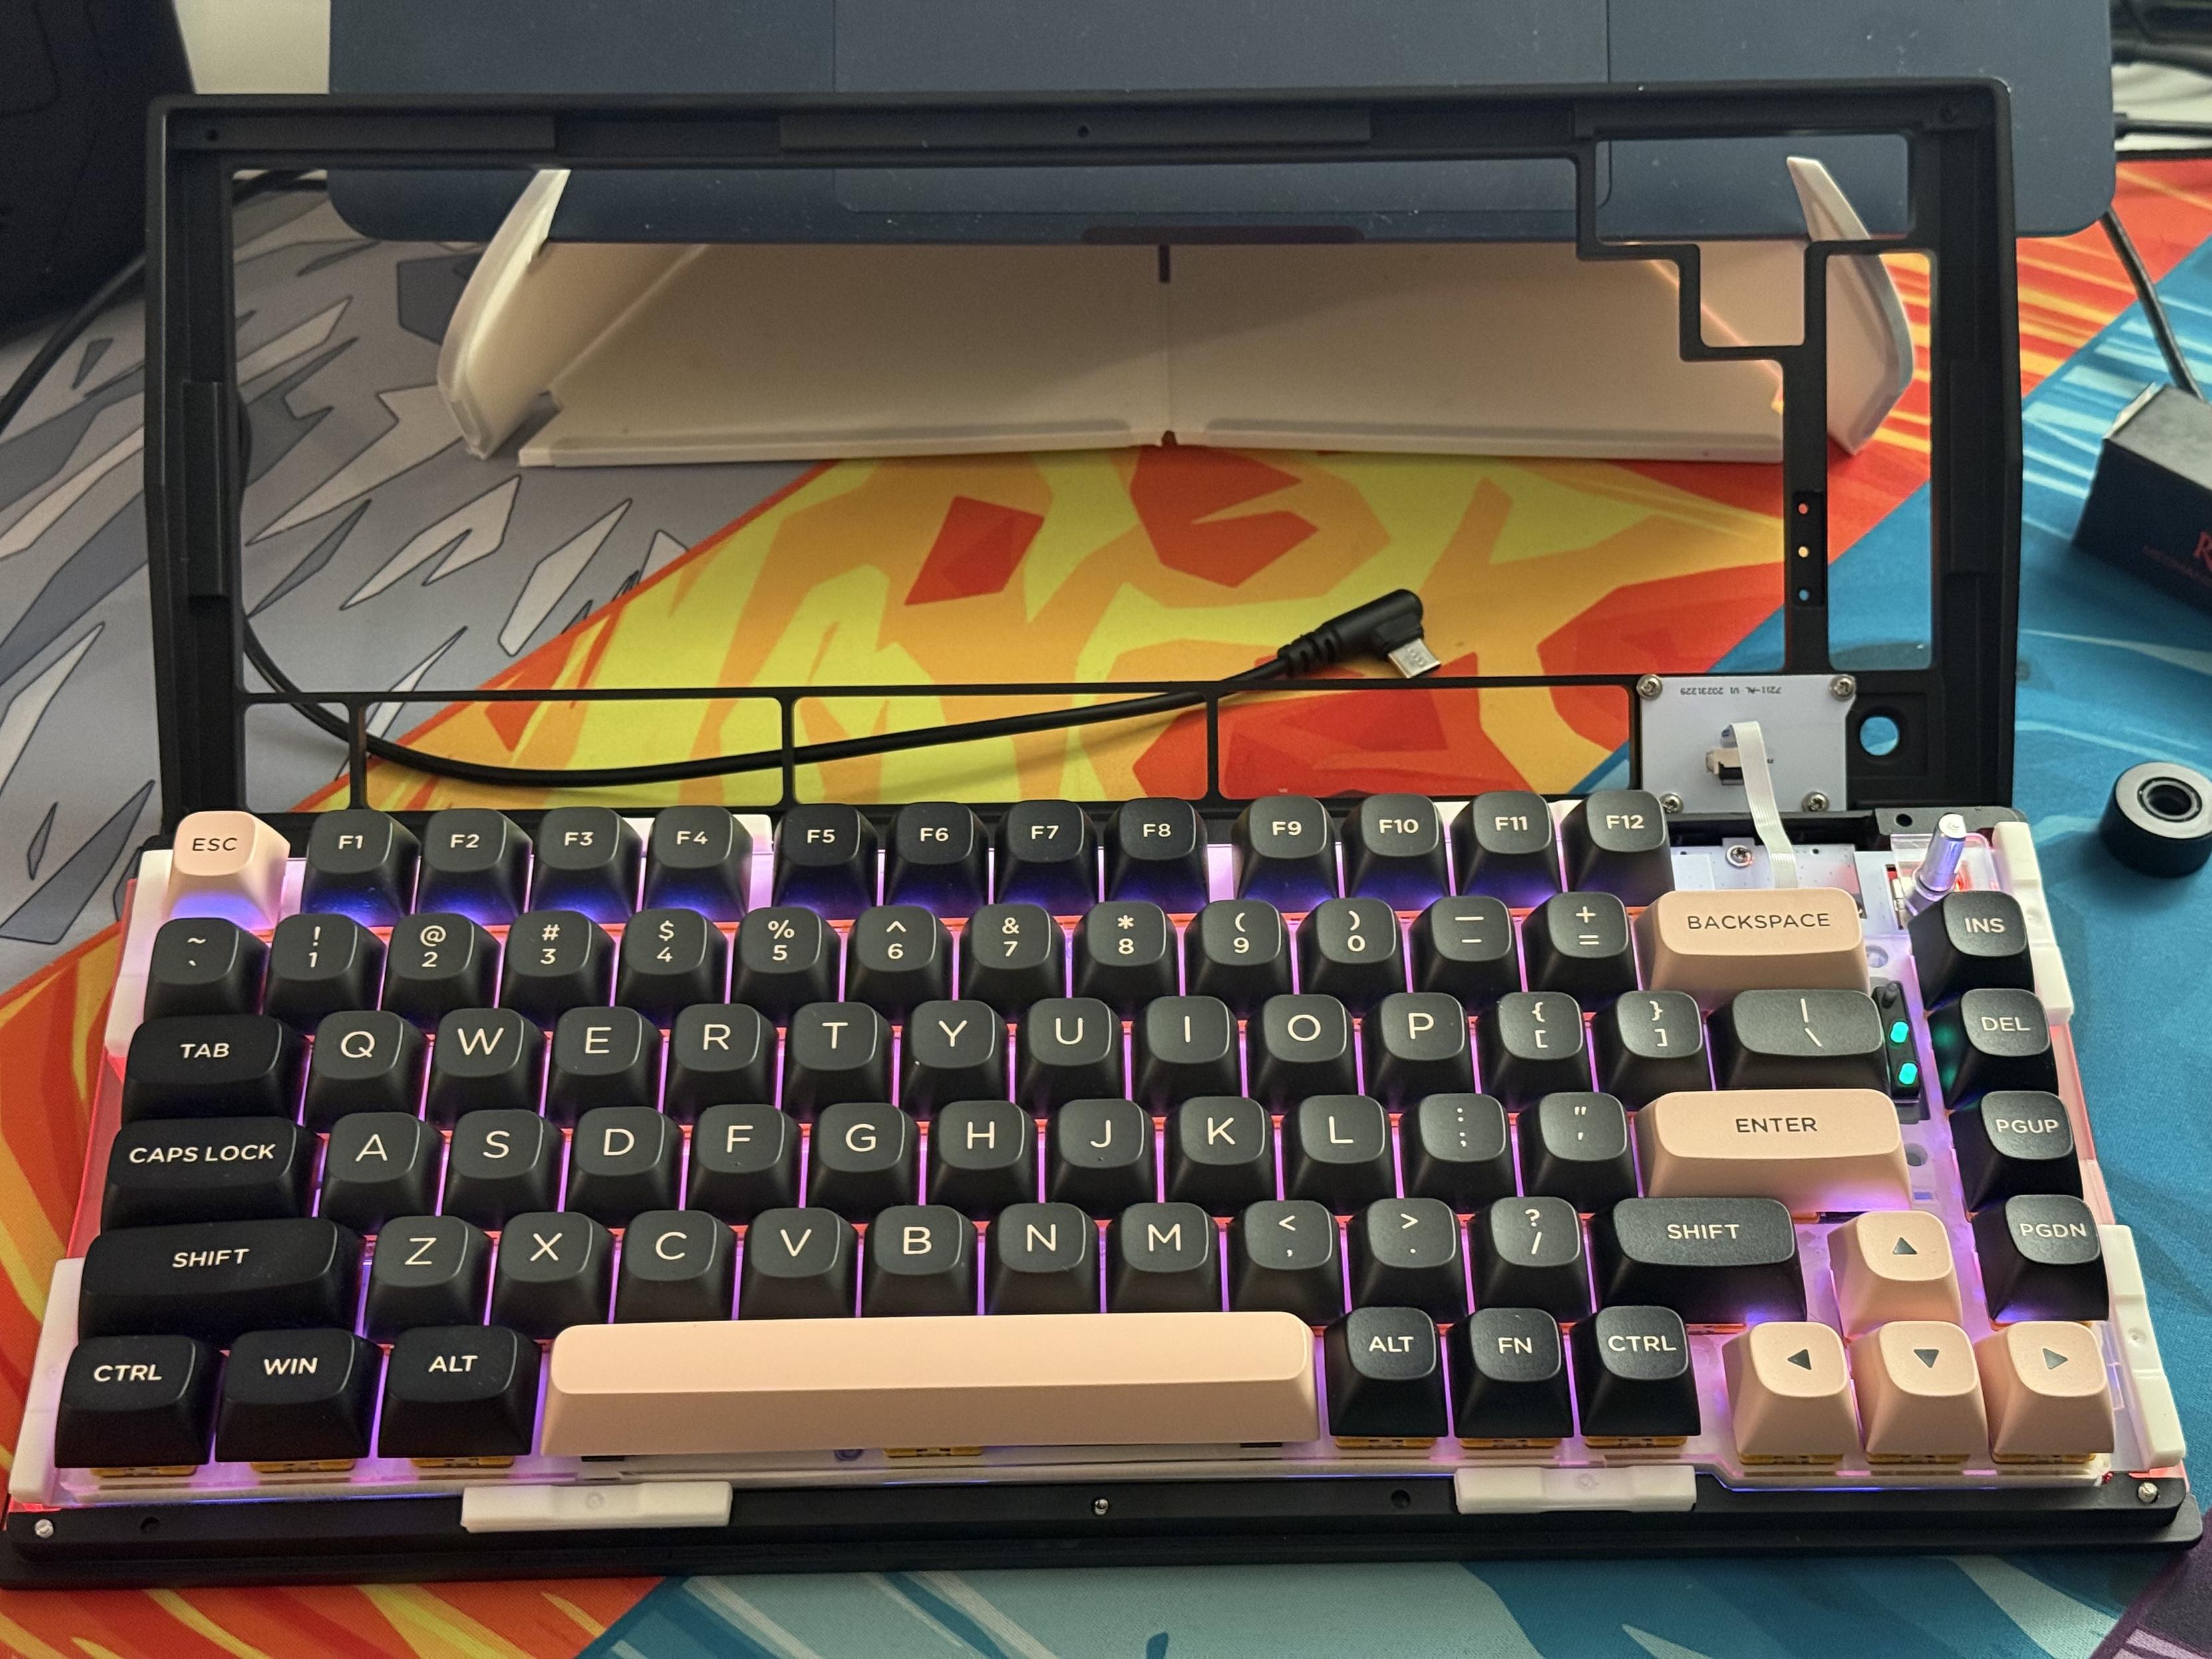
The top of the board lifts off with all the usual spiciness around the LCD ribbon.
The top of the board then lifts away to reveal an LCD ribbon cable which is long enough to set the top of the keyboard to one side and hopefully avoid any accidents. It uses a flip-up style flat-flex connector, which is much easier to release than the push-in ones.
Once opened up, it reveals a cantilever style gasket isolated mounting system. The gaskets push fit over nubs on the polycarbonate plate and produce a minimal amount of flex. In the right-hand edge of the plate is a little assembly with three LED light pipes to get the indicator LEDs through the top of the enclosure. Gloriously overengineered for LEDs that we don’t need anyway! On the switch side, concealed beneath the spacebar, is also a little green daughter board that sticks up at 90 degrees to the PCB and is, no doubt, an antenna for the 2.4GHz and/or Bluetooth connectivity.
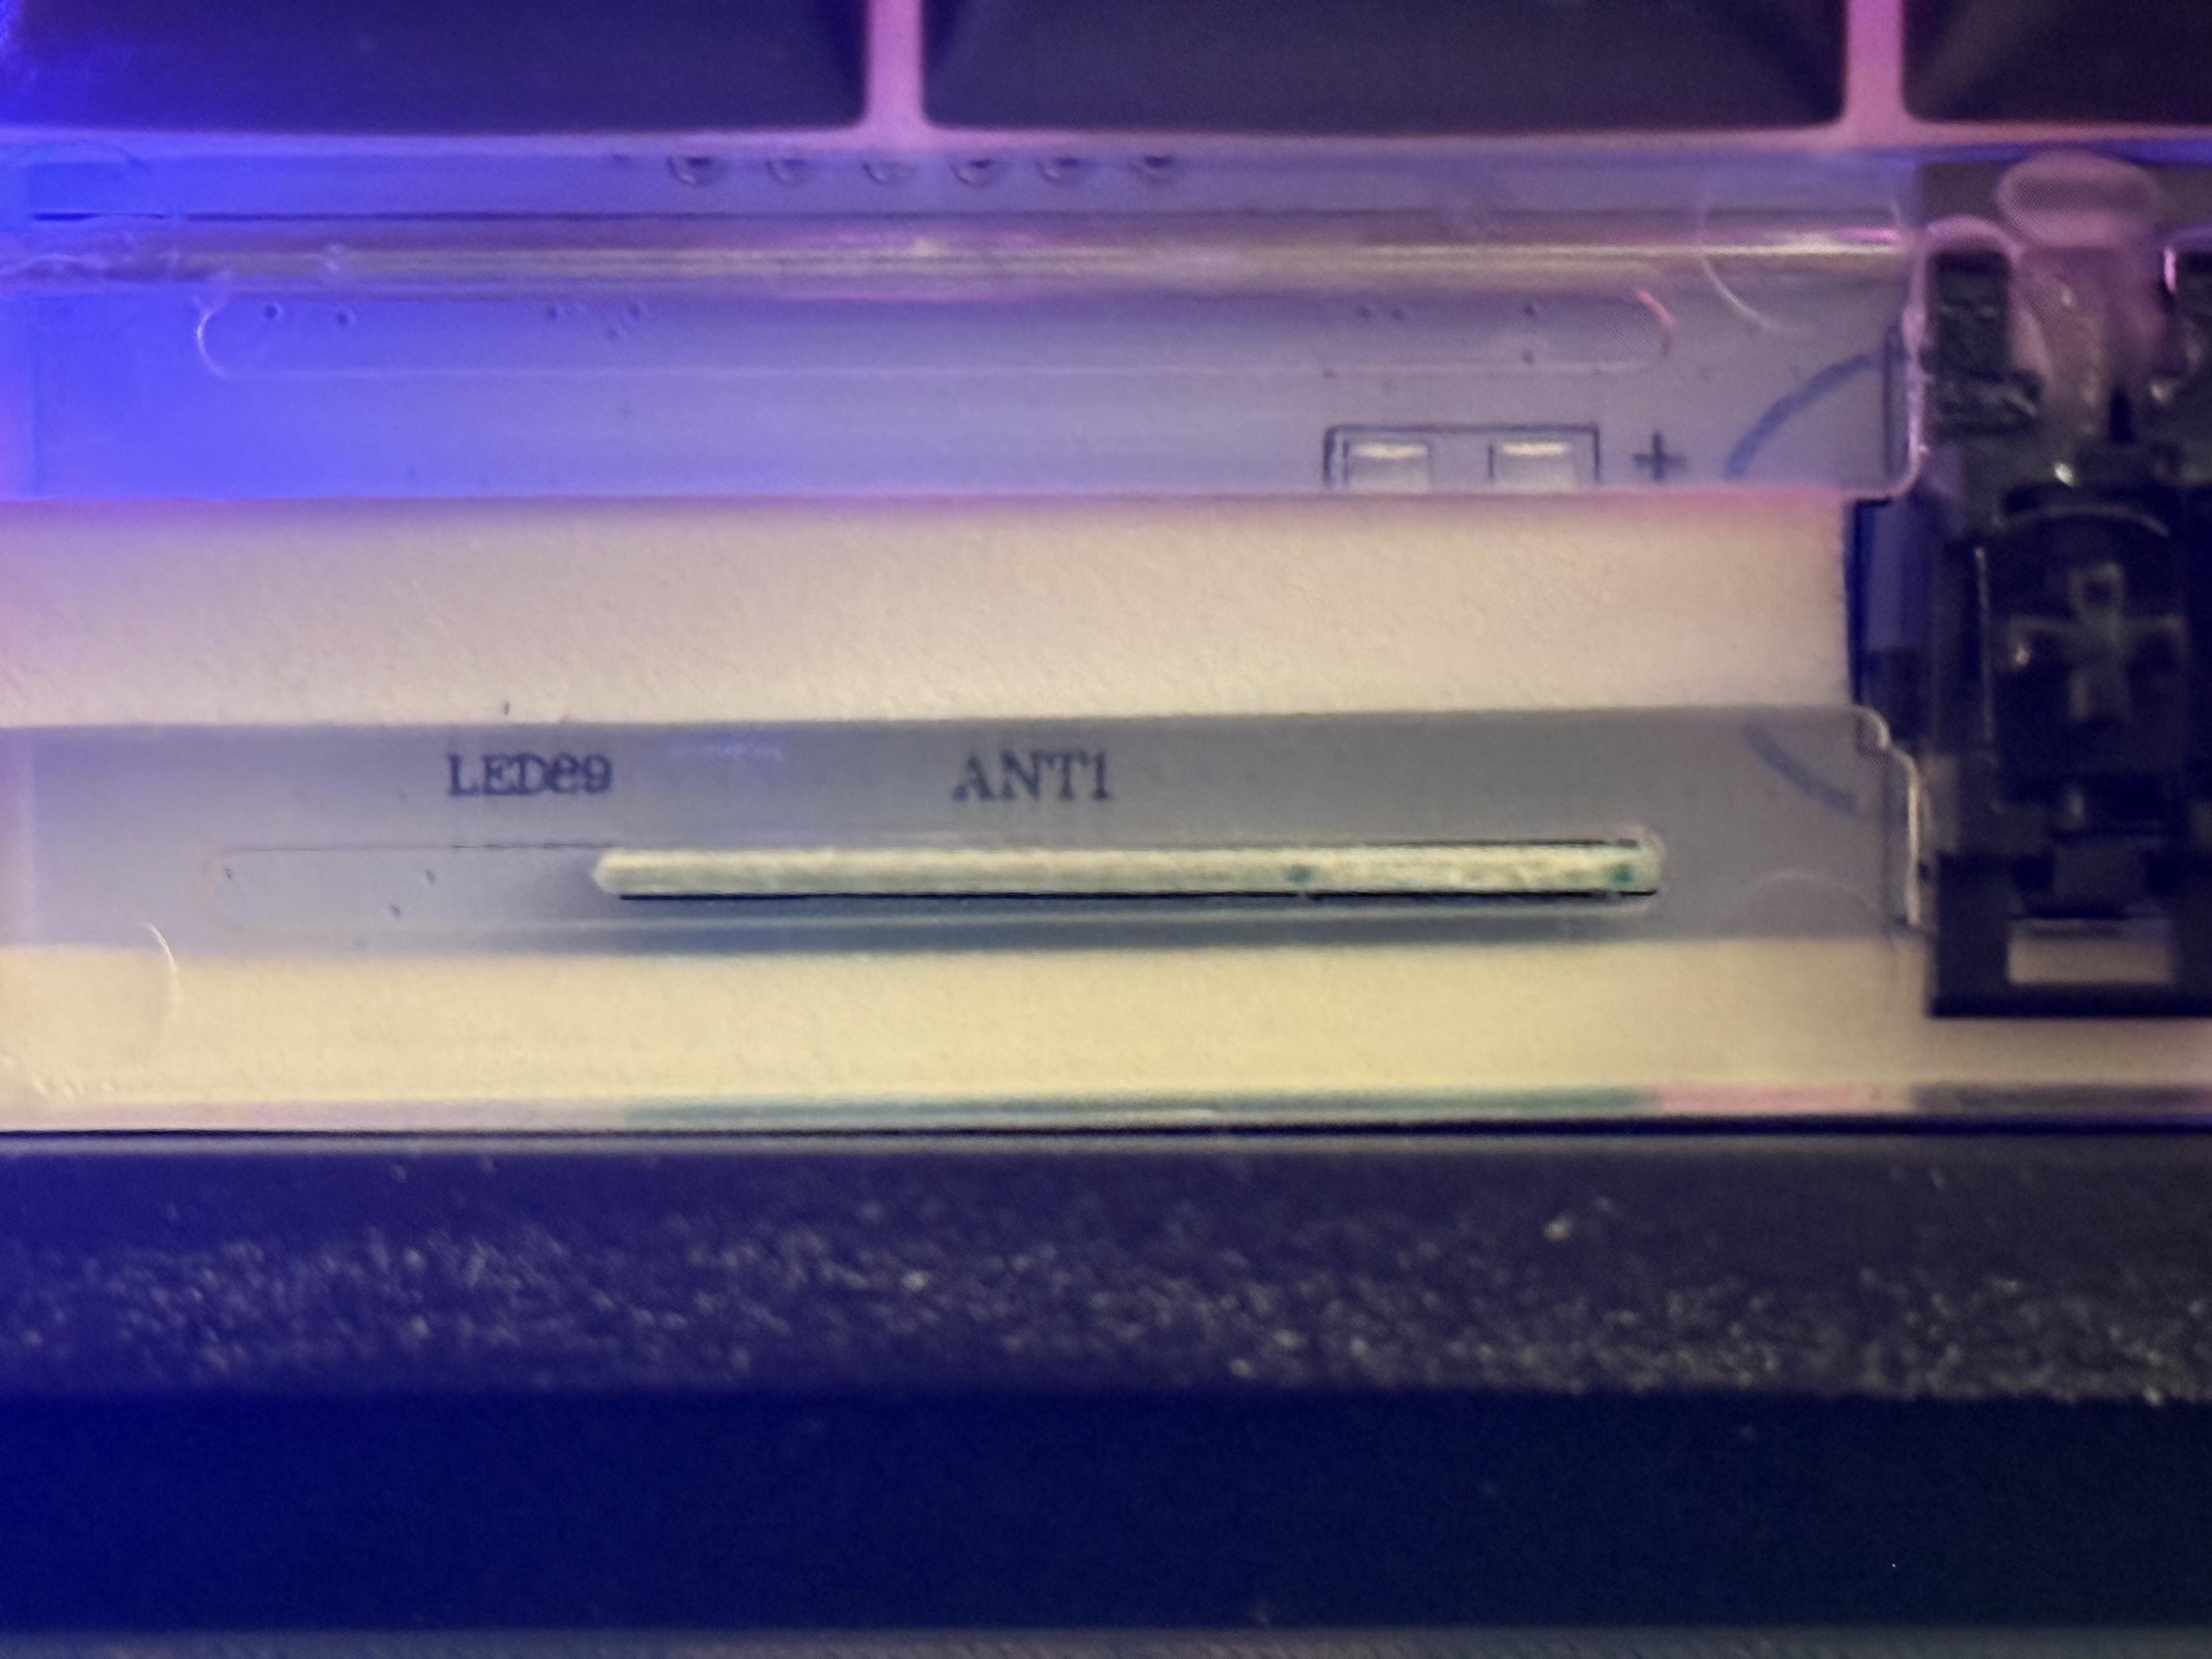
A curious little antenna setup on the USB daughter board…
Beneath the PCB another flat-flex cable connects the PCB to the knob, switch and USB port PCB and a JST three wire cable connects the battery. I guess this is why the USB port and switches are located on the right! The battery consists of a single, 4000mAh LiPo pack and the connector is glued into place making replacement a little bit tricky.
Some slightly questionable construction here…
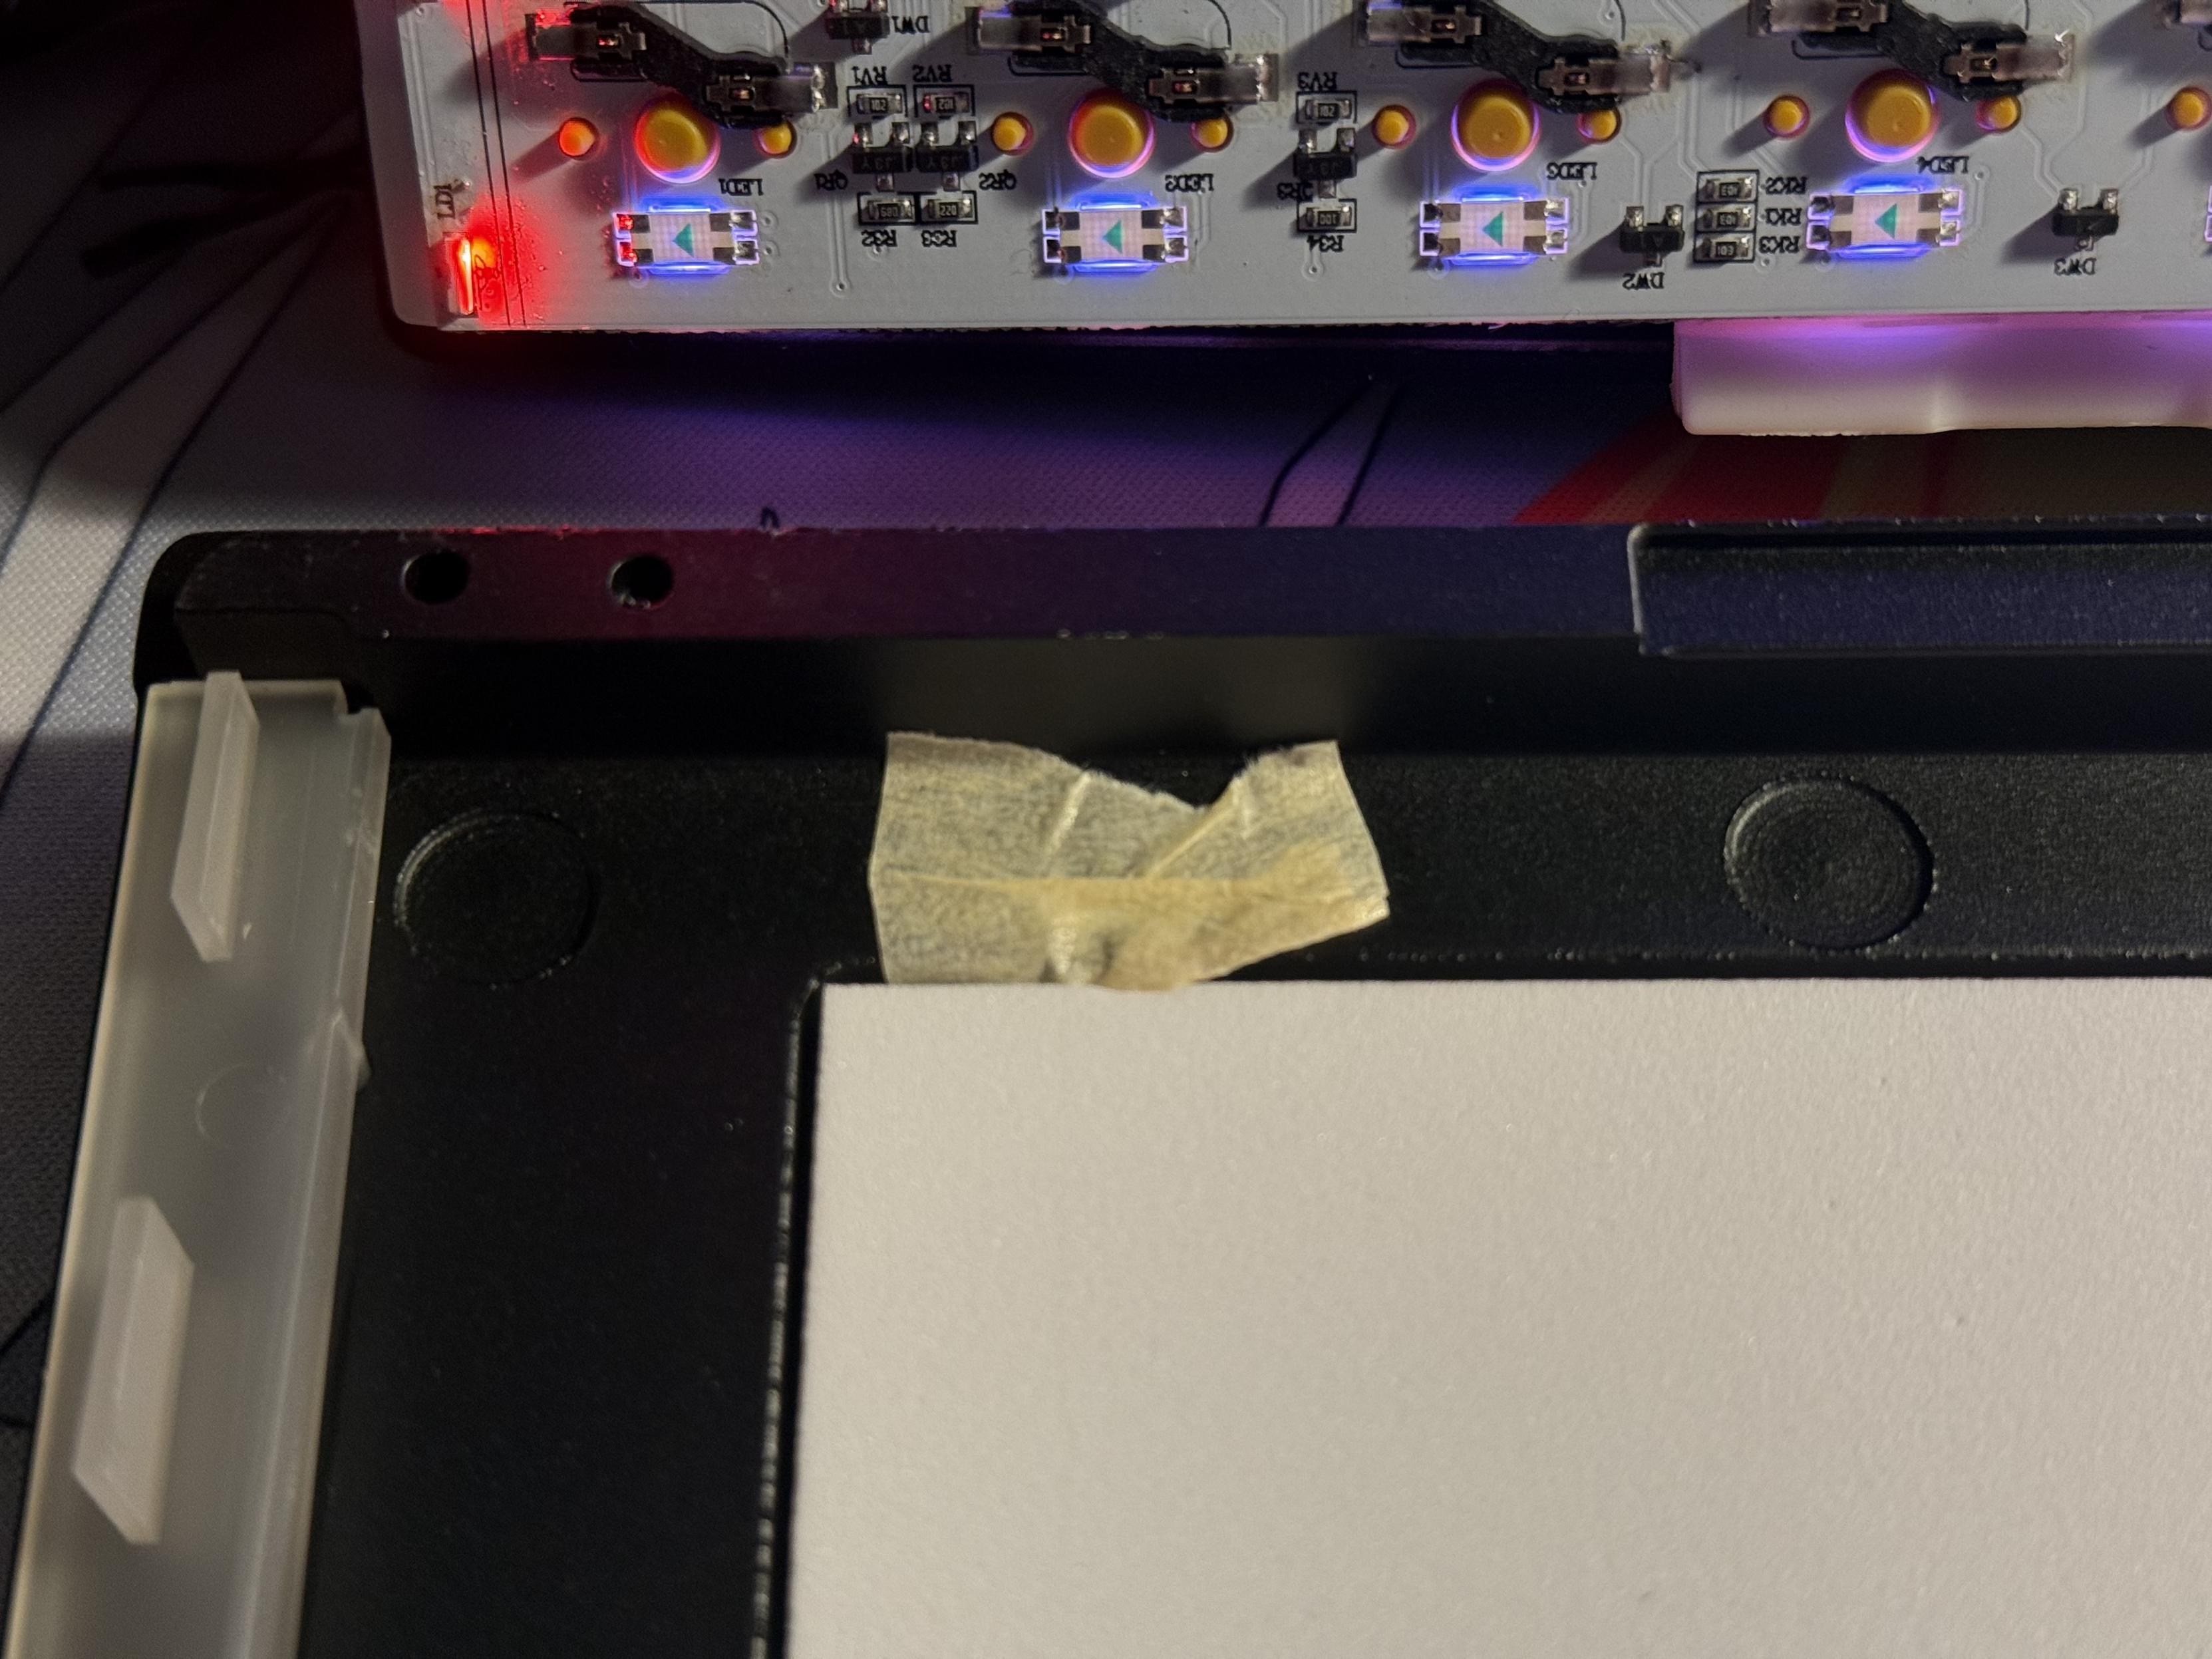
Random bits of foam and tape are a hallmark of the inside. I found some foam with a little fragment of bark on it? There’s a piece of tape on the back of the PCB, seemingly placed randomly, but intended to protect the flat-flex cable from the back of the PCB. There’s also a foam pad to stop the PCB bottoming-out on the daughterboard, and a big foam pad in the bottom shell blanking out where a larger battery might have otherwise gone. Finally there’s a magnet taped down with what looks like masking tape on the left-hand side, presumably to hold the USB dongle in place.
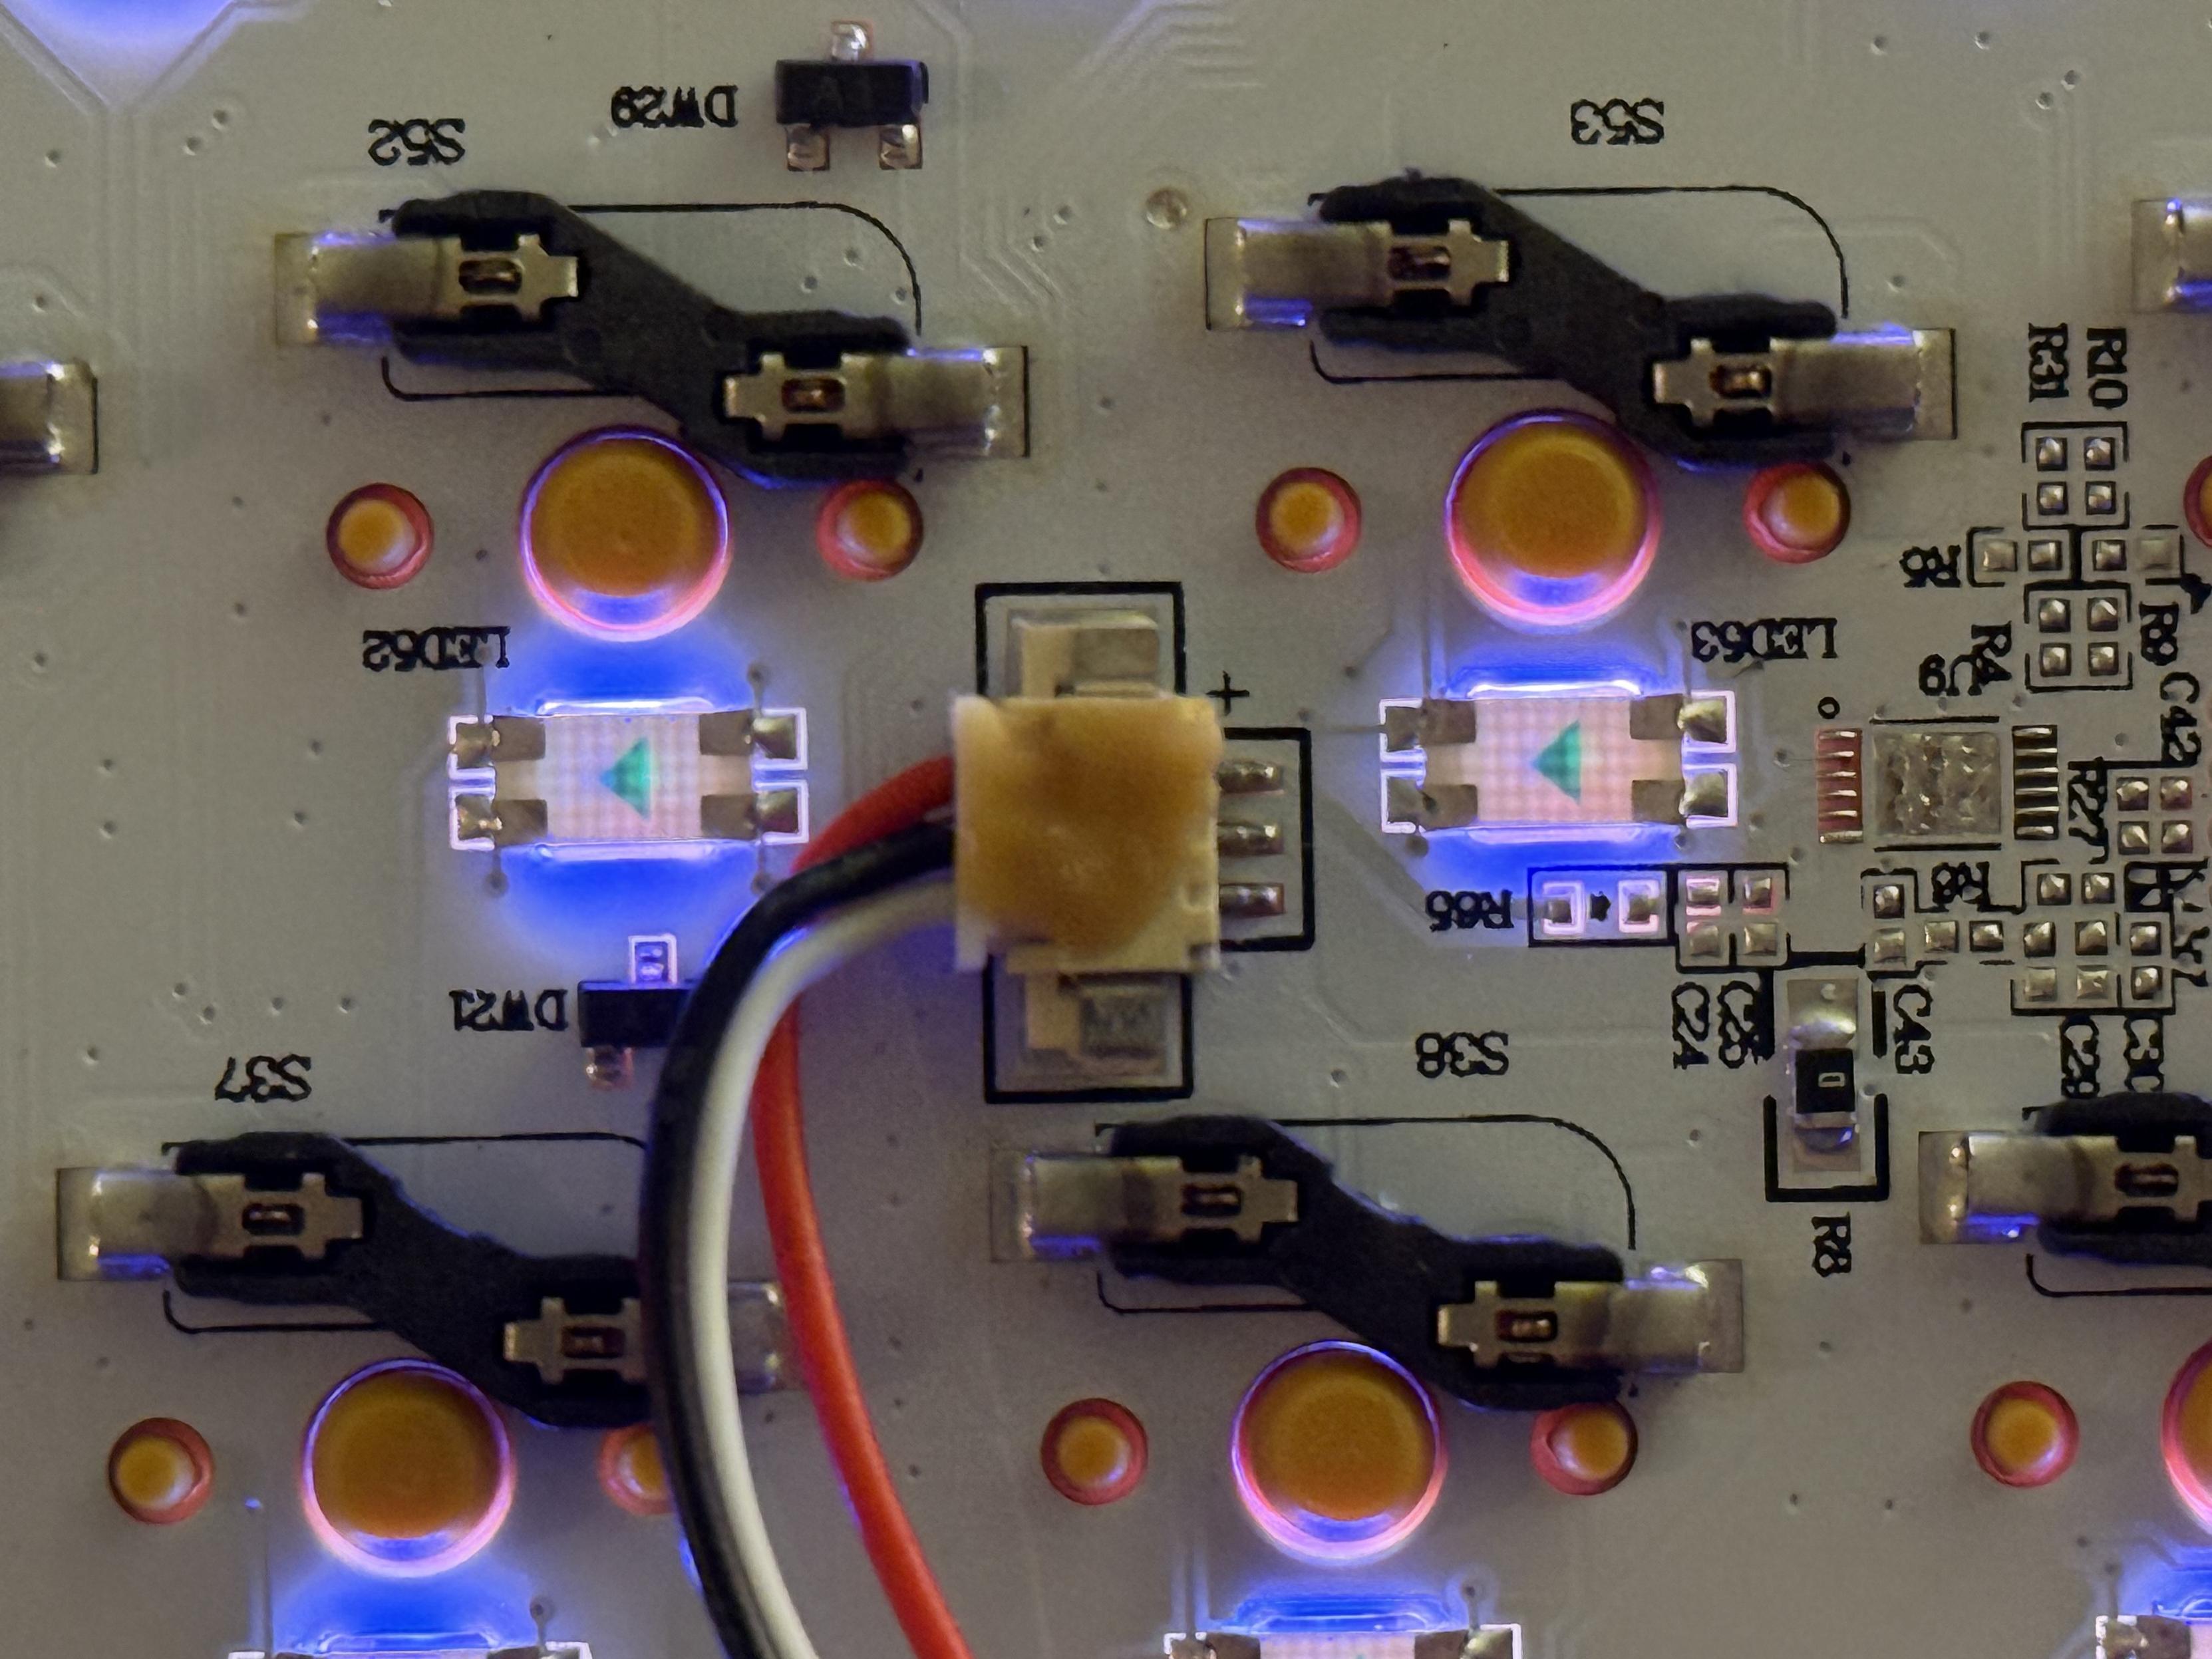
An unusual sight in mechanical keyboards- the battery connector is glued into place with some grotty yellow-brown compound.
The inside of the enclosure is rife with burr and tool marks, especially in the bottom half. The left and right side lights have big, elaborate plastic light-pipes that don’t sit flush with the edges of the board, or even seem to sit properly in their recesses. A shame, because they work pretty well.
The random foam pieces, burr and general construction tell of a storied history of balancing low price with not immediately breaking. Clearly an effort has been made to make something worthwhile and it’s far from the worst board I’ve tested.
Software
The software is Windows only, which would normally be either where I omit commenting about it – these boards don’t need software after all – or go on a deep and complicated dive into making some features work in macOS. In this case I fired up a Windows box out of curiosity and was met with reasonably competent, if somewhat quaint, desktop software (in lieu of the modern web app approach.)
At time of installing, the Windows-only .exe installer triggered a Microsoft Edge “Not commonly downloaded” warning, and Windows tried to discourage me from opening the file. Nonetheless I forged ahead.
There are fancy features like an audio visualiser which captures audio and drives the keyboard lights in time with music. On the face of it this sounds cool, but there’s not much correlation between the music and the visual effect. I’ve implemented FFT visualisers at least half a dozen times, and this ain’t it.
Wireless mode has sleep time adjustable between 30 seconds and 20 minutes, meaning you can tune it down to stretch out that small 4000mAh battery. Perhaps the only reason you’d want to fire up the software if you’re a mac, Linux or cautious Windows user.
When binding things to the fn1, fn2 and Tap layers the software didn’t seem to change view, making it next to impossible to see what I was mapping, or what I had mapped.
There’s nowhere in the software to change the side lights either, they seem to just do their own things.
For posterity I tested firmware version 10.0.5 and software version 2.0.0.
Overall
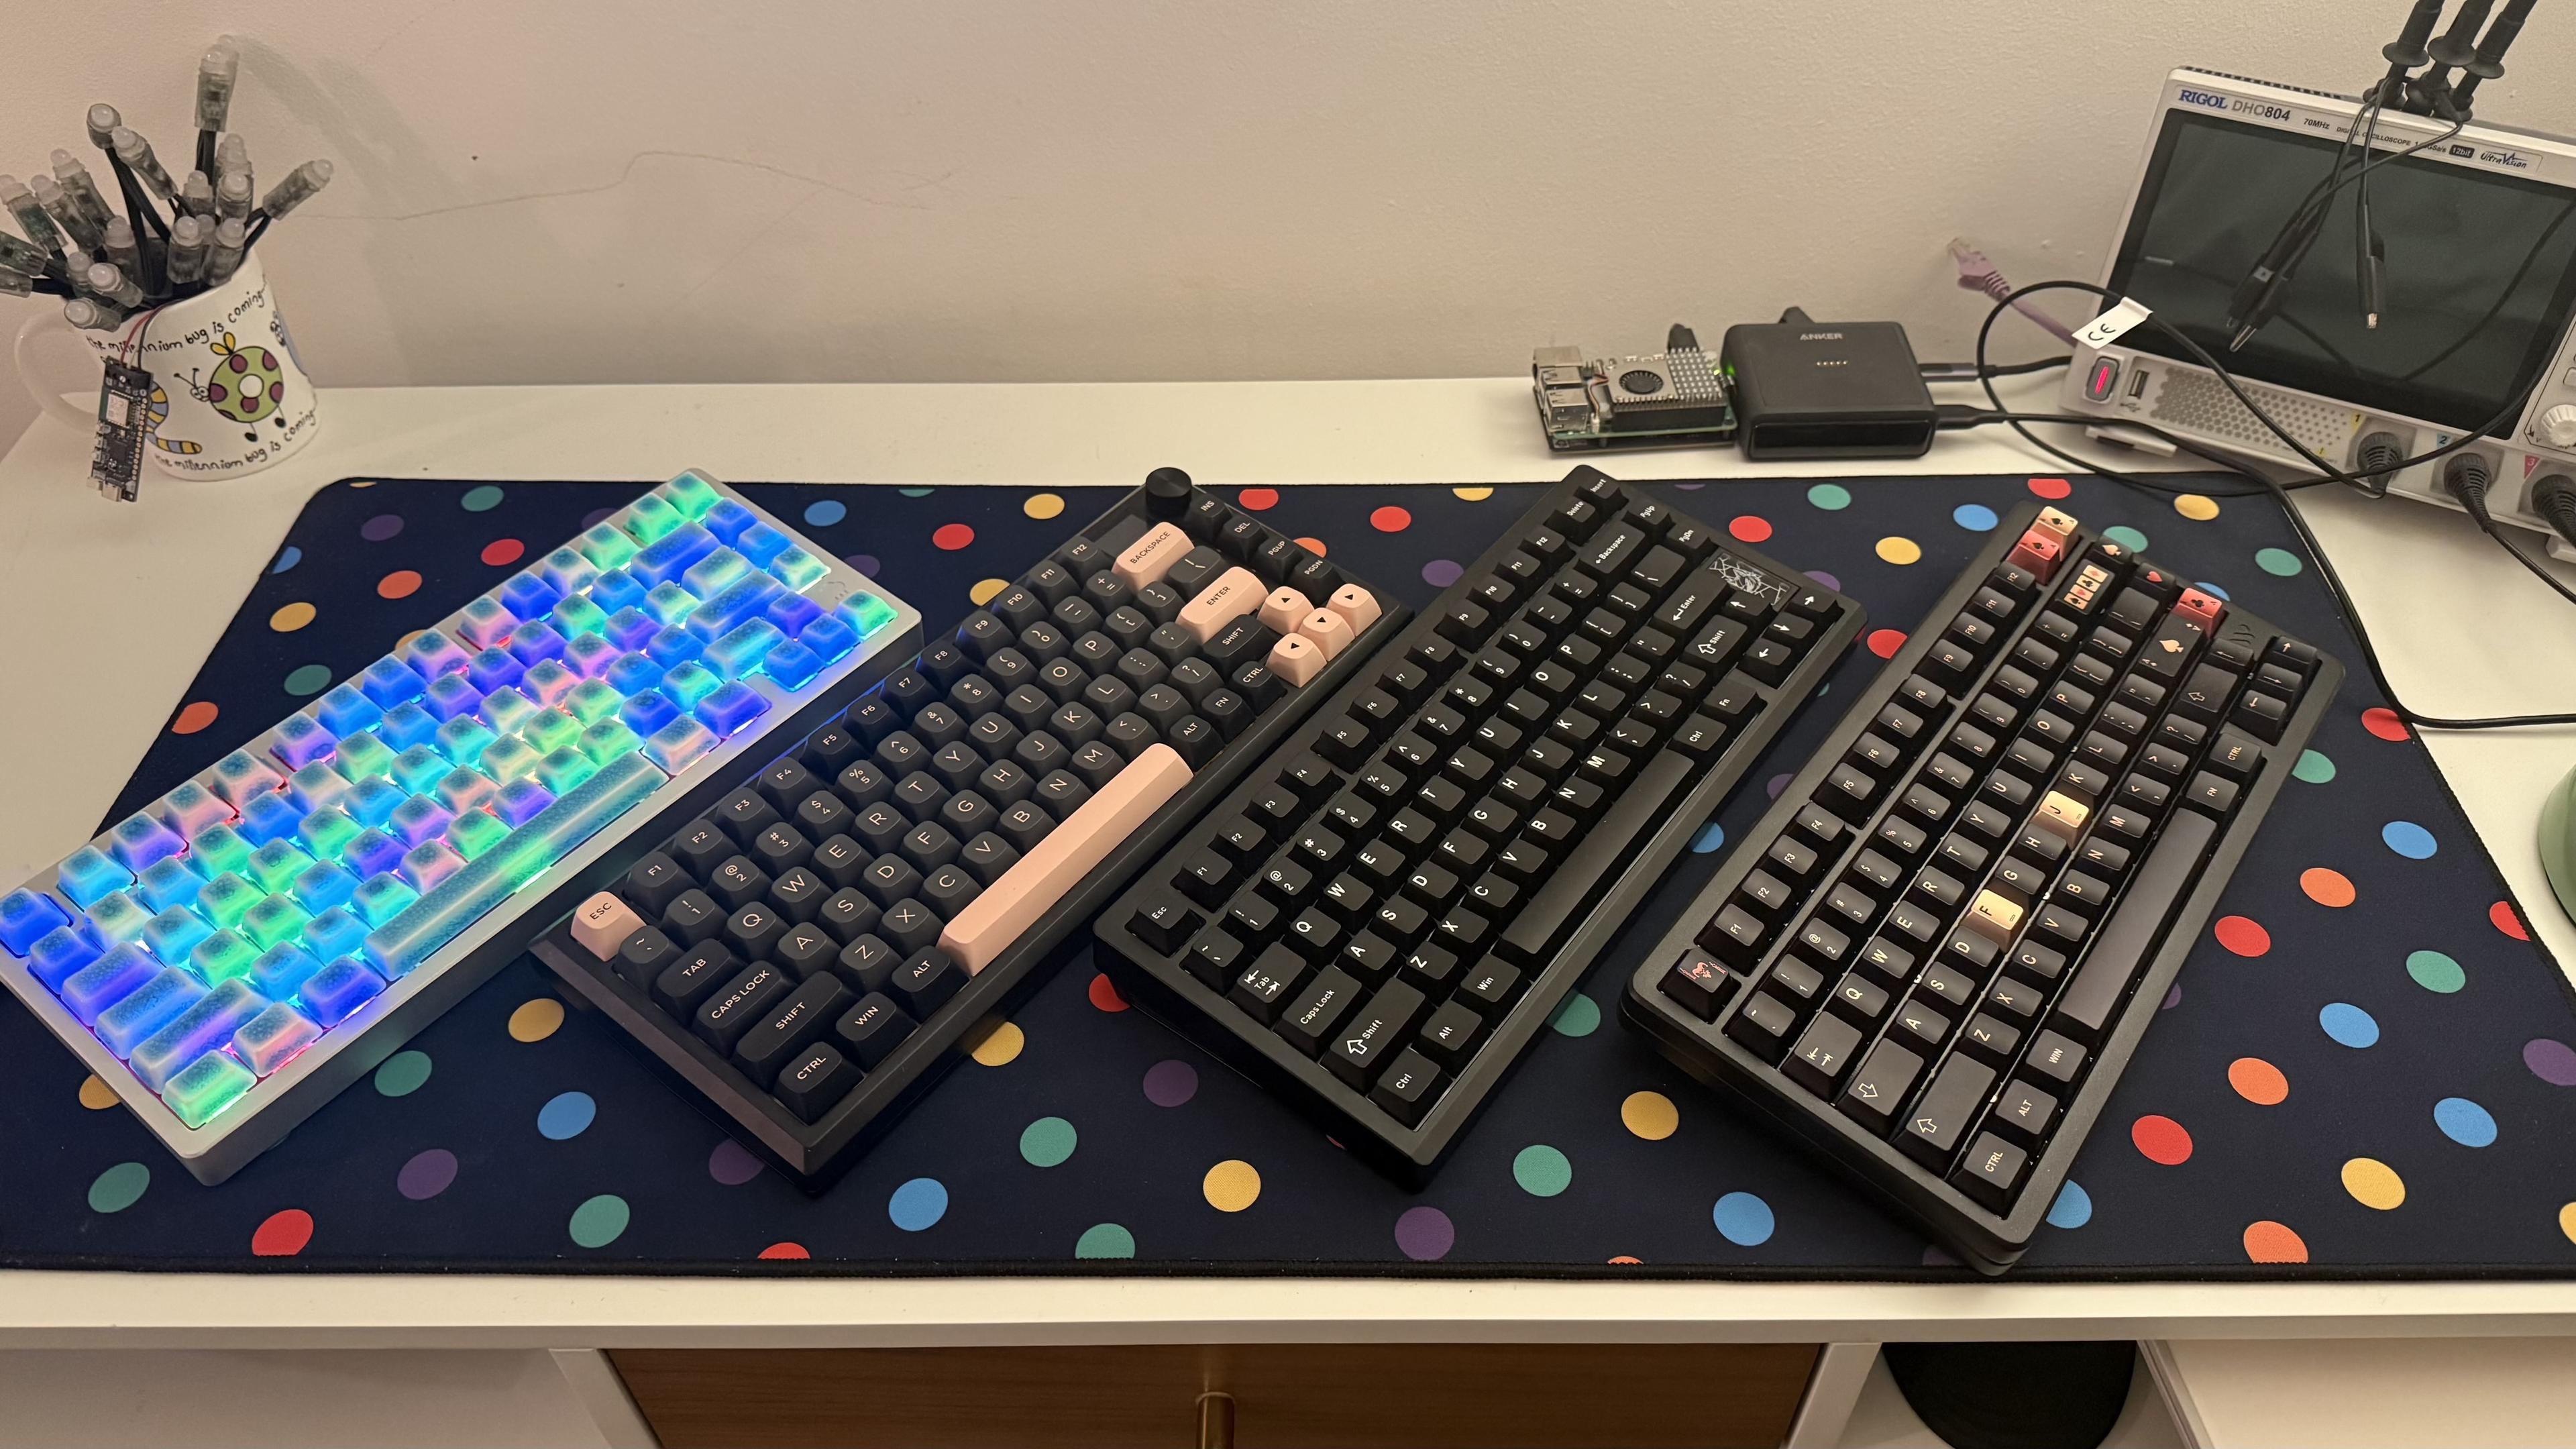
I may have too many similar 75% boards…
Overall the K720 Pro is very hit and miss. It looks good, it sounds good and it works good but it does not, as it were, spark joy. The keycaps and legends are atypically good for a low-end board. The construction is missing some finesse that I would expect, even at this price point. There are some odd features and design choices that perhaps only exist because it’s a sidegrade from a plastic board and not a ground-up redesign. If you like the muted black, dark grey and pink then it’s worth considering. Otherwise you can definitely get better for your money. If you want roughly the same build and features for a decent chunk less – and a plastic enclosure – then check out the K724 Pro.
You can pick the K720 Pro up for £111 direct from Redragon, inclusive of VAT.