KBDCraft Lilith Q 60% ISO Keyboard Reviewed
My second KBDCraft build, and more months overdue than I’d care to even think about, the Lilith 60% ISO brings a functional, if slightly contrived, ISO layout to the table. As a born and bred Brit (ugh) I have a particular fondness for ISO, even if I’ve long since learned to work without it. The split left shift, and convenience of ~ and ` placement – symbols I use extremely often when programming – are welcome when I can get ‘em.
As with the Israfel – a split keyboard kit – I enlisted my middle-child to help me with the build. KBDCraft kits are quite a lot more involved than a standard build-it-yourself mechanical keyboard, but most of this is the satisfaction of building the case brick-by-brick.
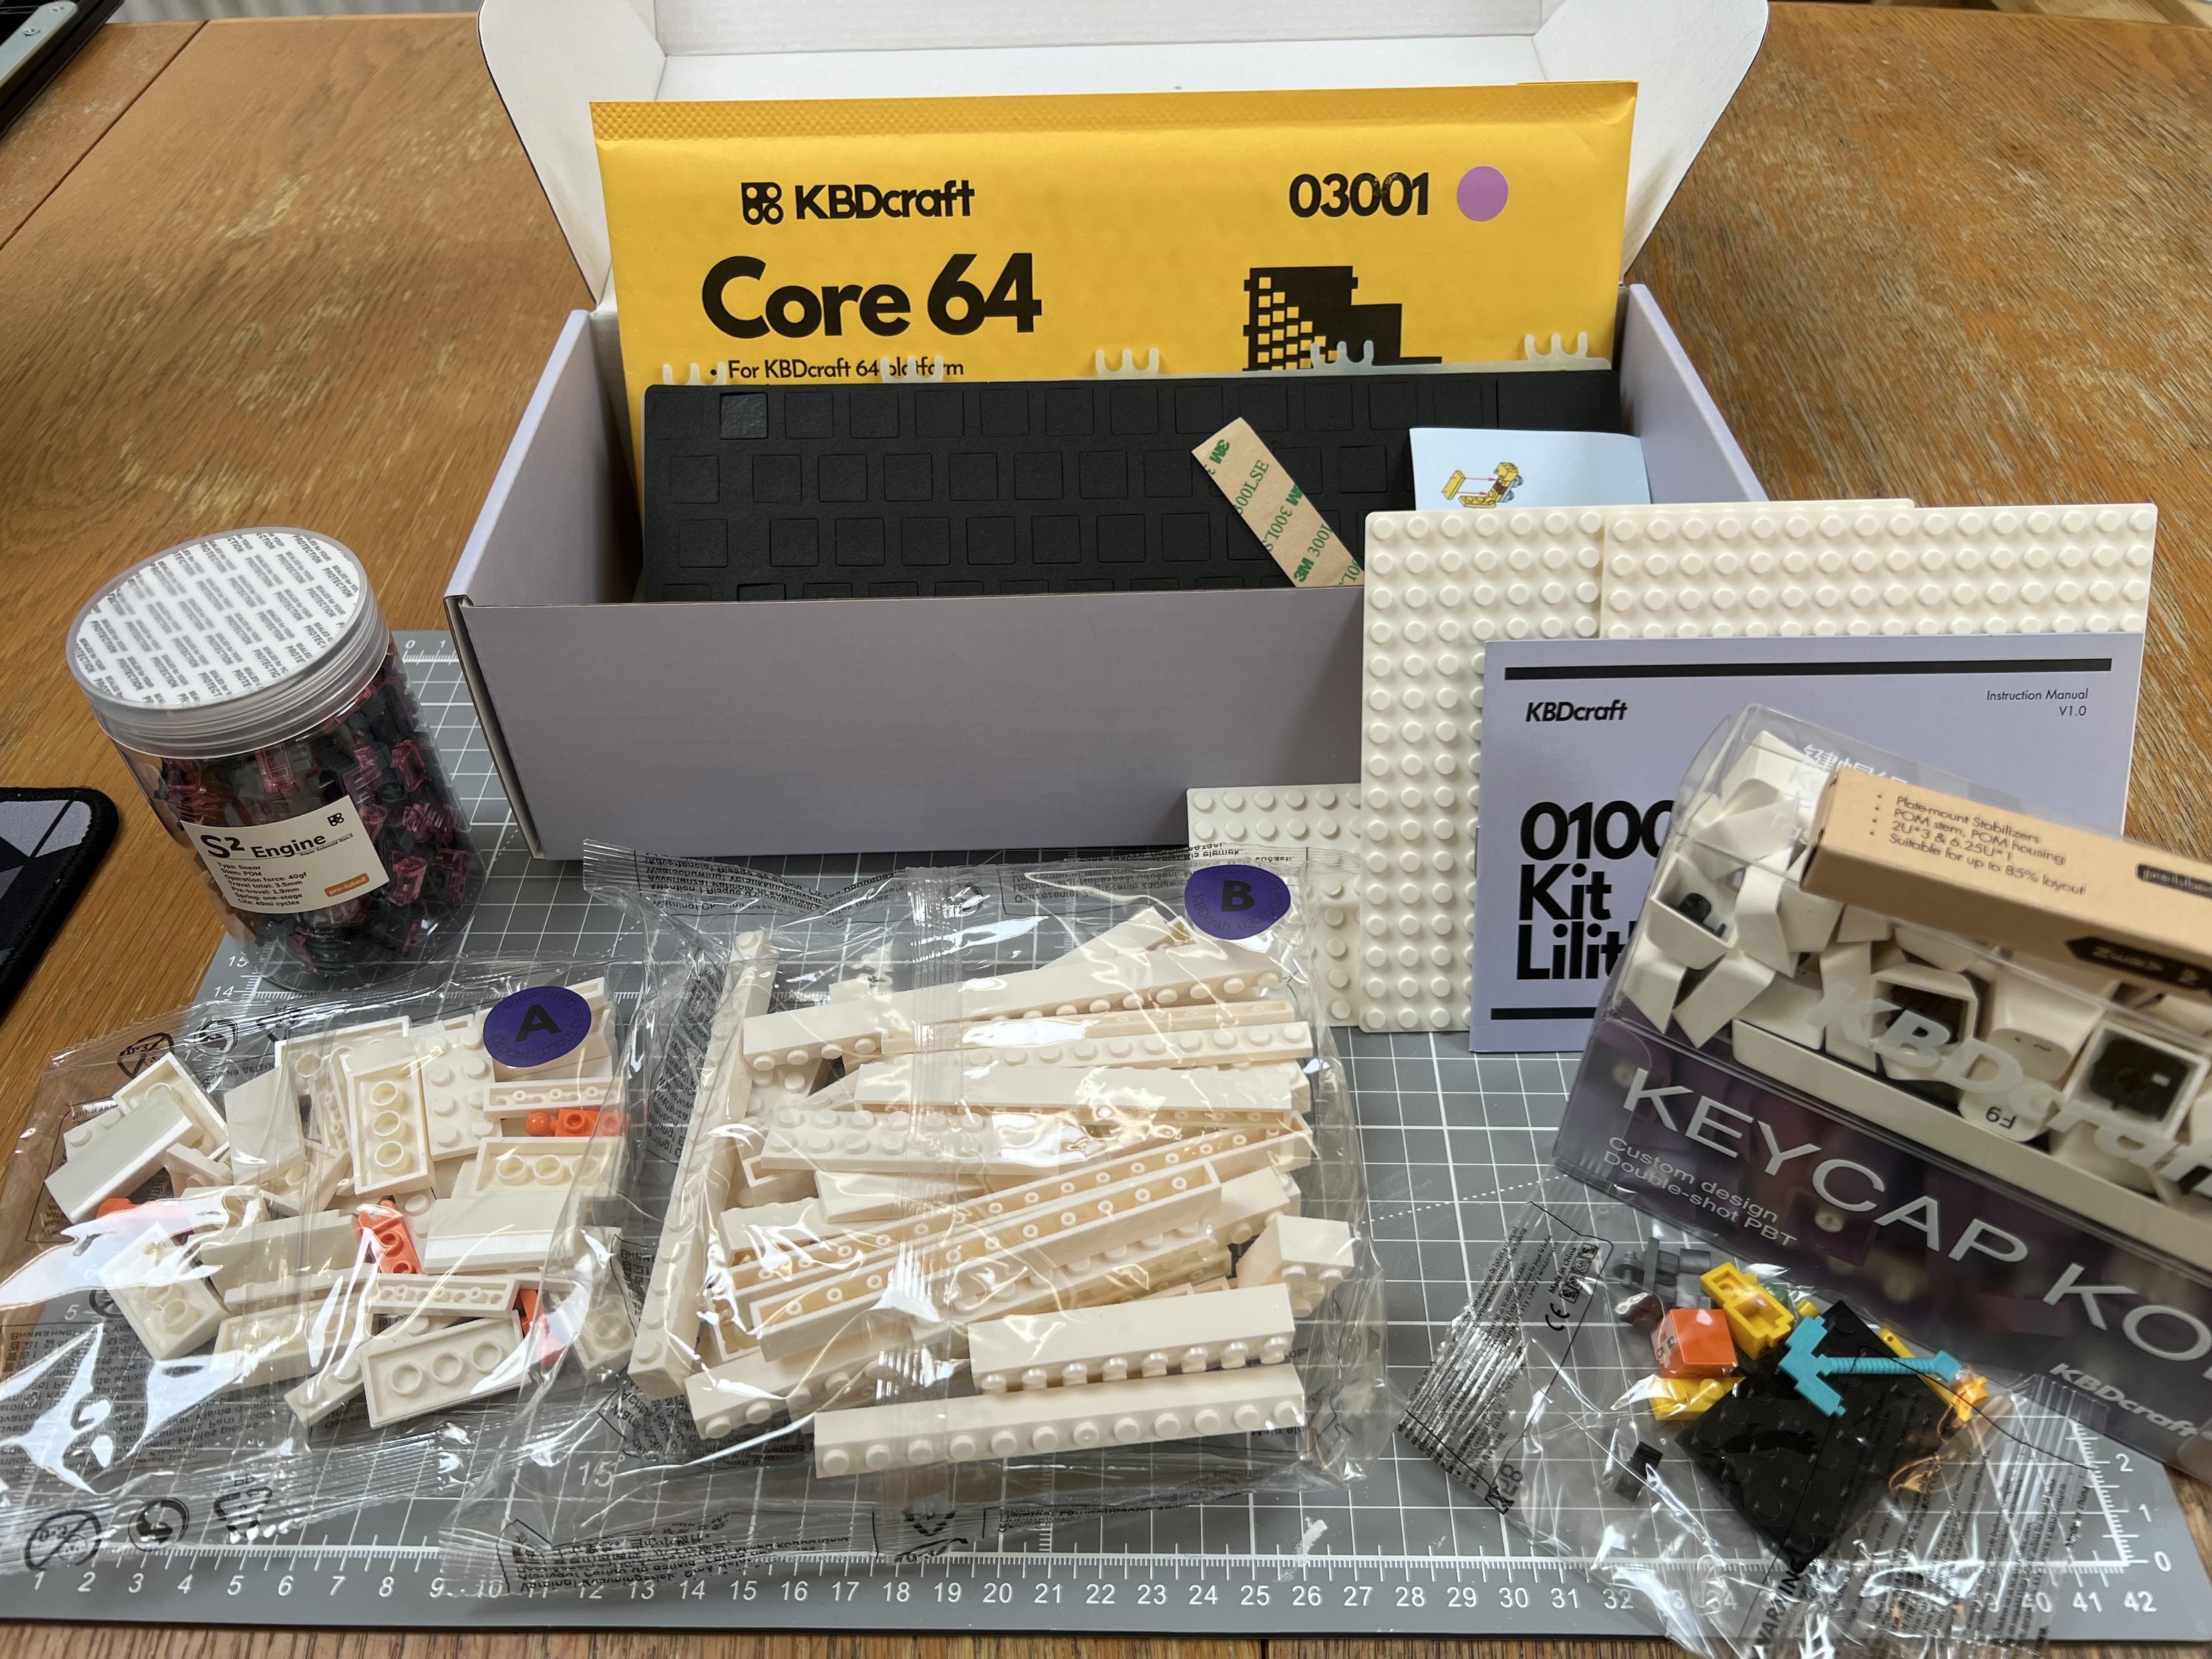
There is nothing quite so satisfying as opening a kit and finding it’s comprised of ALL THE PARTS!
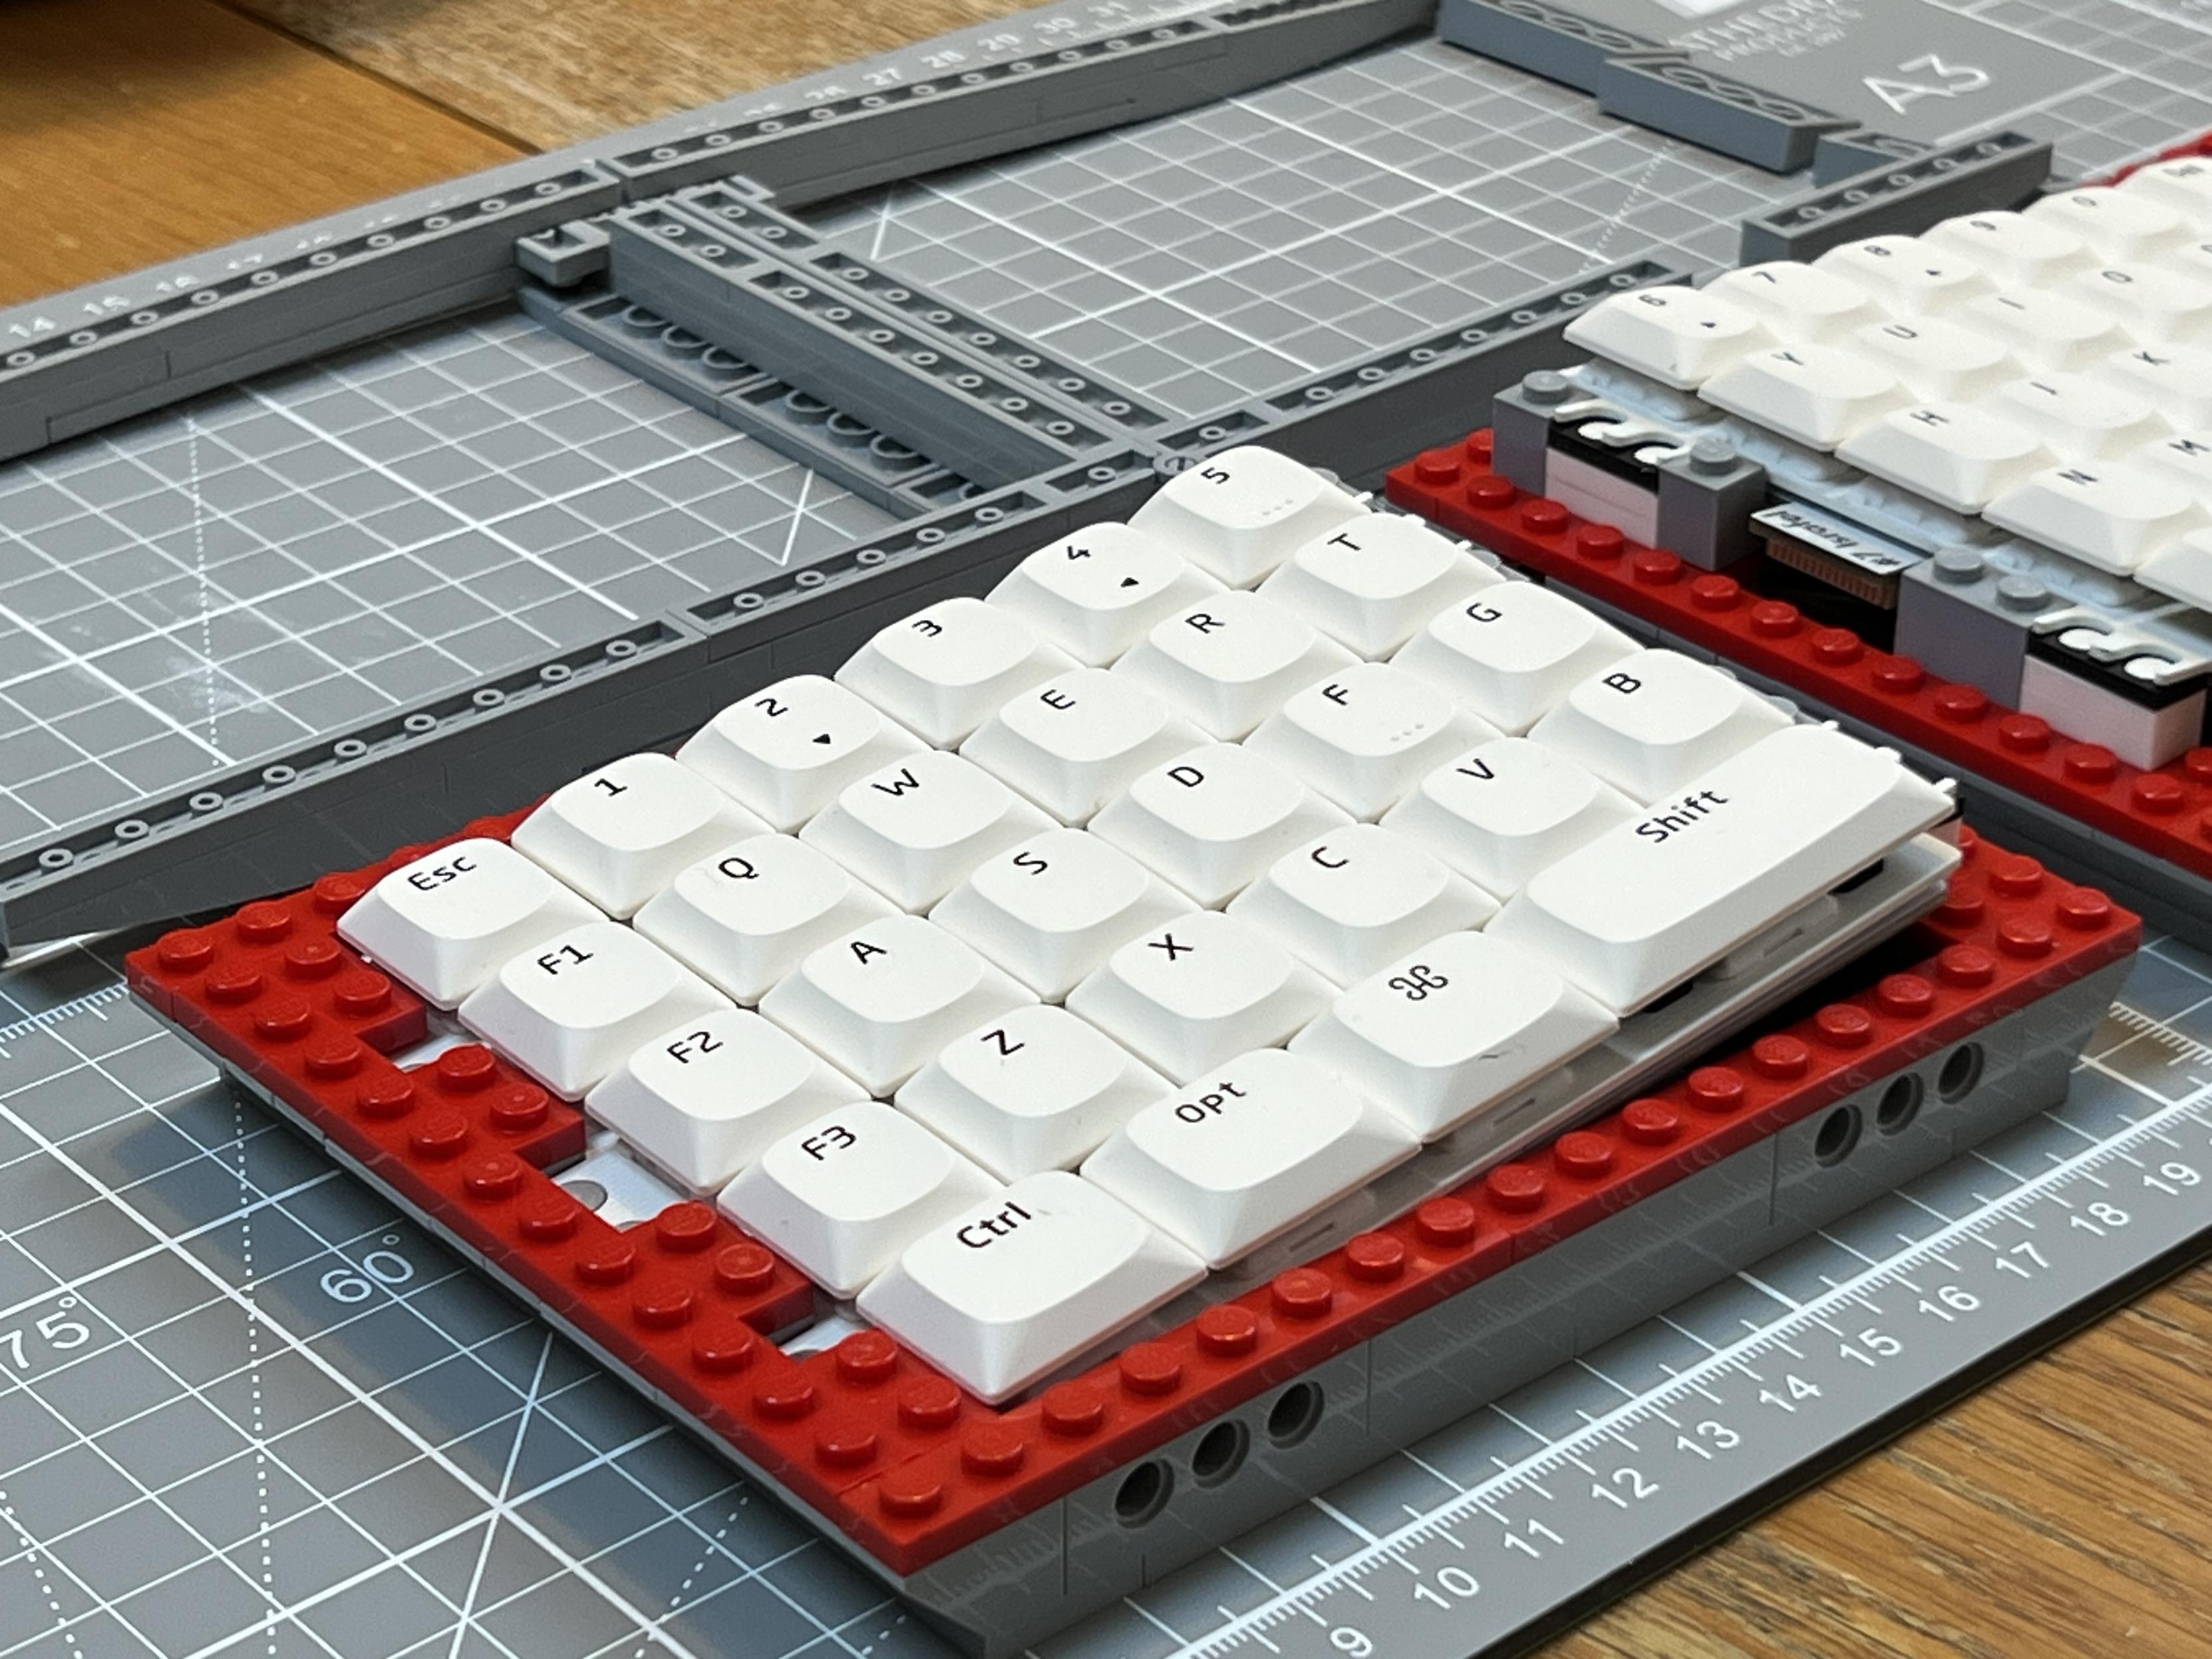
Despite this construction, the resulting board is reassuringly solid. About as much as you’d expect from any plastic board, but particularly noteworthy for one made of individual “elements.” The tolerances aren’t quite up to scratch with more established and expensive brick construction manufacturers, resulting in a slightly gappy board with what I can only call a “rustic” look. It’s subtle, though, the fit and finish of LEGO bricks randomly sourced from Brick Link isn’t that much better. I know this because I rebuilt my Israfel from scratch, and you are – of course – absolutely free to do the same with the Lilith. That said, sourcing enough bricks in a single colour is quite tricky and I ended up ordering from at least four suppliers.
Naturally we took assembling it way too seriously.
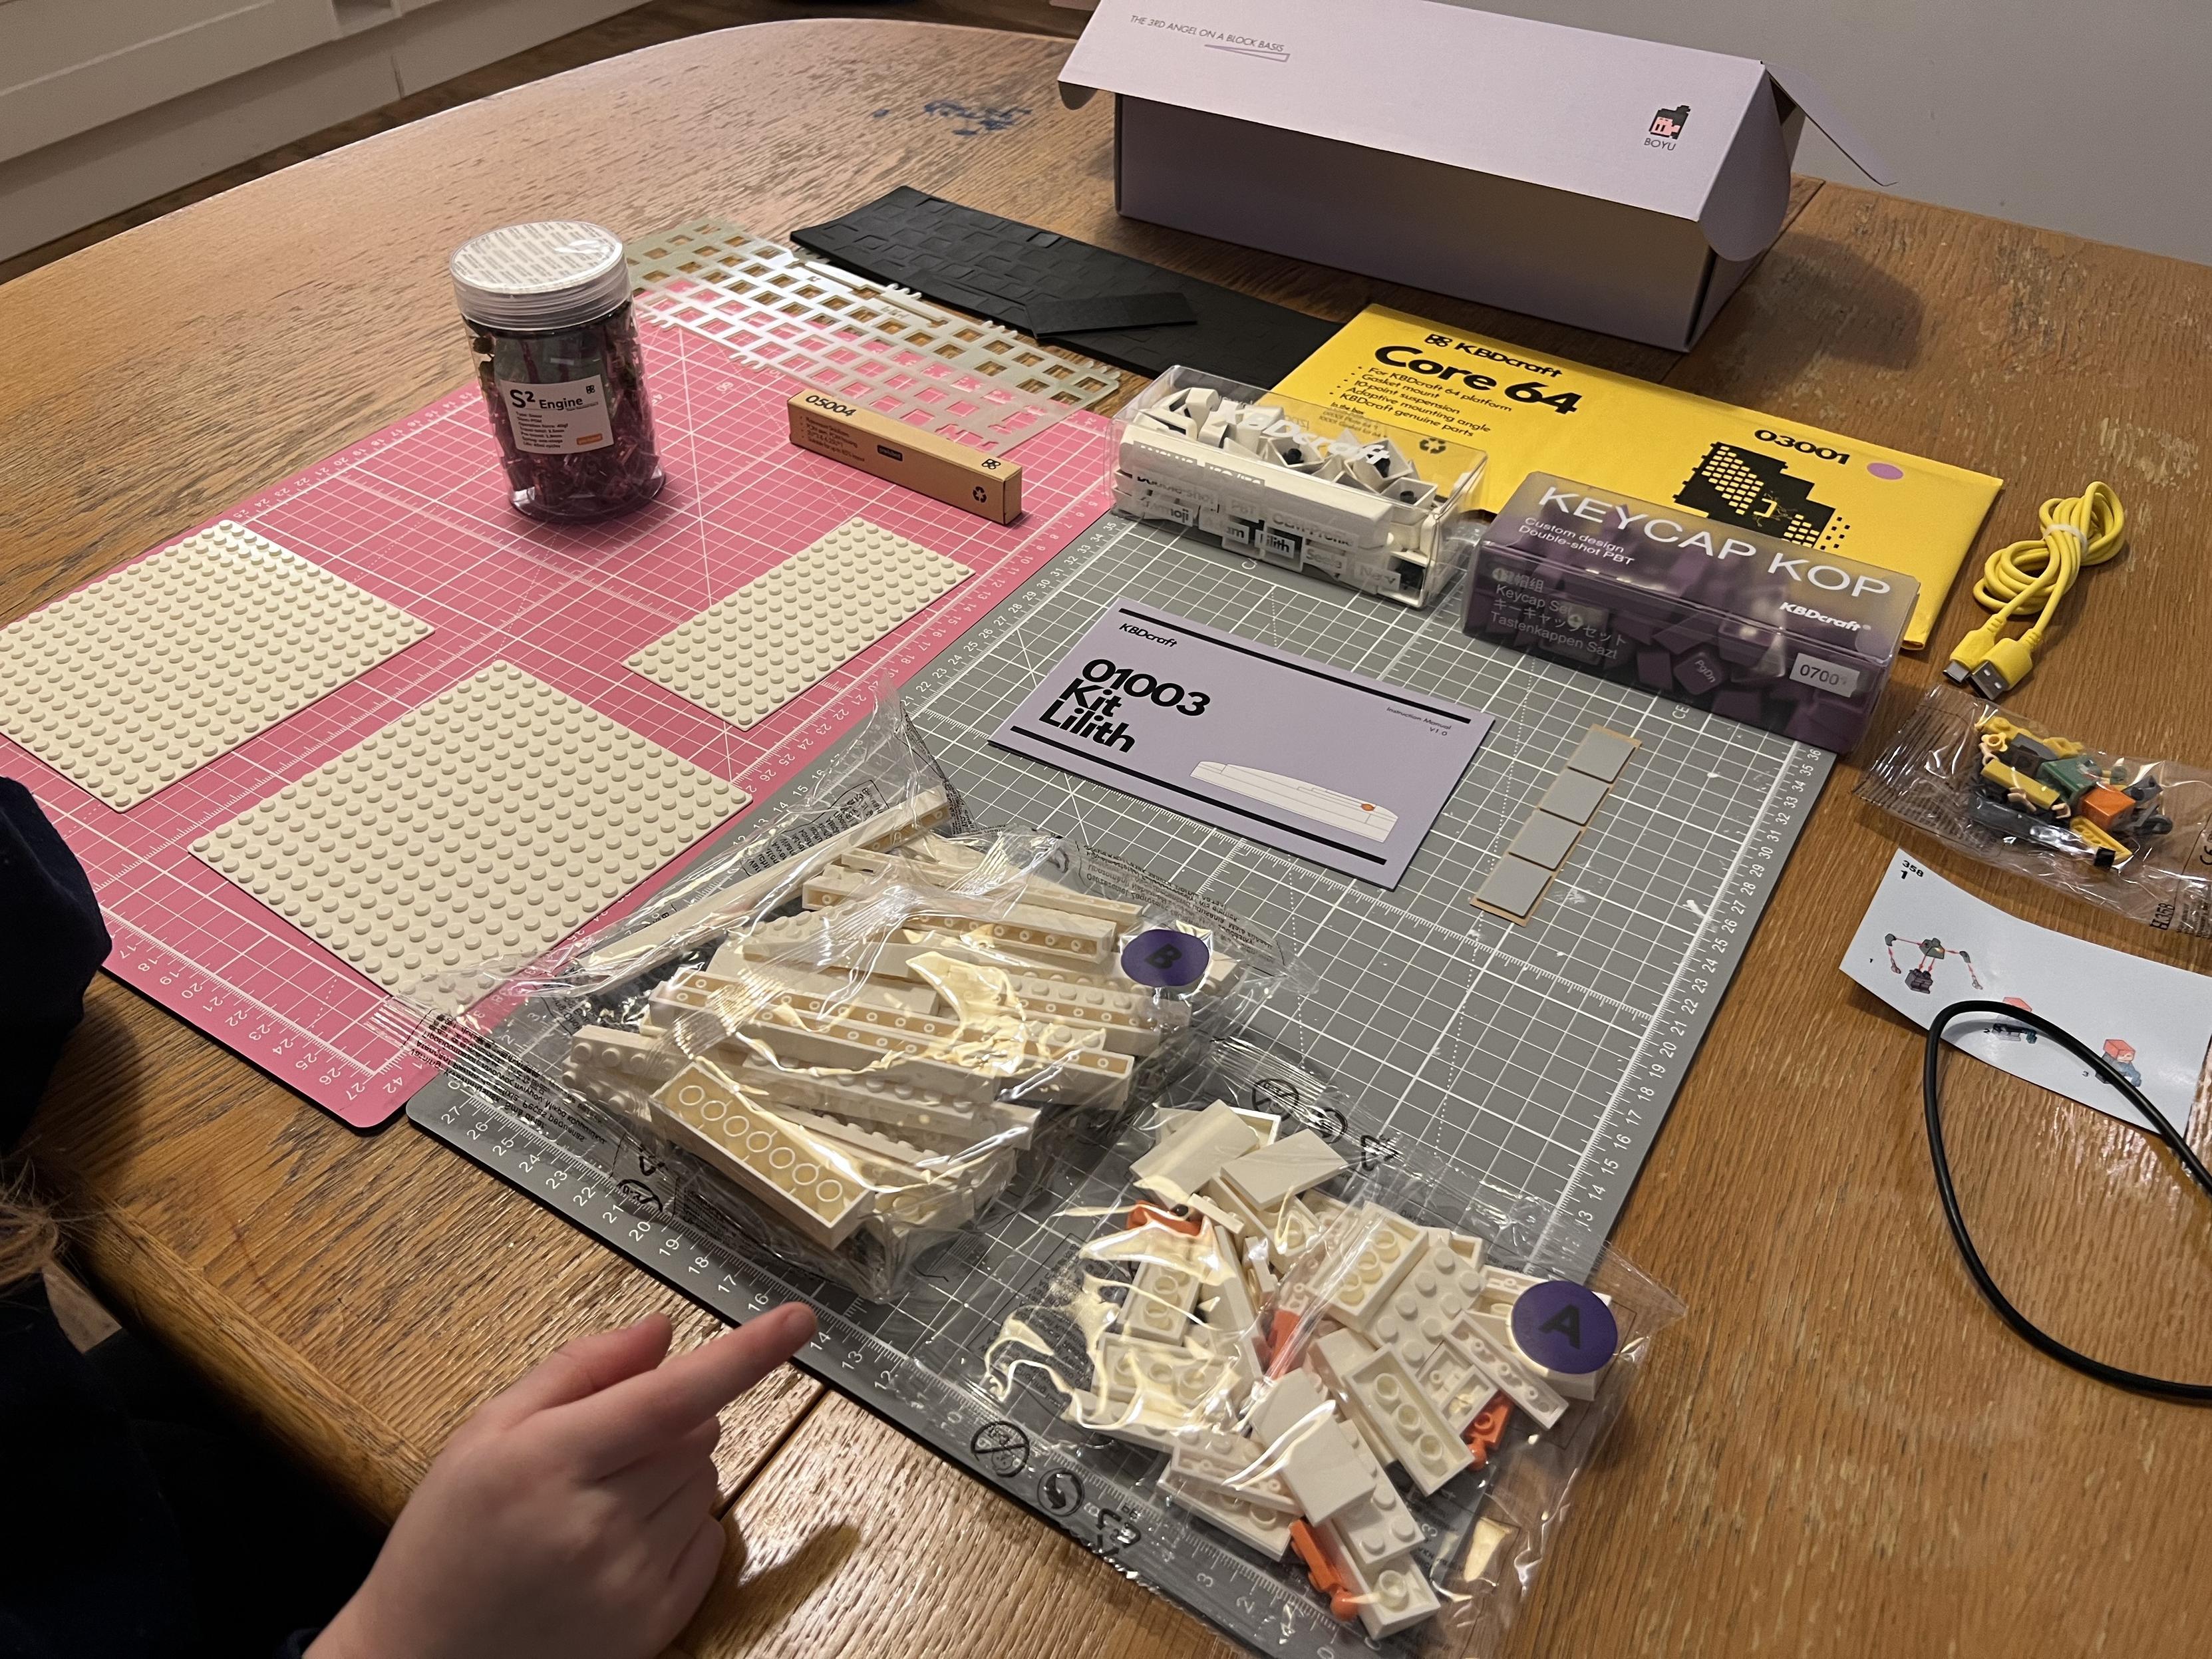
As with the Israfel, the box comes brimming with components, switches, keycaps, bricks, PCB, various foam pads and other sundry bits and pieces. It really feels like an exciting kit, with lots to put together and not an awful lot to go wrong. It took me and my – at the time – five year old about an hour and a half to assemble. We had, of course, had some practice.
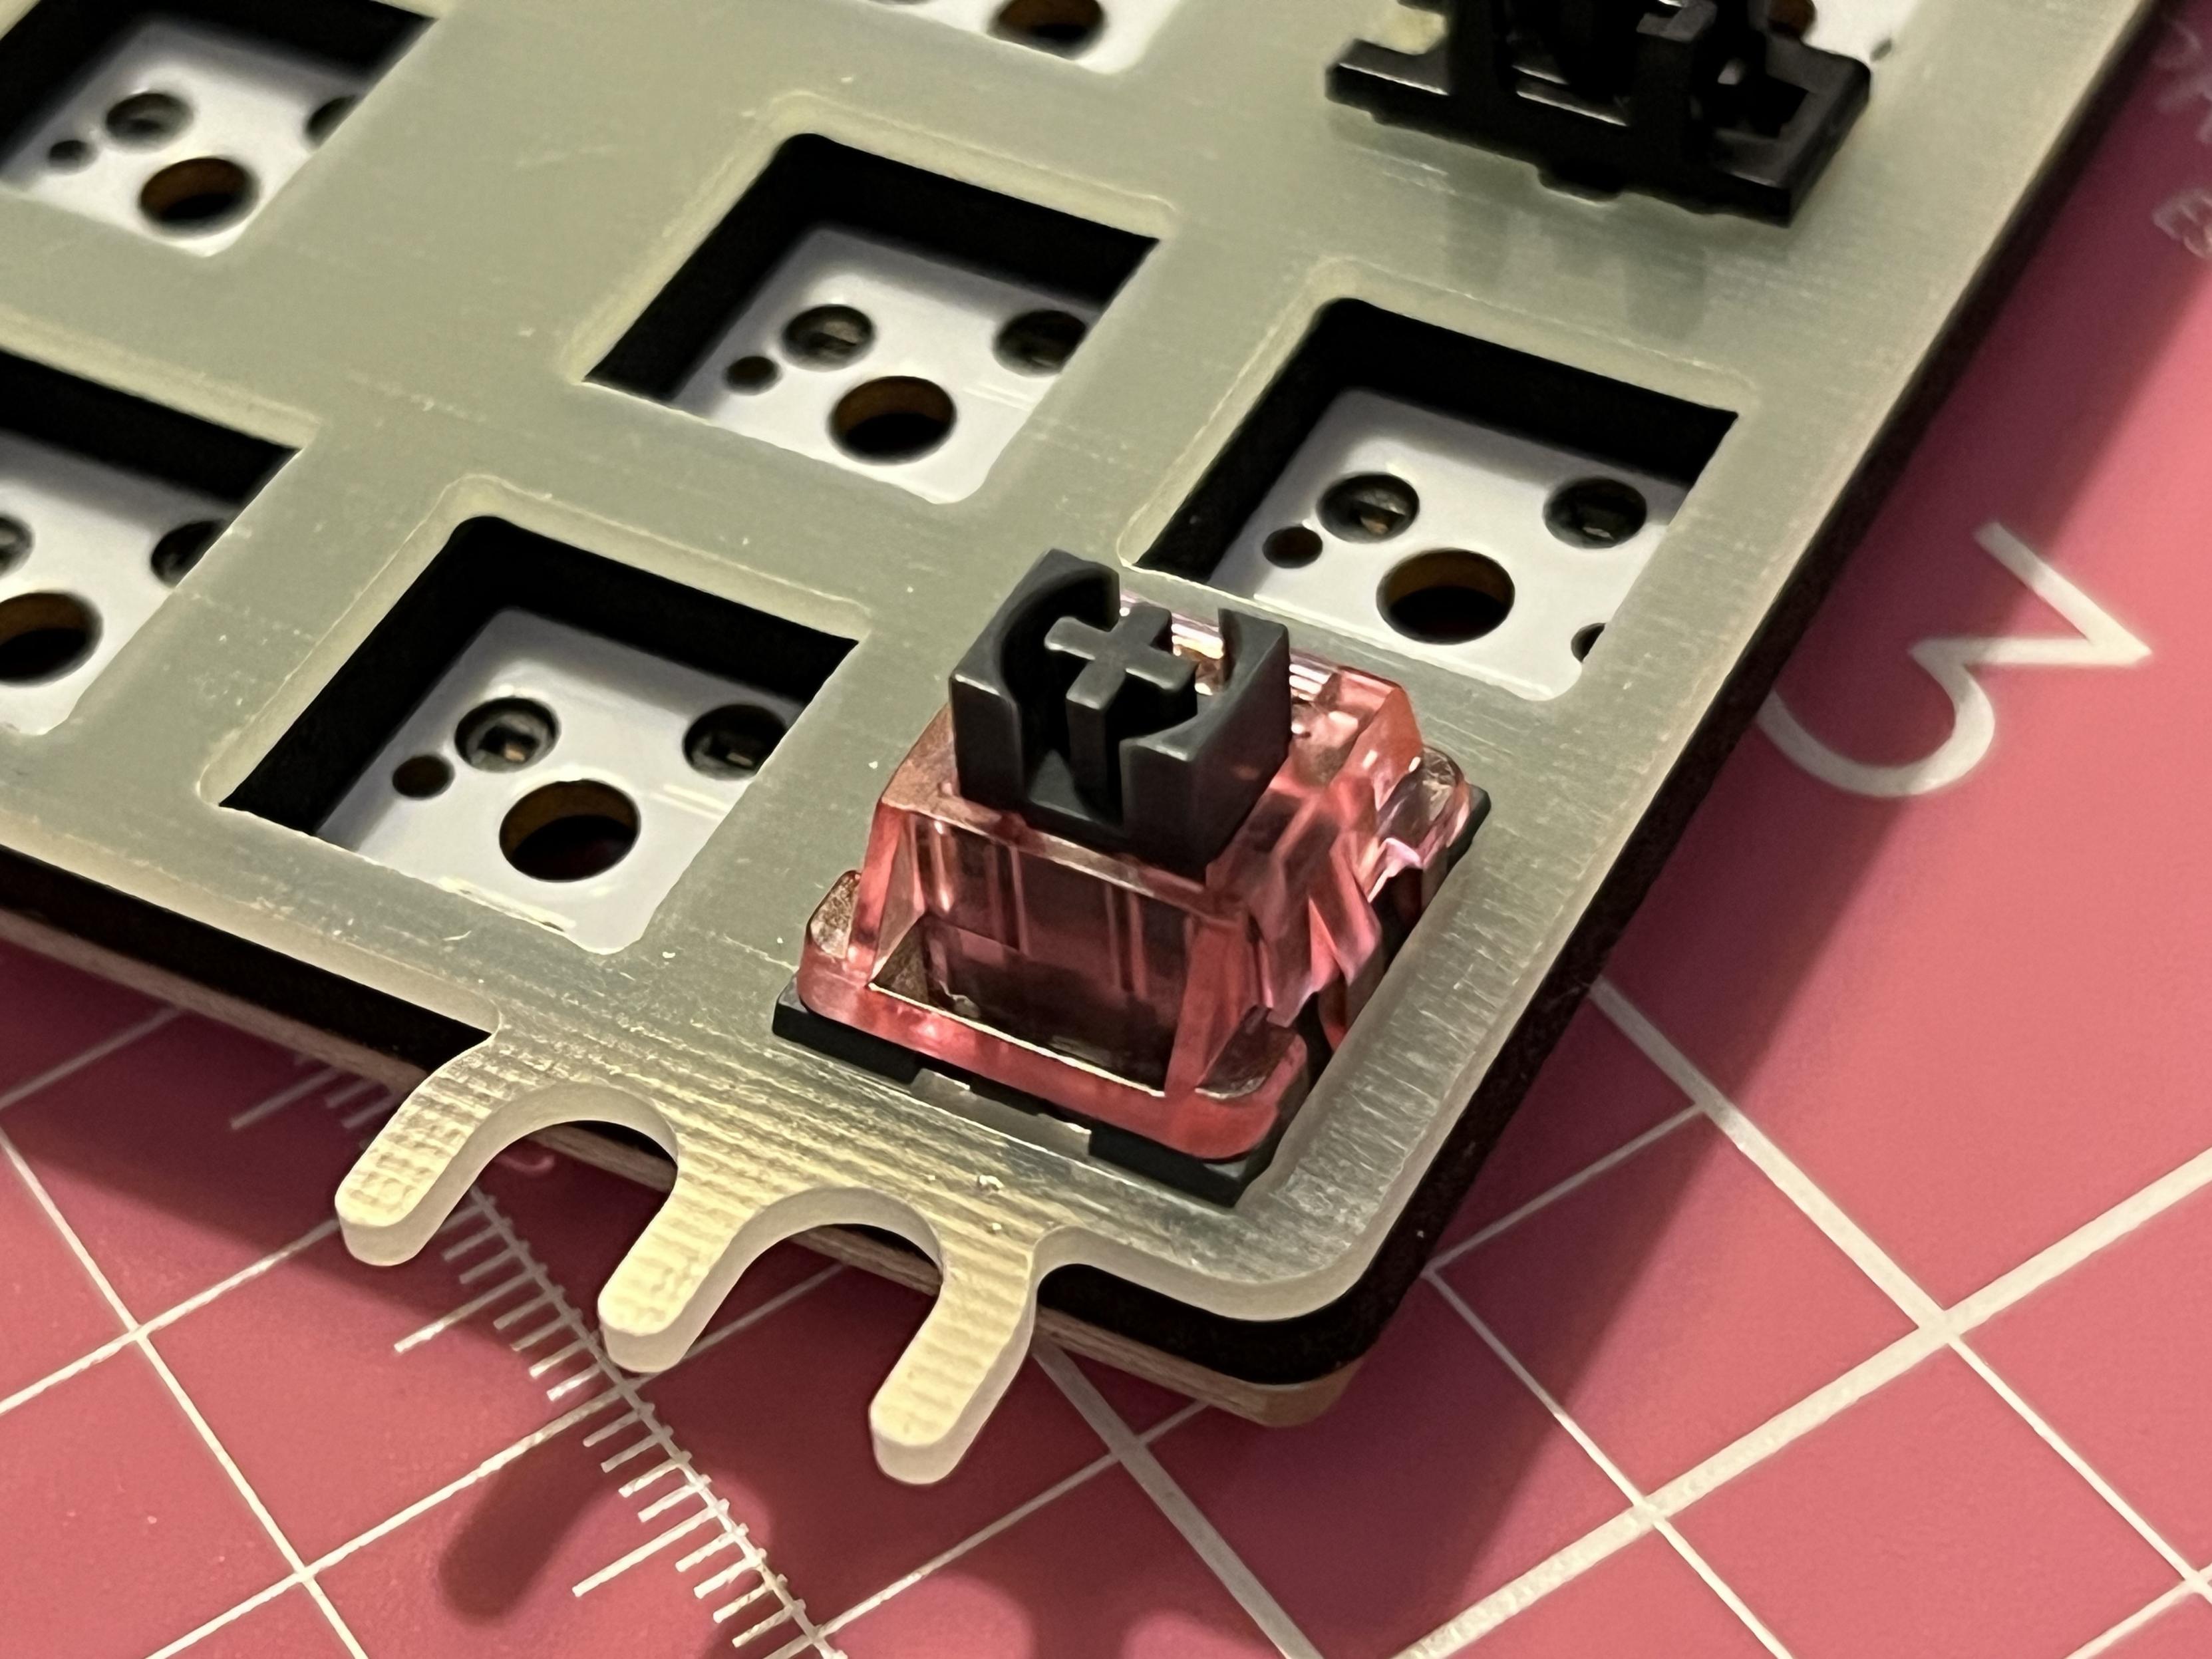
Alignment of the PCB, foam and (ugly) FR4 plate was a little tricky so we put switches at diagonally opposite corners to keep it in position.
There were a couple of sticking points along the way. It was, in particular, tricky to align the PCB, place and foam just right. We ended up putting a switch in diagonally opposite corners to keep it aligned while we installed the others.
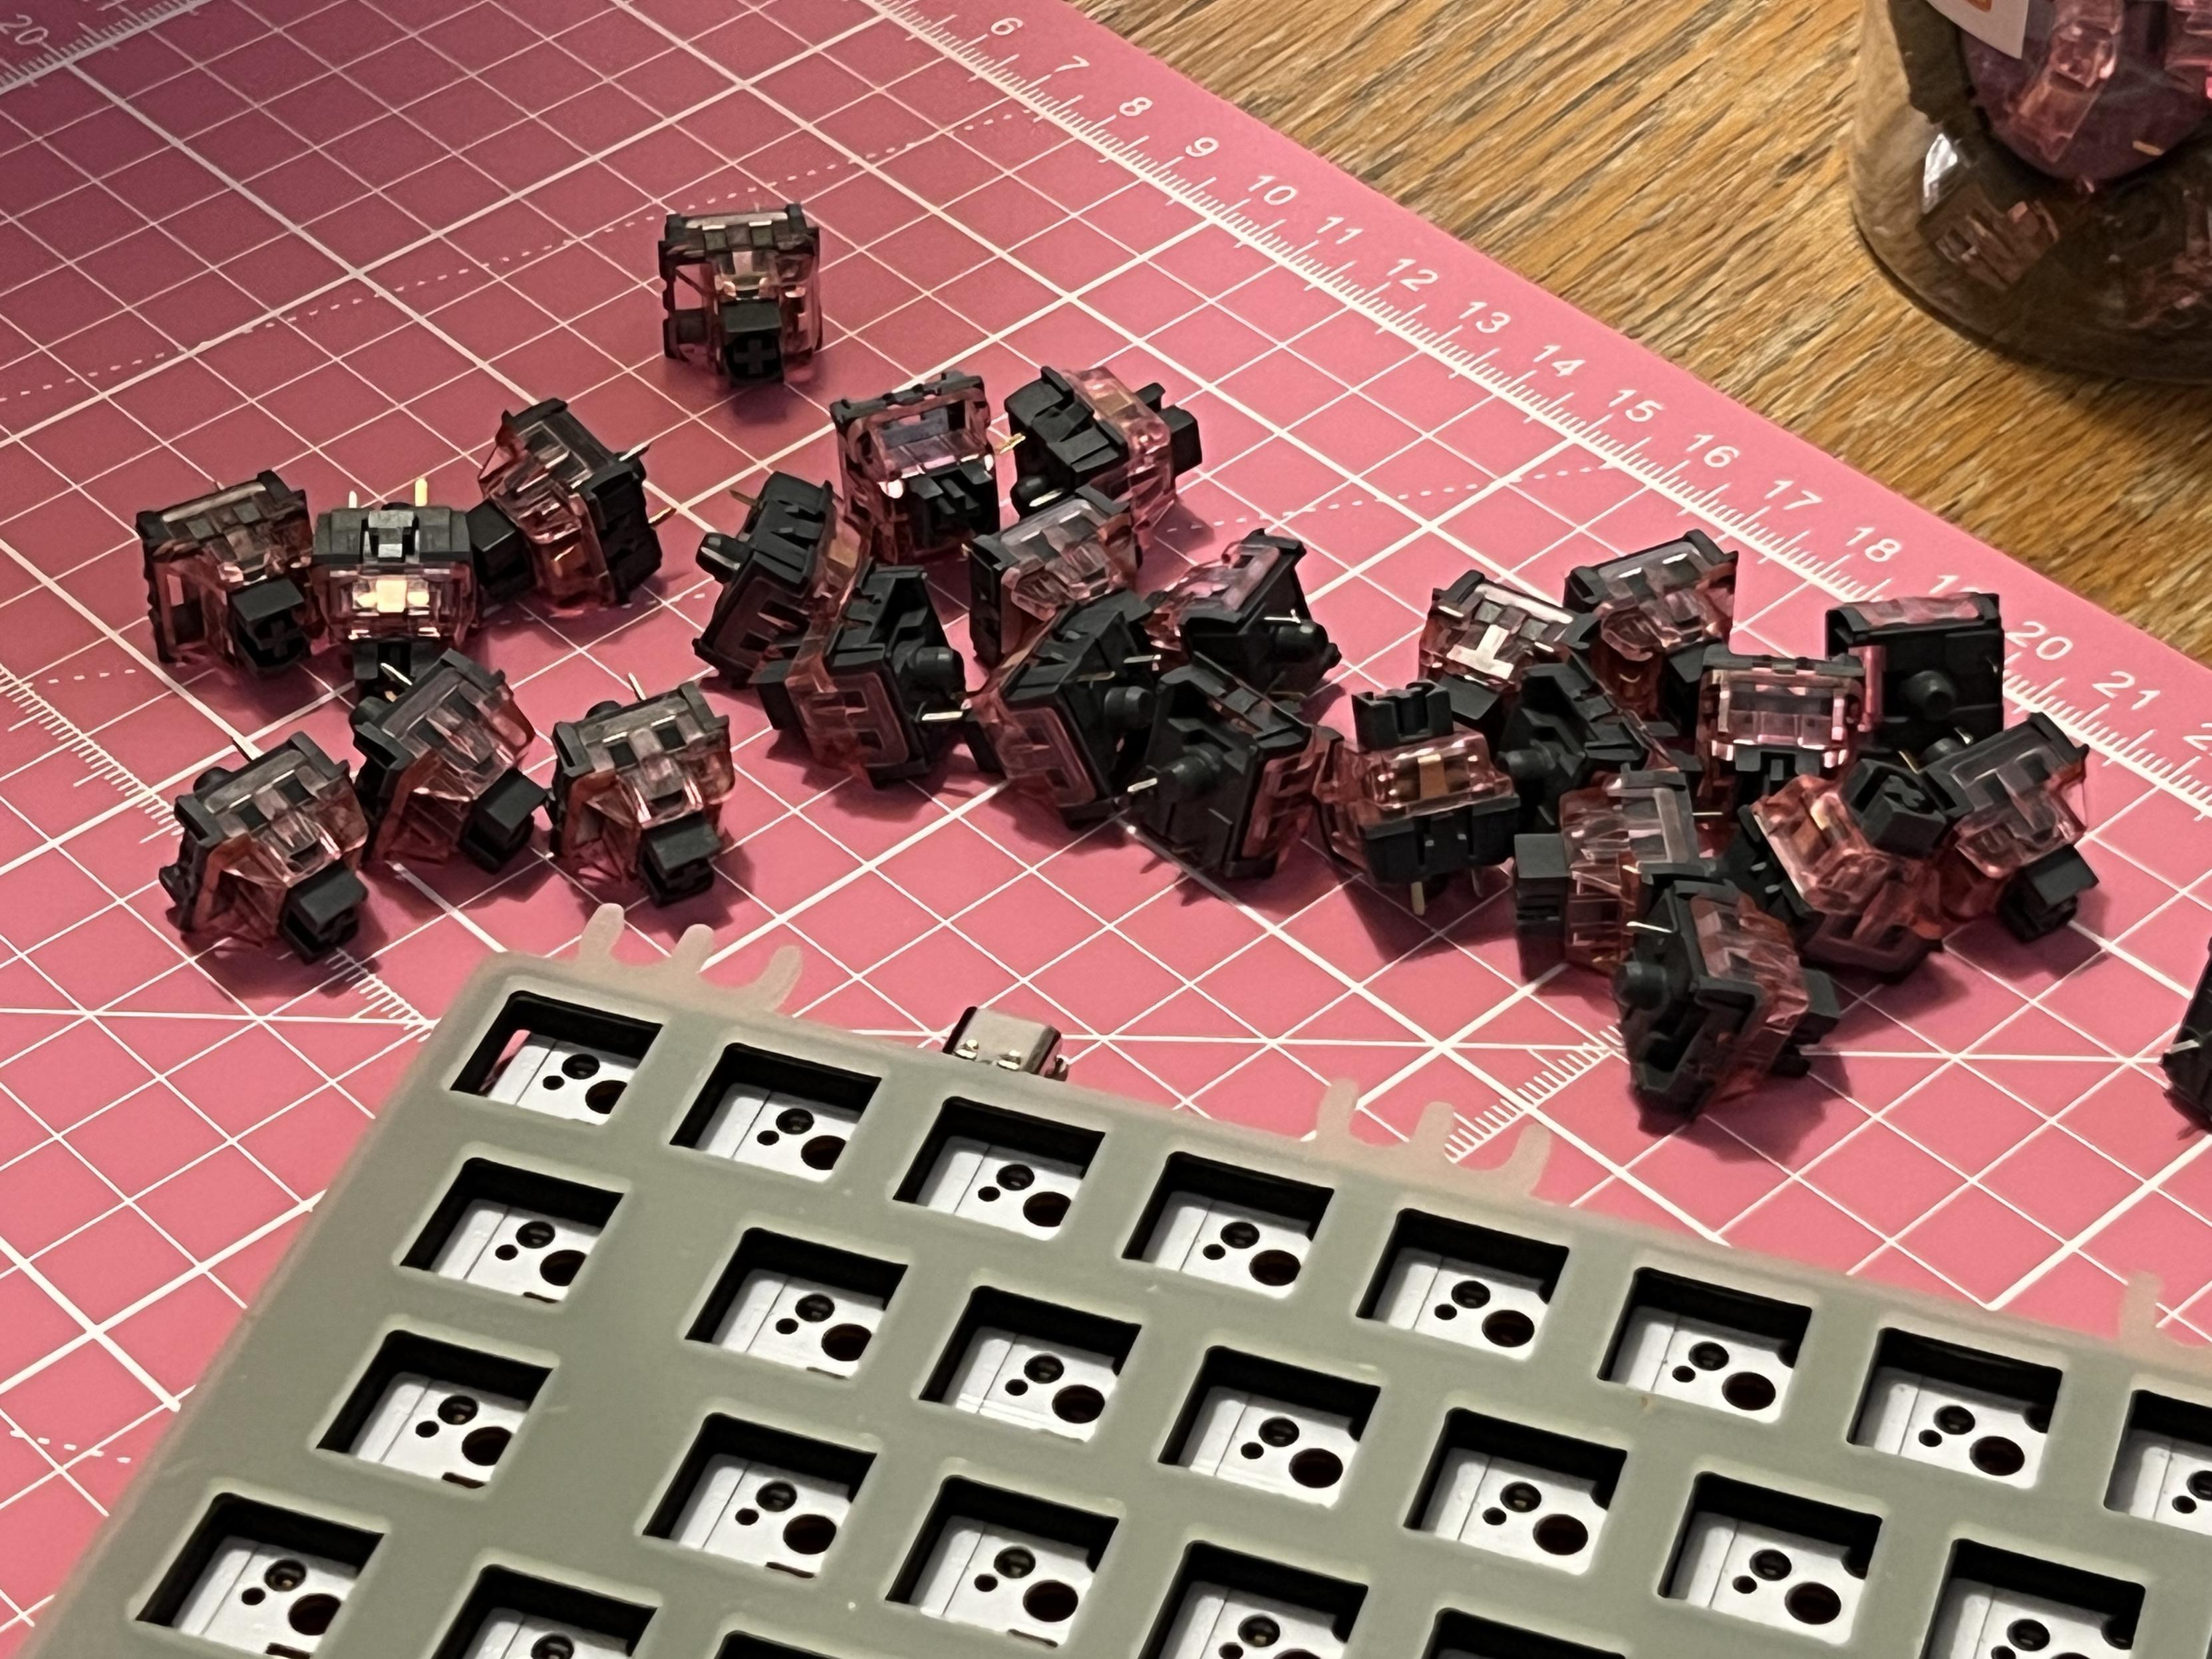
Despite coming with a box of switches, there was only one single switch spare. We only managed to bend one pin between us, though, which I fixed with tweezers. That was, if I remember correctly, the same count as with the Israfel. Maybe they’re on to something!
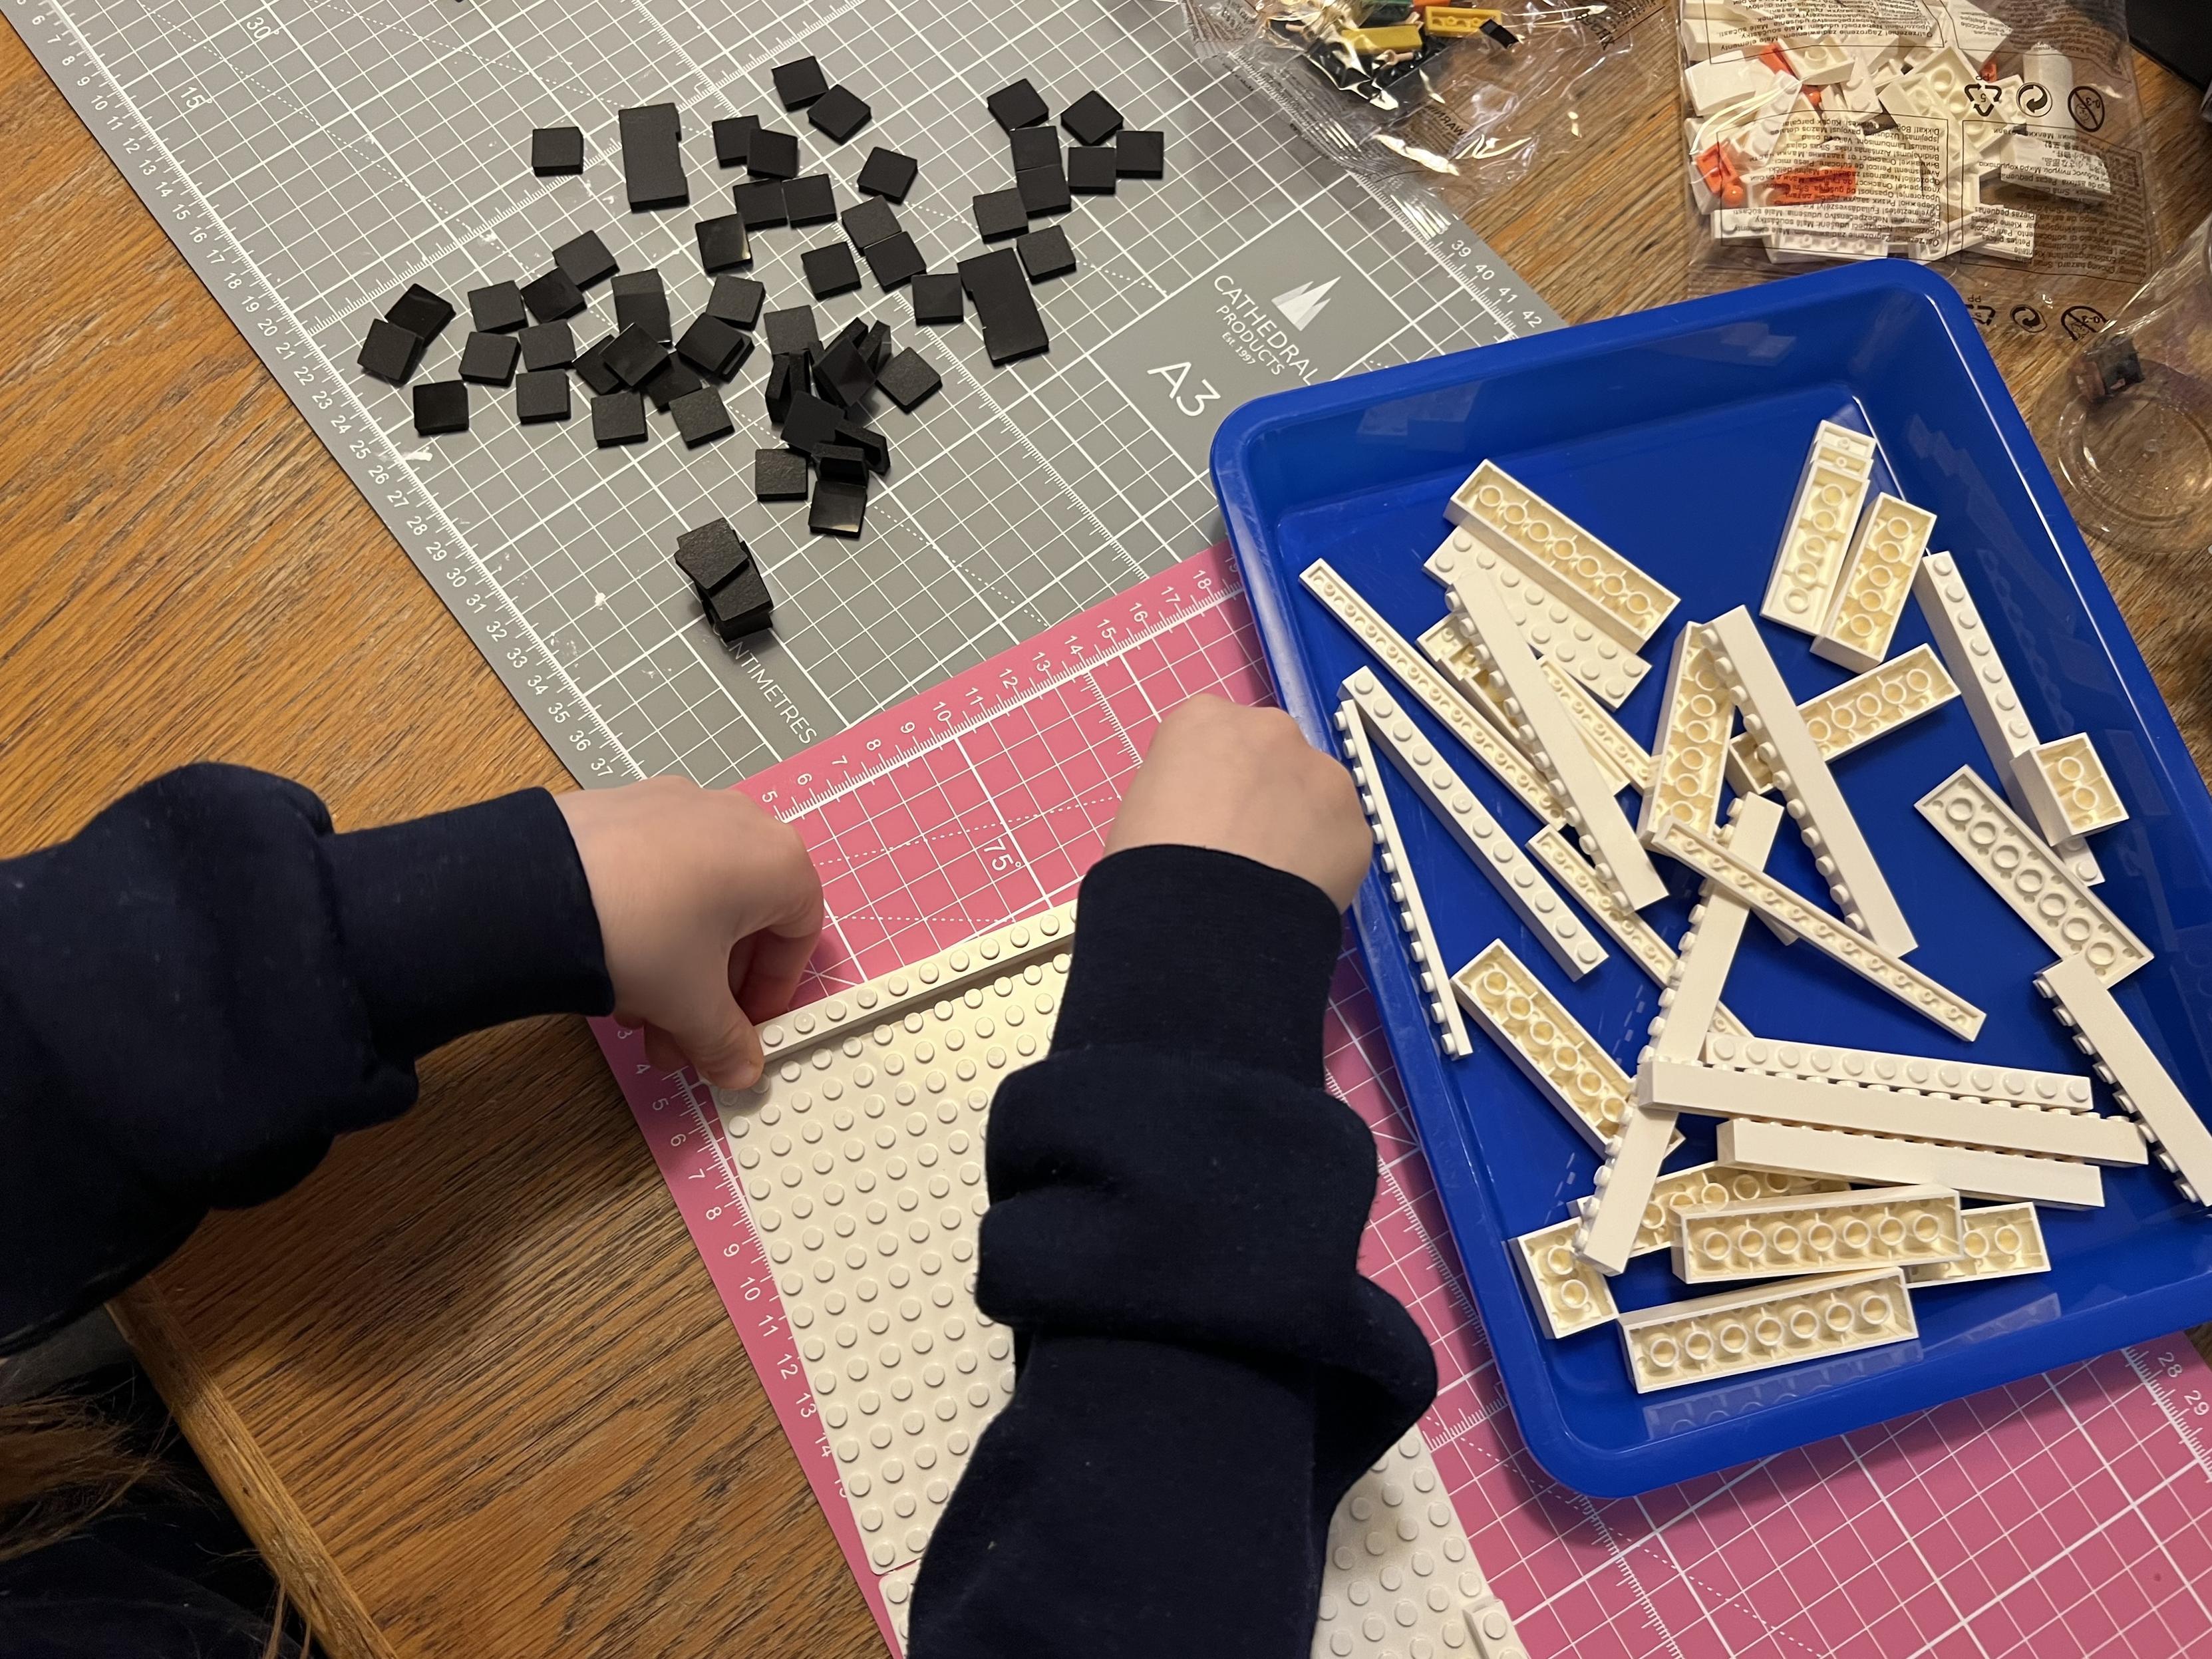
Building the brick enclosure is relatively straight forward compared to more complex brick kits, but nonetheless a fun little distraction.
The switches were, at least, much easier to push into the plate and PCB than the Israfel. The plate is raw FR4, which is ugly as sin – the bits that add colour and style to FR4 plates are the copper and resist, of which this has neither – but much, much stiffer than the Israfel’s POM plate. A stiffer plate means switches are less likely to flex it, and more likely to pop satisfyingly into place.
The FR4 plate is a bit of a squeeze in the enclosure, feels like it’s a millimetre or so out of tolerance. Whoops! Could still jam it in, but not ideal.
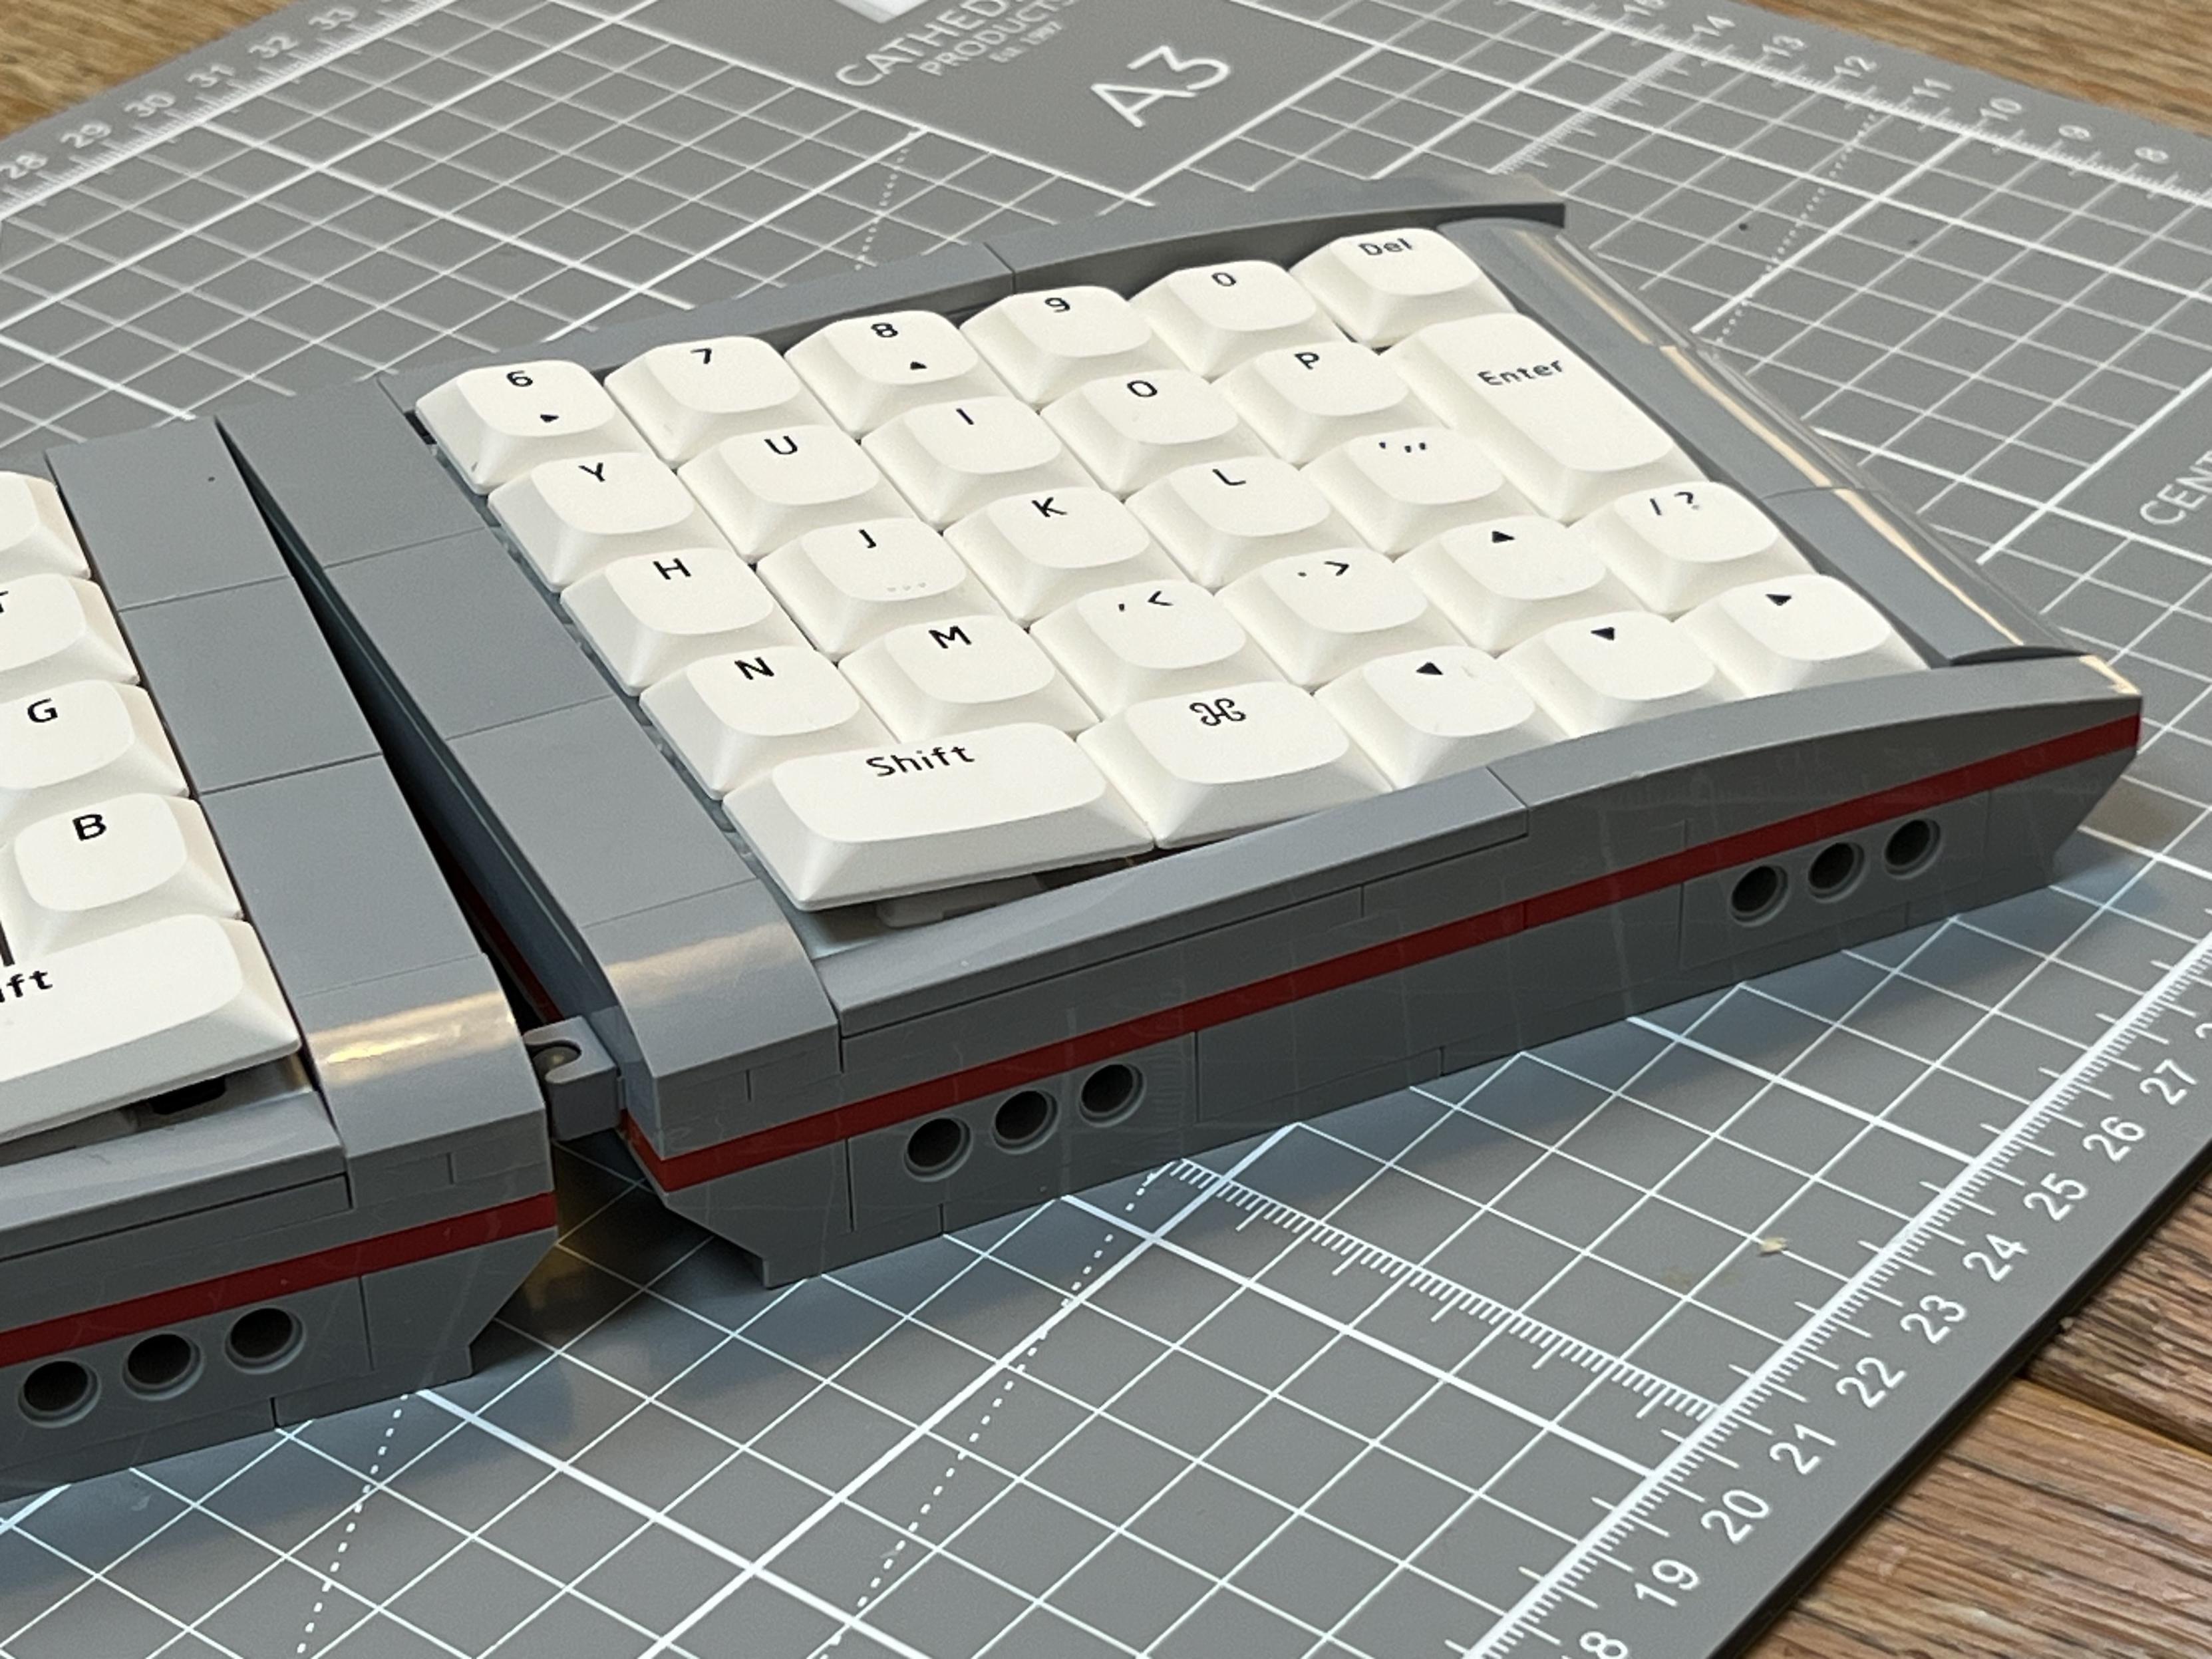
Despite being FR4, though, which is usually somewhat precise (PCBs need exacting placement, though the outer edges don’t matter quite so much) it jammed up against the right-hand edge of the brick enclosure. It took quite some wedging in. To be fair, construction bricks aren’t exactly the most precise way to build an enclosure, but the board being jammed between the edges does somewhat render the foam pads and cantilever mounting forks coming off the plate somewhat redundant. The plate is mounted at six stud intervals, sitting on a total of ten of these forks. Suffice to say it’s a very, very firm keyboard and you’re not going to have fun if you like a little bounce.
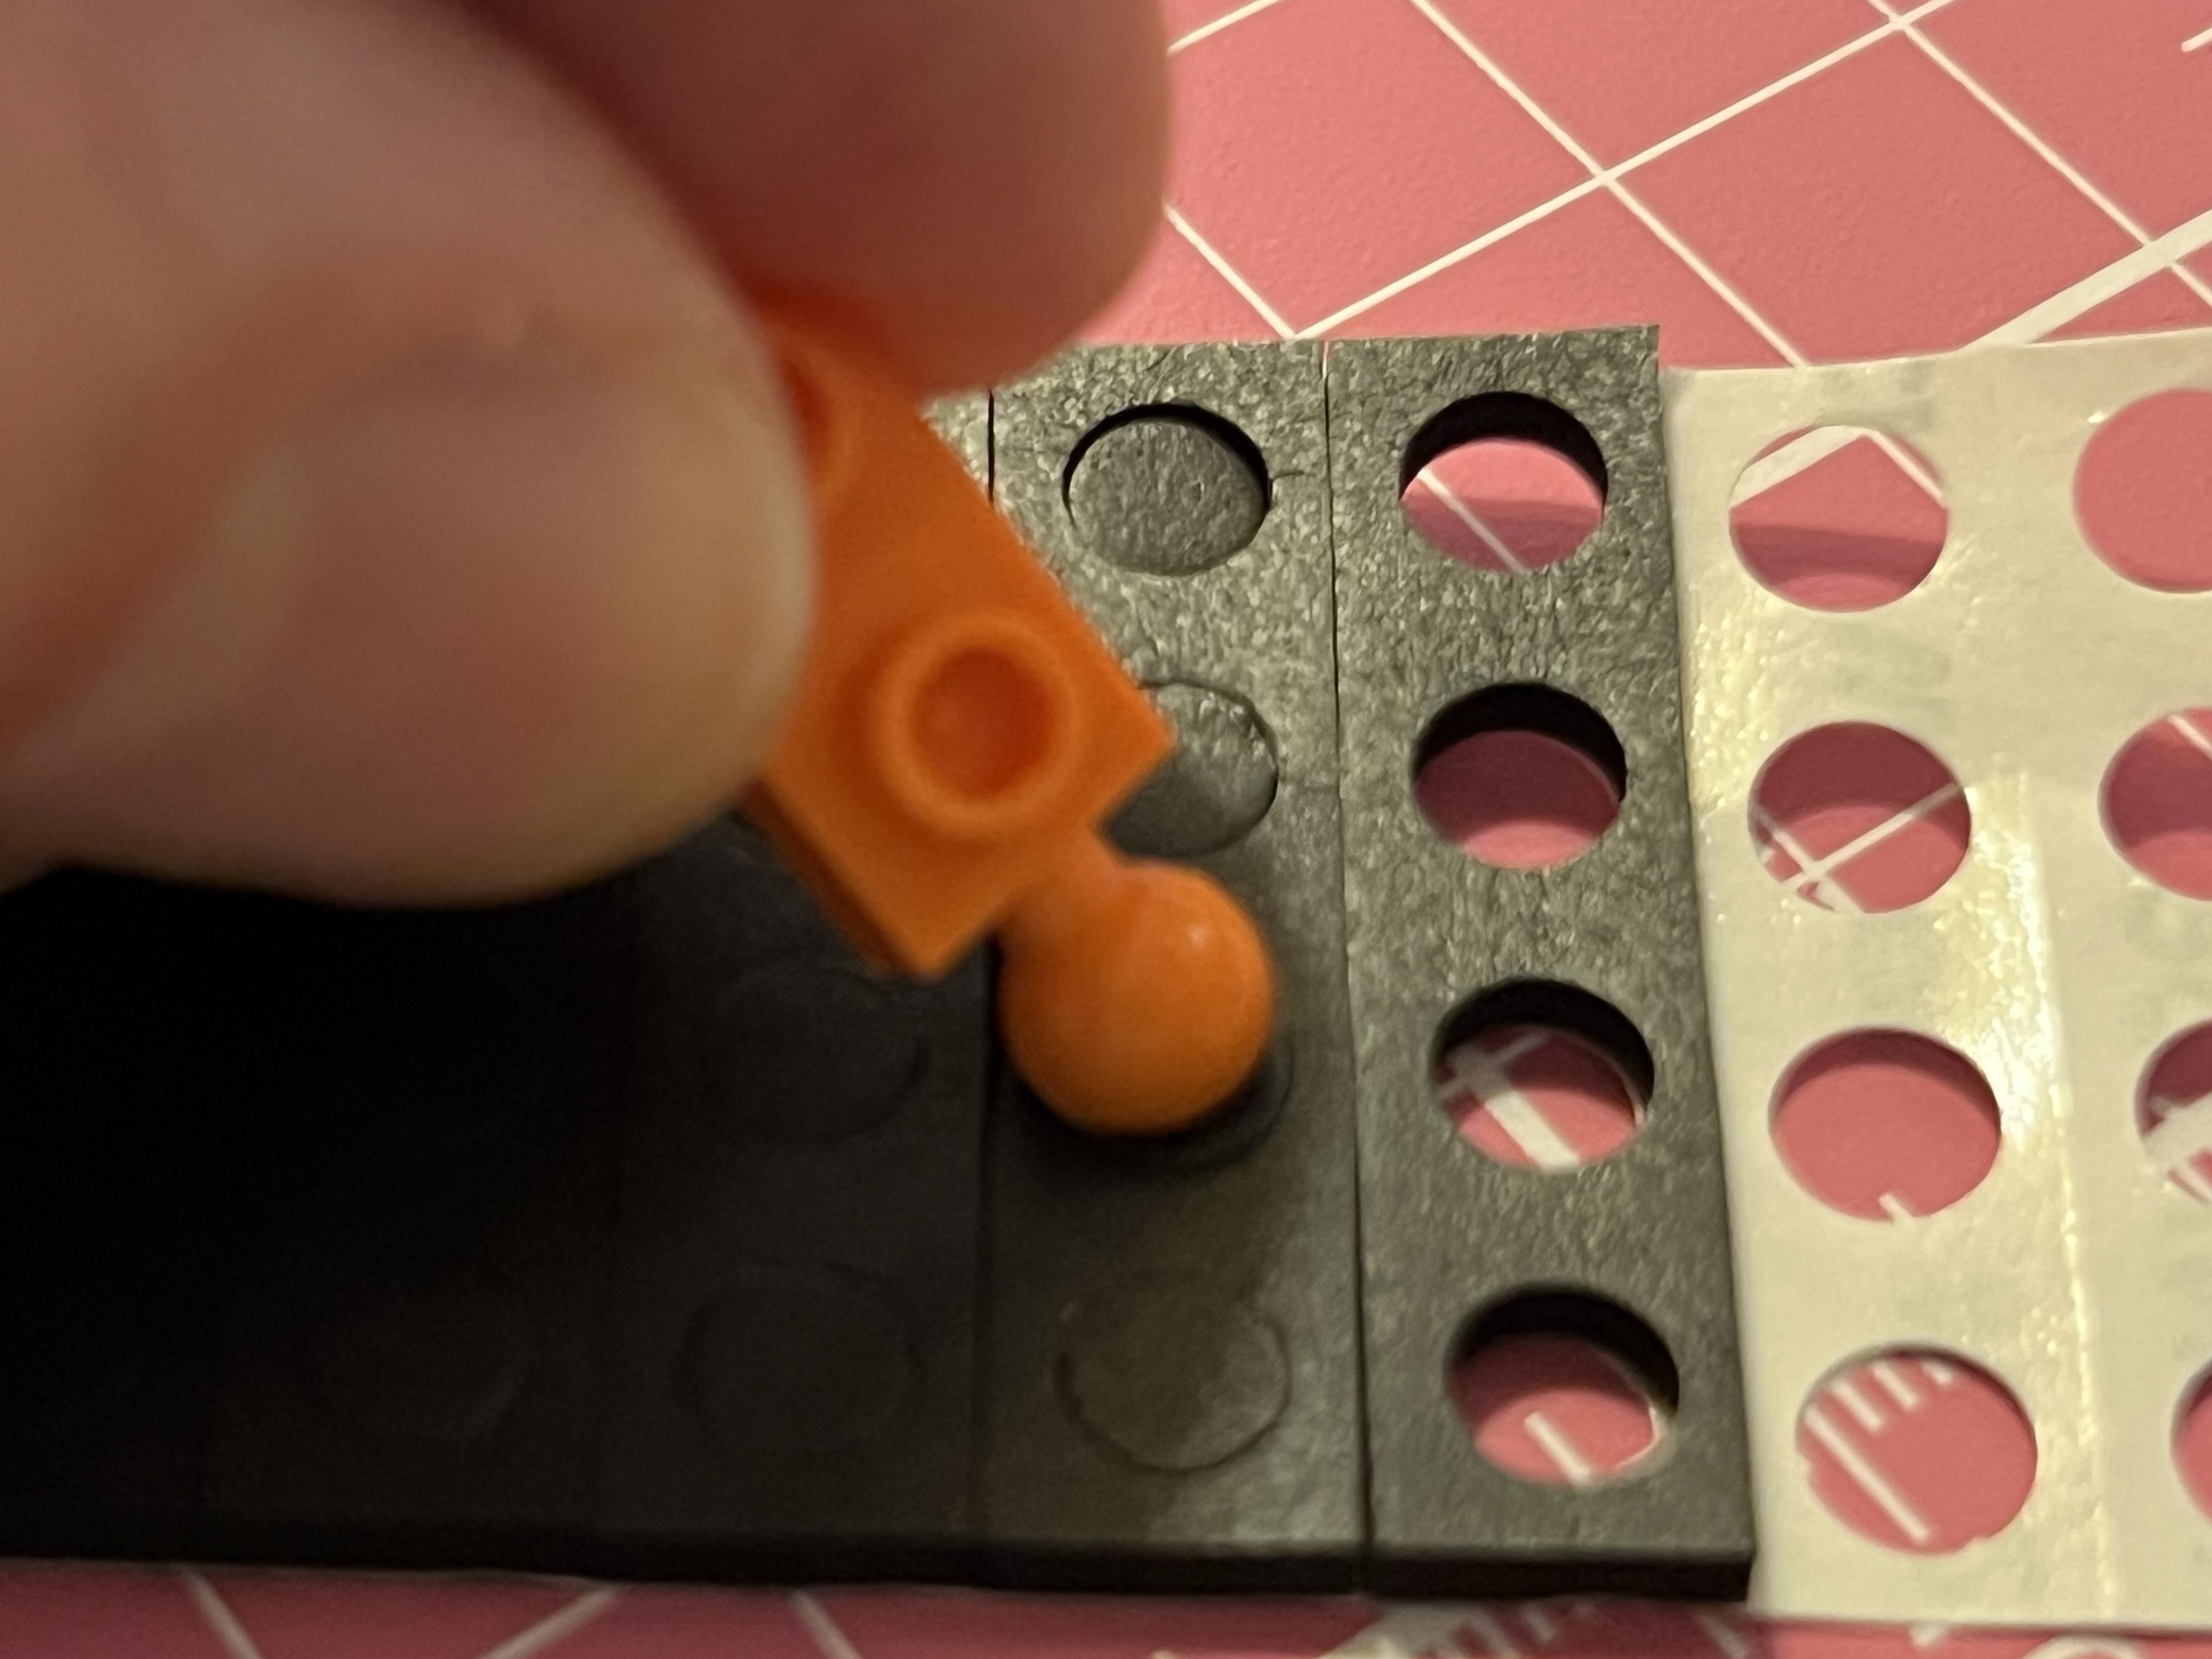
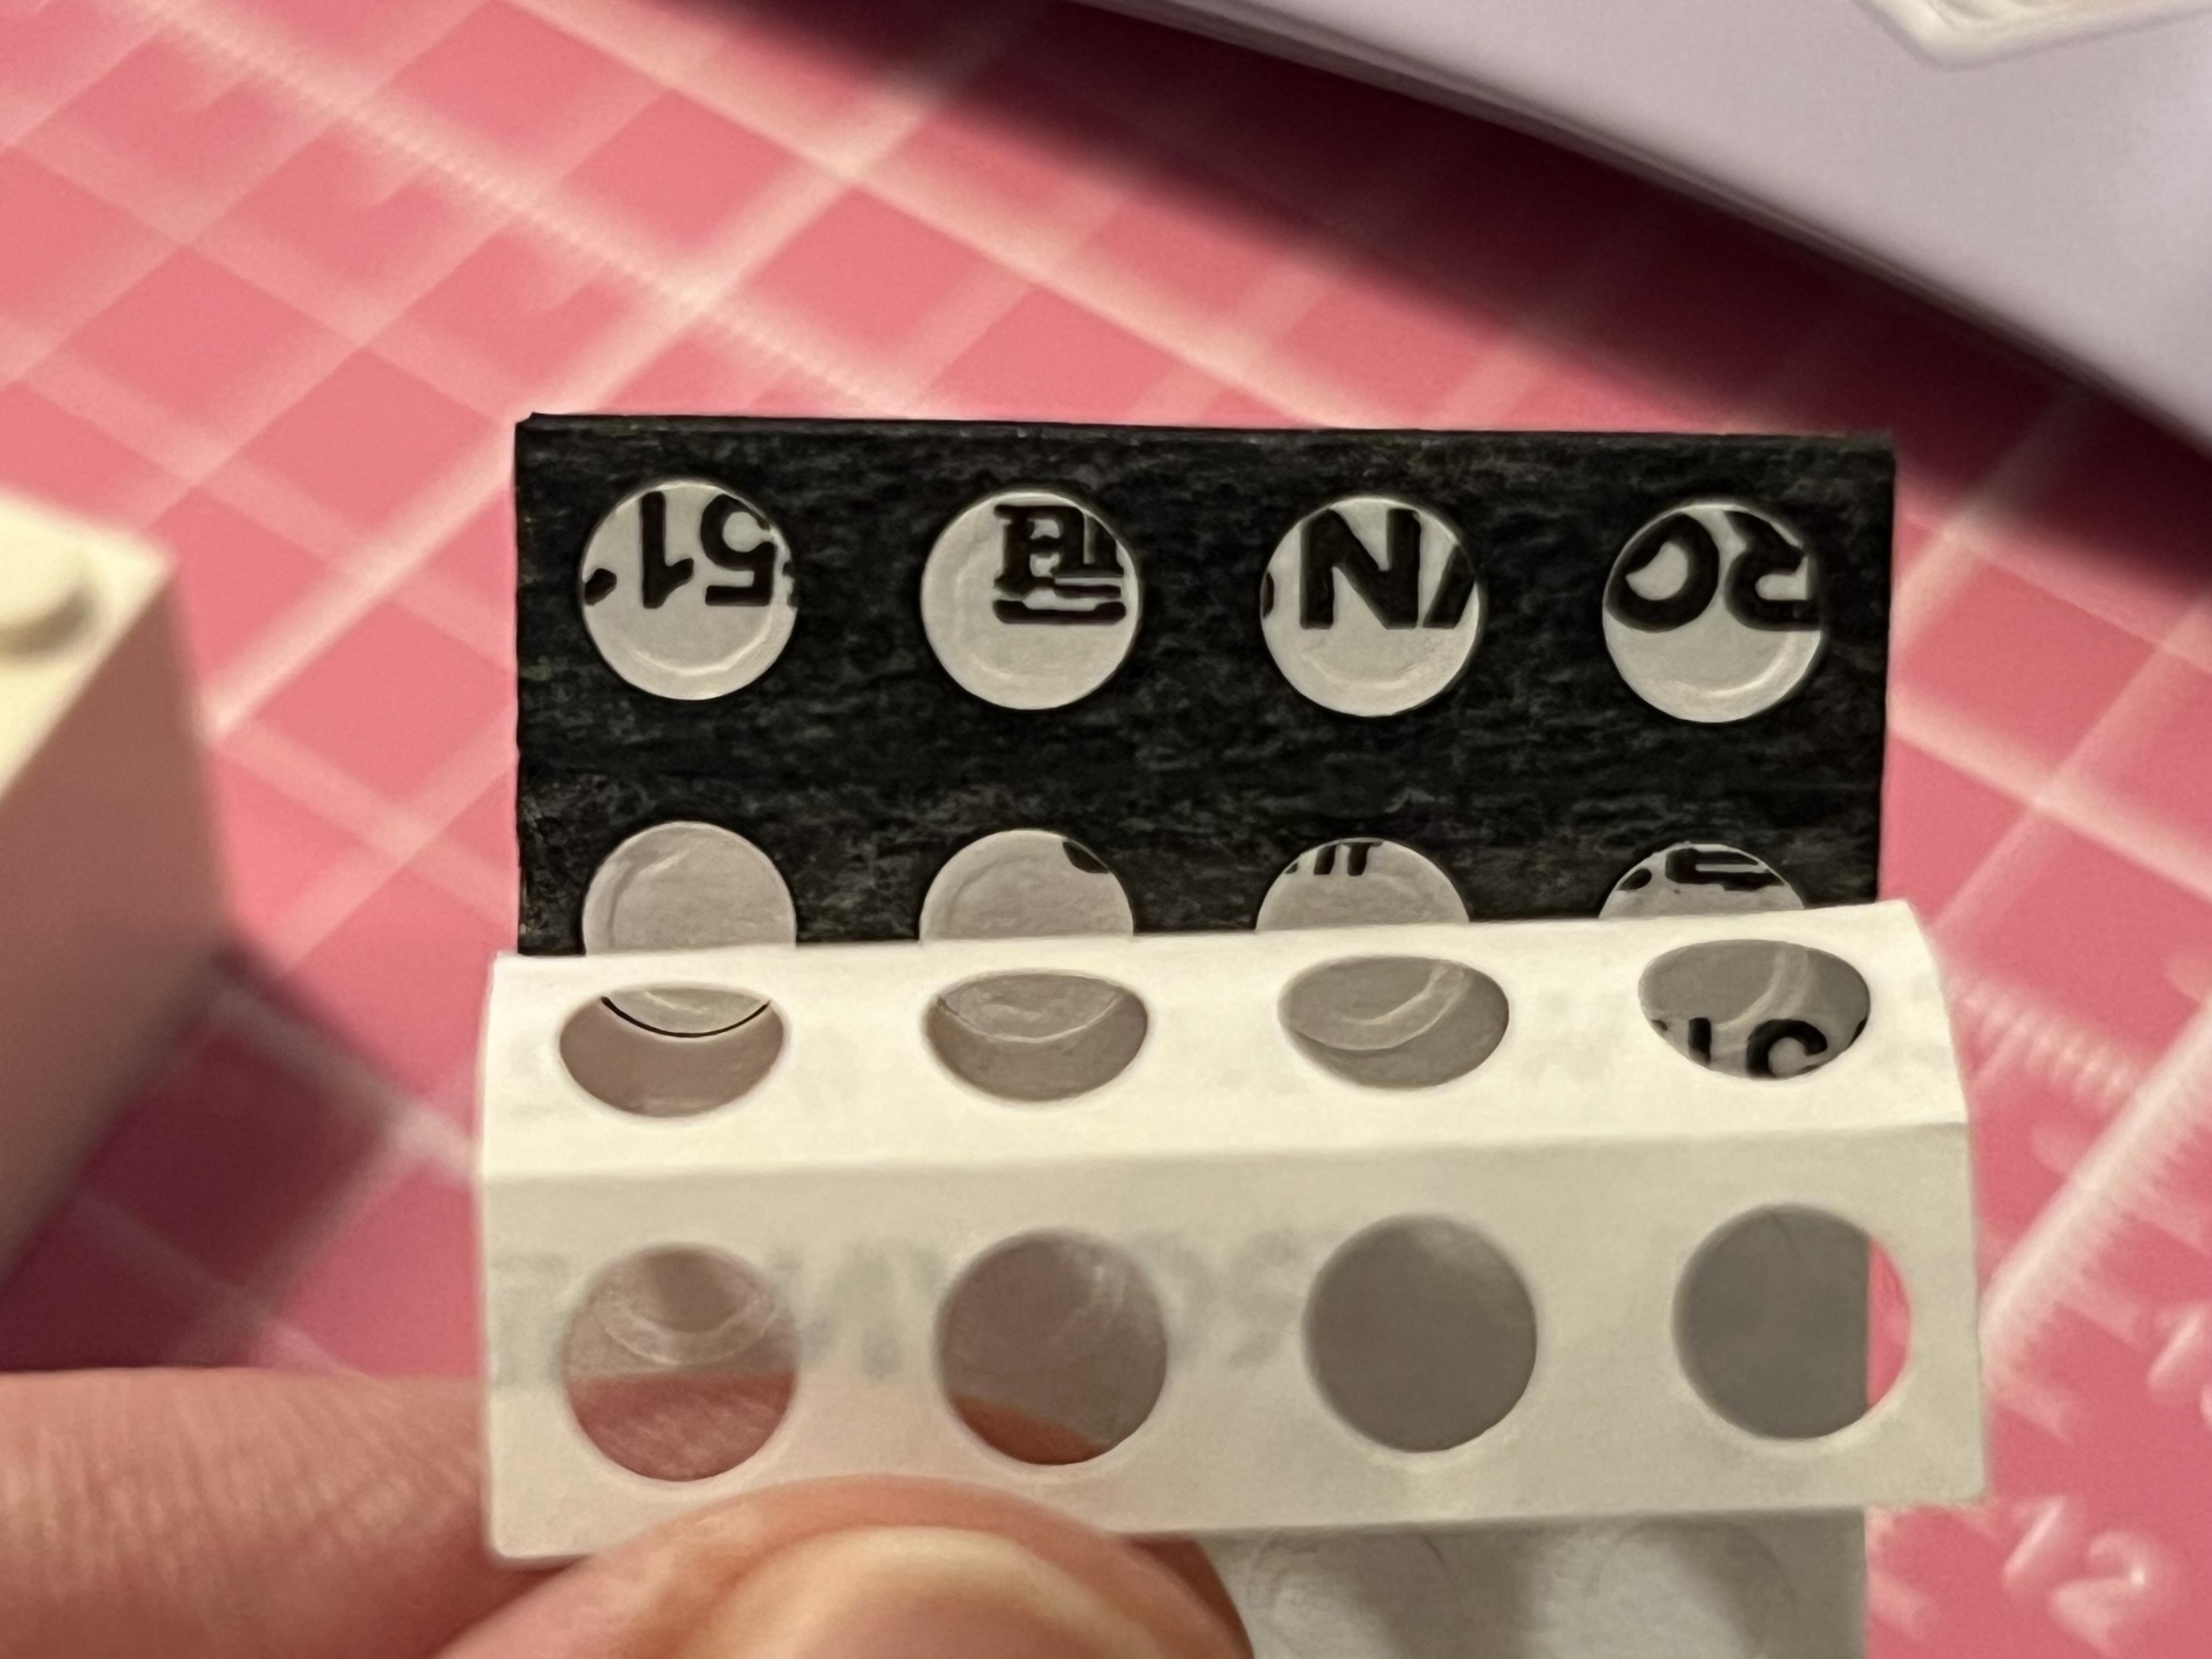
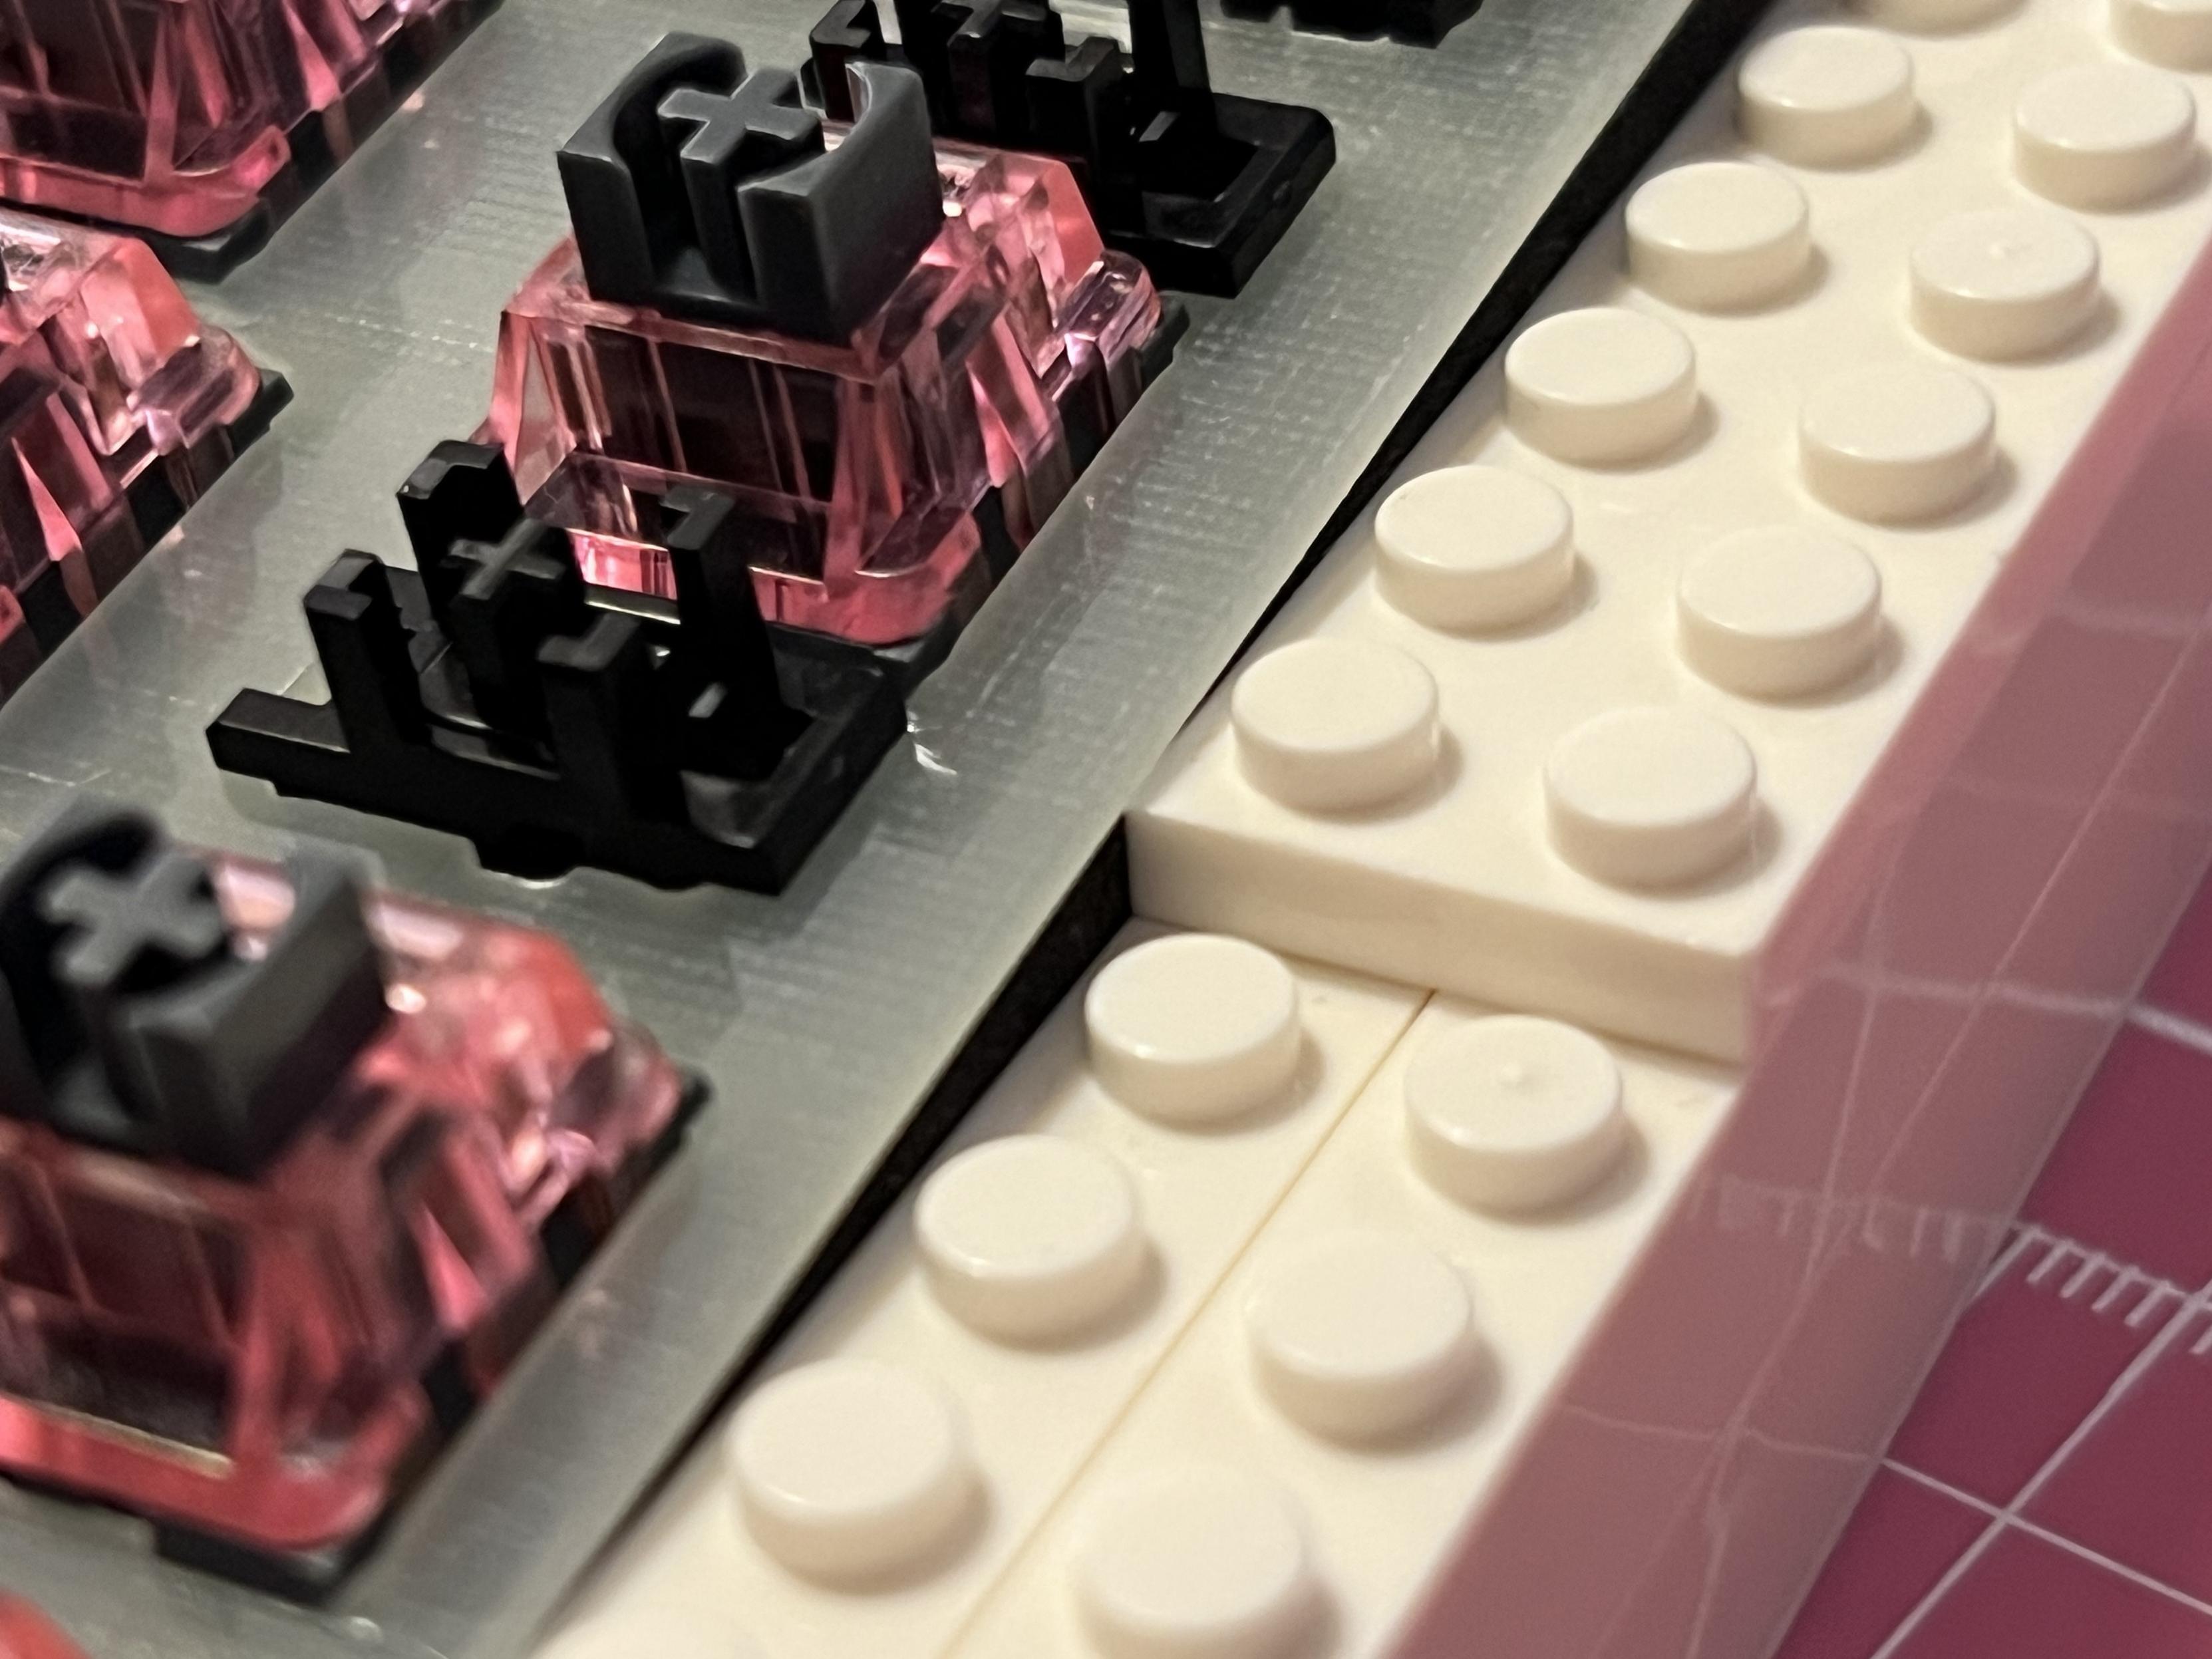
These darn gaskets are a bit of a nuisance to get the backing paper off and the little pre-cut circles out of. We ended up using a ball-joint to push them through.
As with the Israfel, the rubber gaskets were a nightmare to peel off their plastic backing. We used the orange axle ball joint to poke the pre-cut holes through to the backing side, which helped somewhat.
Once the board is assembled you’ve got a pleasing combo of purple modifiers and white alphanumeric keycaps to round off the board. You get caps for both macOS and Windows, though there’s a notable lack of “~`” with “~#” taking its place. (KBDCraft’s own product photos show # in two places in the board, ha!)
The finished board is 60% with a shared number/function row. I find these great for writing and programming alike, since I somehow rarely use F keys and keep numbers as the default. F1 through F12 – assuming you can remember where the various number row symbols live – is also a much visually cleaner setup.
What I distinctly dislike, and have trouble with, is the awkward placement of the /? Key. This is usually to the left of the right shift, but the 60% Lilith puts this on the very far right of the board. I’ve tried re-binding right Shift (I never use right Shift, ha!) to /? in the hope my fingers will find it naturally, but they’re always hitting > instead. Other than spending a lot of time getting used to this board there’s no real fix for this. I guess I could make a giant ? button…
The Lilith 60% ANSI jams this key to the left of the right shift by messing up the stagger of the ZXC row and cramming in a 1U right shift. This is absolute madness of the sort that will subtly throw off your ability to type, and you won’t notice why unless you’ve looked at way too many keyboards. At least with ISO we’re saved from this!
Since the board is constructed from hollow plastic bricks and lacks much heft or – shall we say – acoustic character, it is not pleasant sounding. The typing sound is uneven across the board, the spacebar is a little creaky. It’s a board that brings joy to build, but not necessarily to use. If you’re not sensitive to key sound you won’t care, but sheesh I am getting very, very sensitive to a nice key sound the more boards I test.
If you’re looking for a fun gift for someone who enjoys electronics, keyboards and construction bricks then these are super fun. I know I’d be happy to receive one and, in fact, took the whole process of designing and customising the Israfel enclosure way, way too far.
I rebuilt the KBDCraft Israfel in grey LEGO with a red stripe detail. Good fun! Design is slightly revised from the original using LeoCAD to figure it out and get the parts list for ordering.
The Lilith… I’ll leave it as is and let middle-child figure it out when they start using computers more often.