Chilkey ND75 ISO Mechanical Keyboard
As I gradually immersed myself in the shallow end of the deep, deep, custom mechanical keyboard ocean one particular board kept catching my attention. The Chilkey ND75. From the same company as the Meletrix and Wuque Studio brands, this compact, screwless, aluminium hulk is the go-to midrange recommendation of choice for many. It even has the tacit approval of being sold at ProtoTypist, where many a keyboard has failed to meet their requirements.
Upon receiving the ND75 it’s easy to see why. It’s a solid board, but let’s not get ahead of ourselves.
I was fortunate enough, after many, many months of relentless chasing, for Chilkey to supply an ND75 for this review. They did so via Computer Orbit, a storied, UK retailer you may recognise – I’m told – from the before times. Y’know, back when the internet seemed like a good idea.
Before even getting into the keyboard itself I feel I should point out just how good Computer Orbit’s “Custom Keyboard Builder” is (reader: I assure you, Computer Orbit have not sponsored this post and the ND75 was shipped to me at the behest of Chilkey! Their involvement was coincidental.). In a market with so many, many options they’ve refined things down to a straightforward set of choices with at least some effort to dispel the confusing array of components and terminology. If you’re based in the UK and picking up a first board then it’s a good place to start. I will note, however, that the available keycap sets are all Cherry style (I haaaatte Cherry profile, it’s so corporate and bland) and are all very unsubtly inspired by established artisan sets. They are, on the other hand, much less spendy than a genuine artisan set and a reasonable way to “get the look” if it’s otherwise unavailable or out of your budget. I remain conflicted!
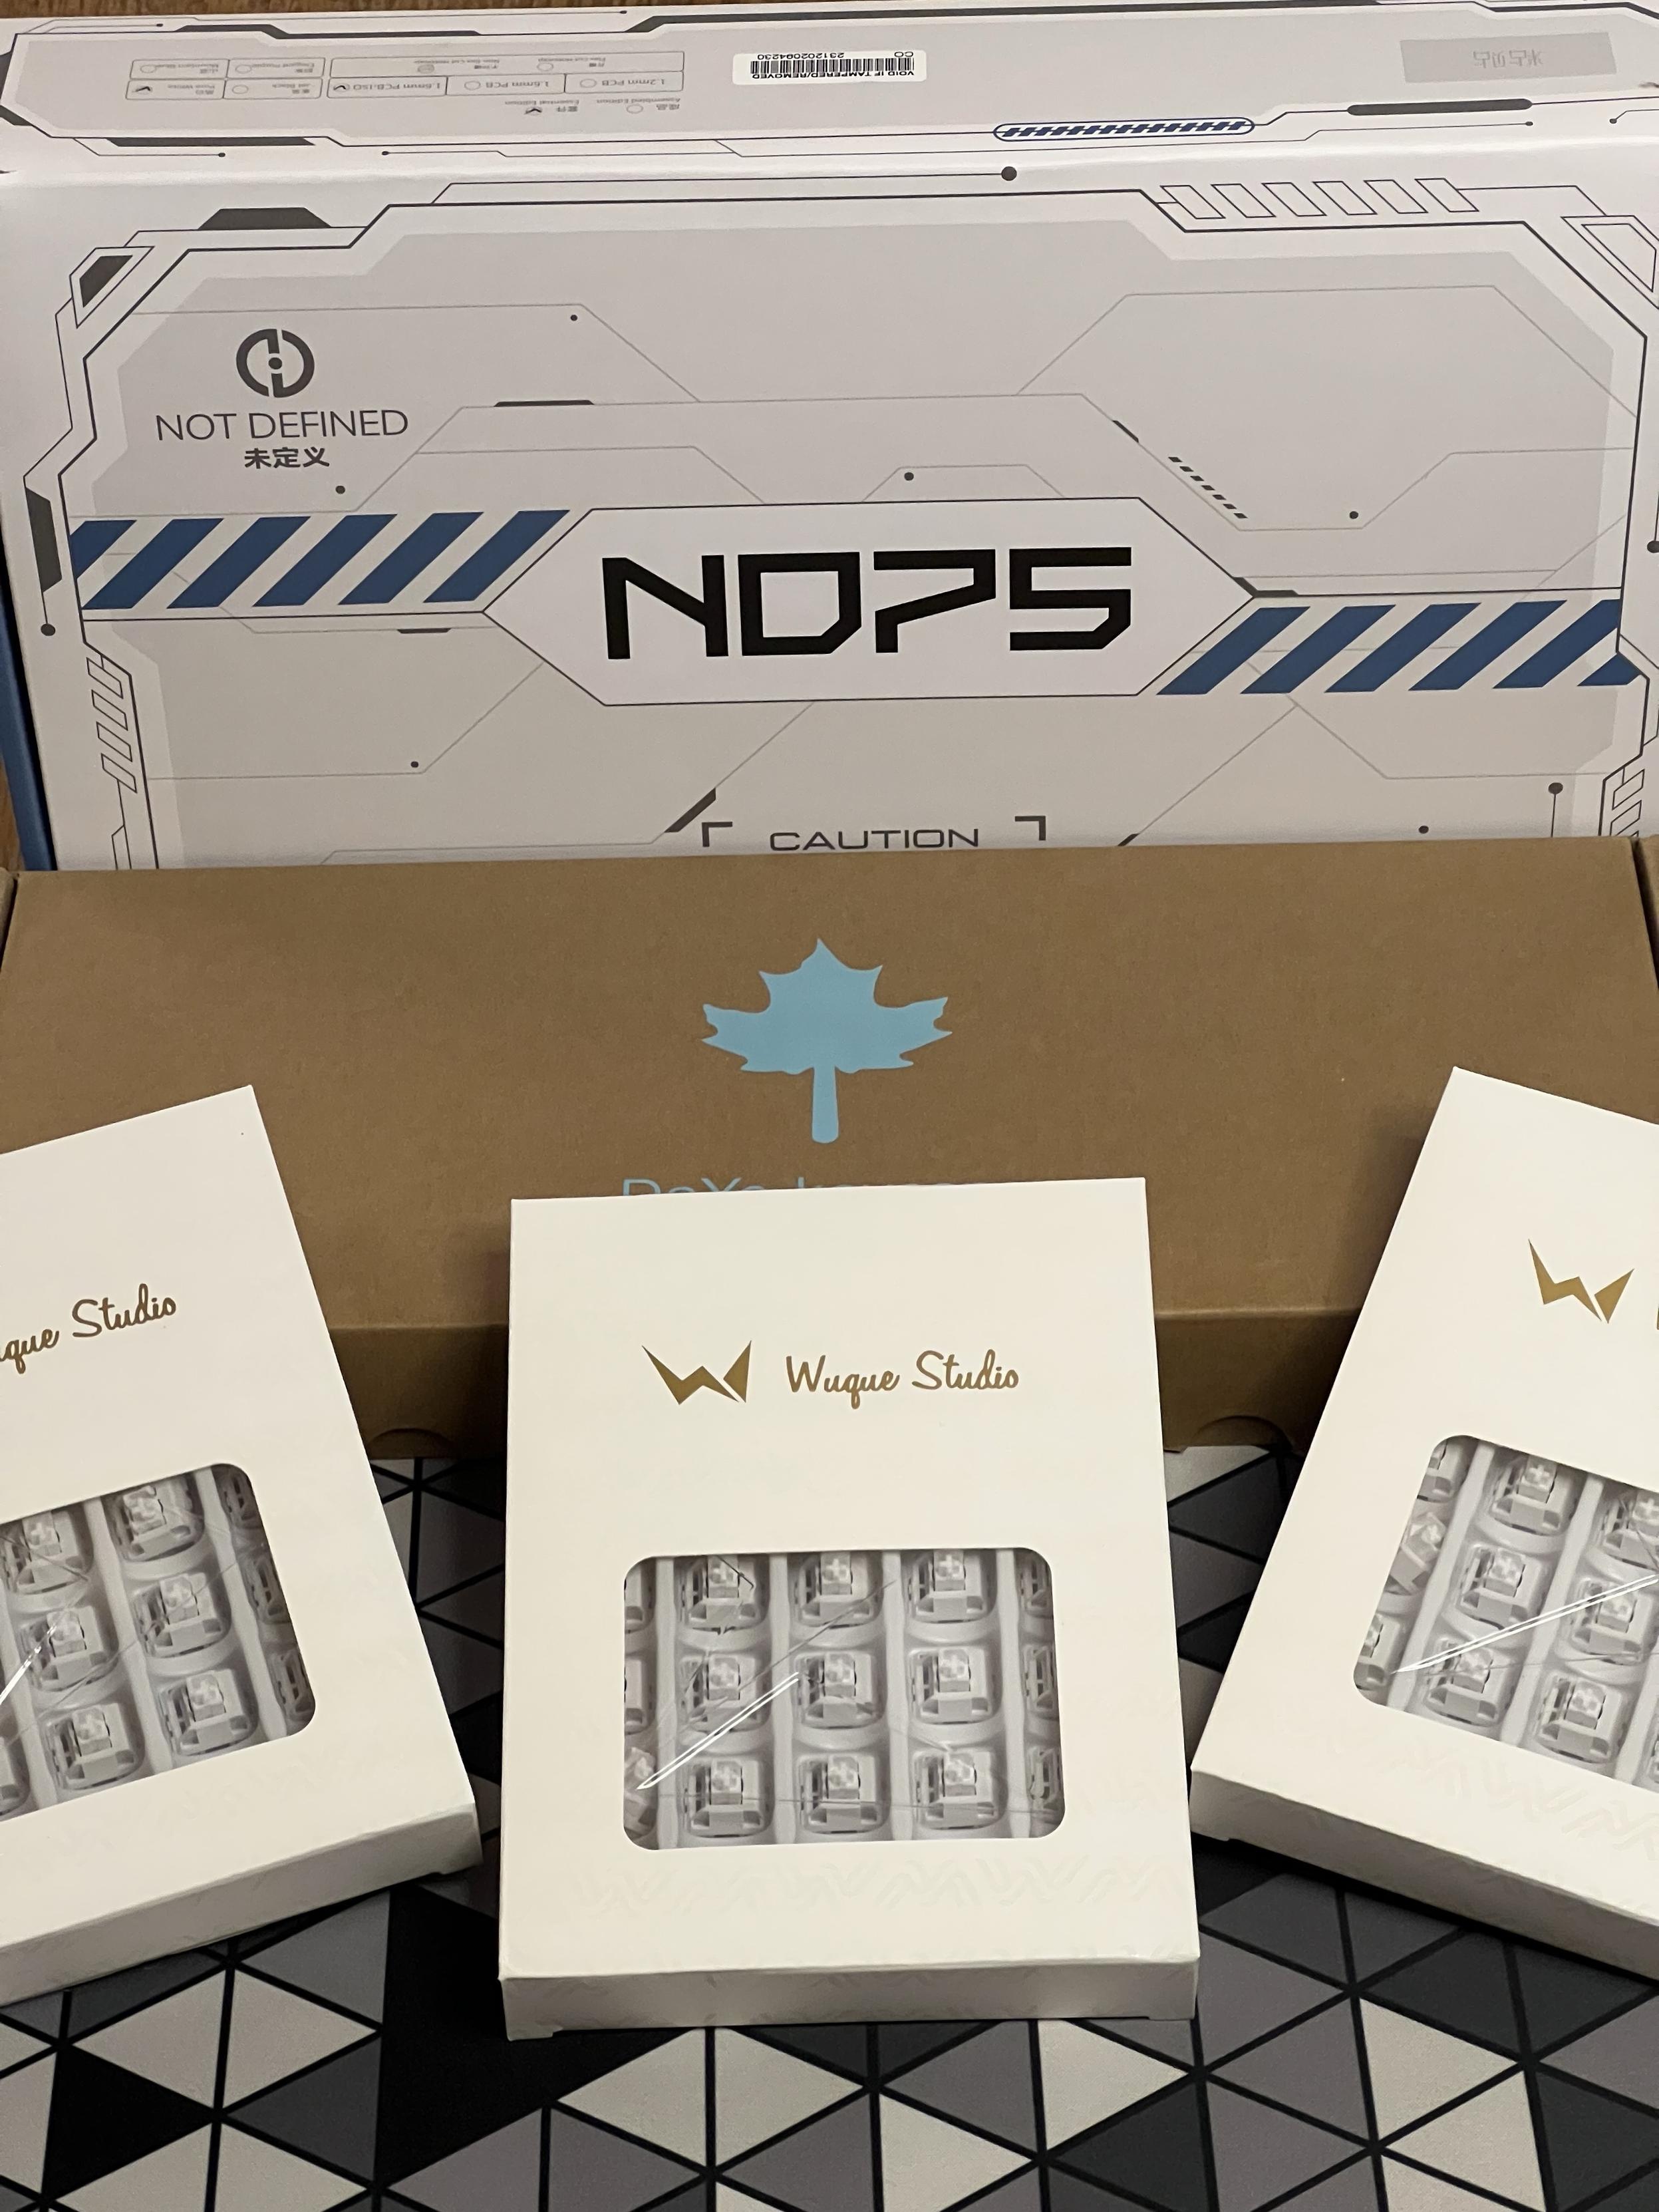
Via the configurator I picked a white ND75 ISO (planning to use it as the base for my beloved KAM Astha keycaps), Wuque Studio Silent Linea switches, and – after much deliberation – the Hammerhead Light keycap set (Maple Leaf Esc key, yay), a shameless clone of GMK’s Hammerhead Light colourscheme.
Let’s gooo… well I mean this photo is from four months ago but you don’t know that!
The whole kit arrived in late February. Of this year, thankfully. You might still note that it has been four months. Honestly it feels like it’s been longer.
The ND75 was not the endgame keyboard I expected and my search for perfection will continue. What it is, is a very good, well built midrange board with some… quirks.
Putting It Together
Unless you pay extra for assembly, the ND75, keycaps and switches will come unassembled in their own respective boxes. If you’re able, you should DIY. The process of assembling a mechanical keyboard is all part of the experience, a methodic process of inserting switches – you’re guaranteed to bend at least one pin – and placing keycaps is somewhat meditative. Though I am prone to rushing.
While I call it assembly, the ND75 ISO itself comes pre-assembled with the top and bottom shells housing the keyboard PCB, batteries and various material damping layers. You don’t need to open it up to start placing switches and keycaps but nonetheless it’s easy to do so. Making good use of off-the-shelf parts, Chilkey have adopted little brass cabinet catches to secure the top and bottom shells. Yes, the kind with little metal balls that are tensioned with springs and grip a sort of hourglass-shaped nubbin. With reasonably little effort and absolutely no tools the top of the keyboard can be popped right off to make poking around inside easier.
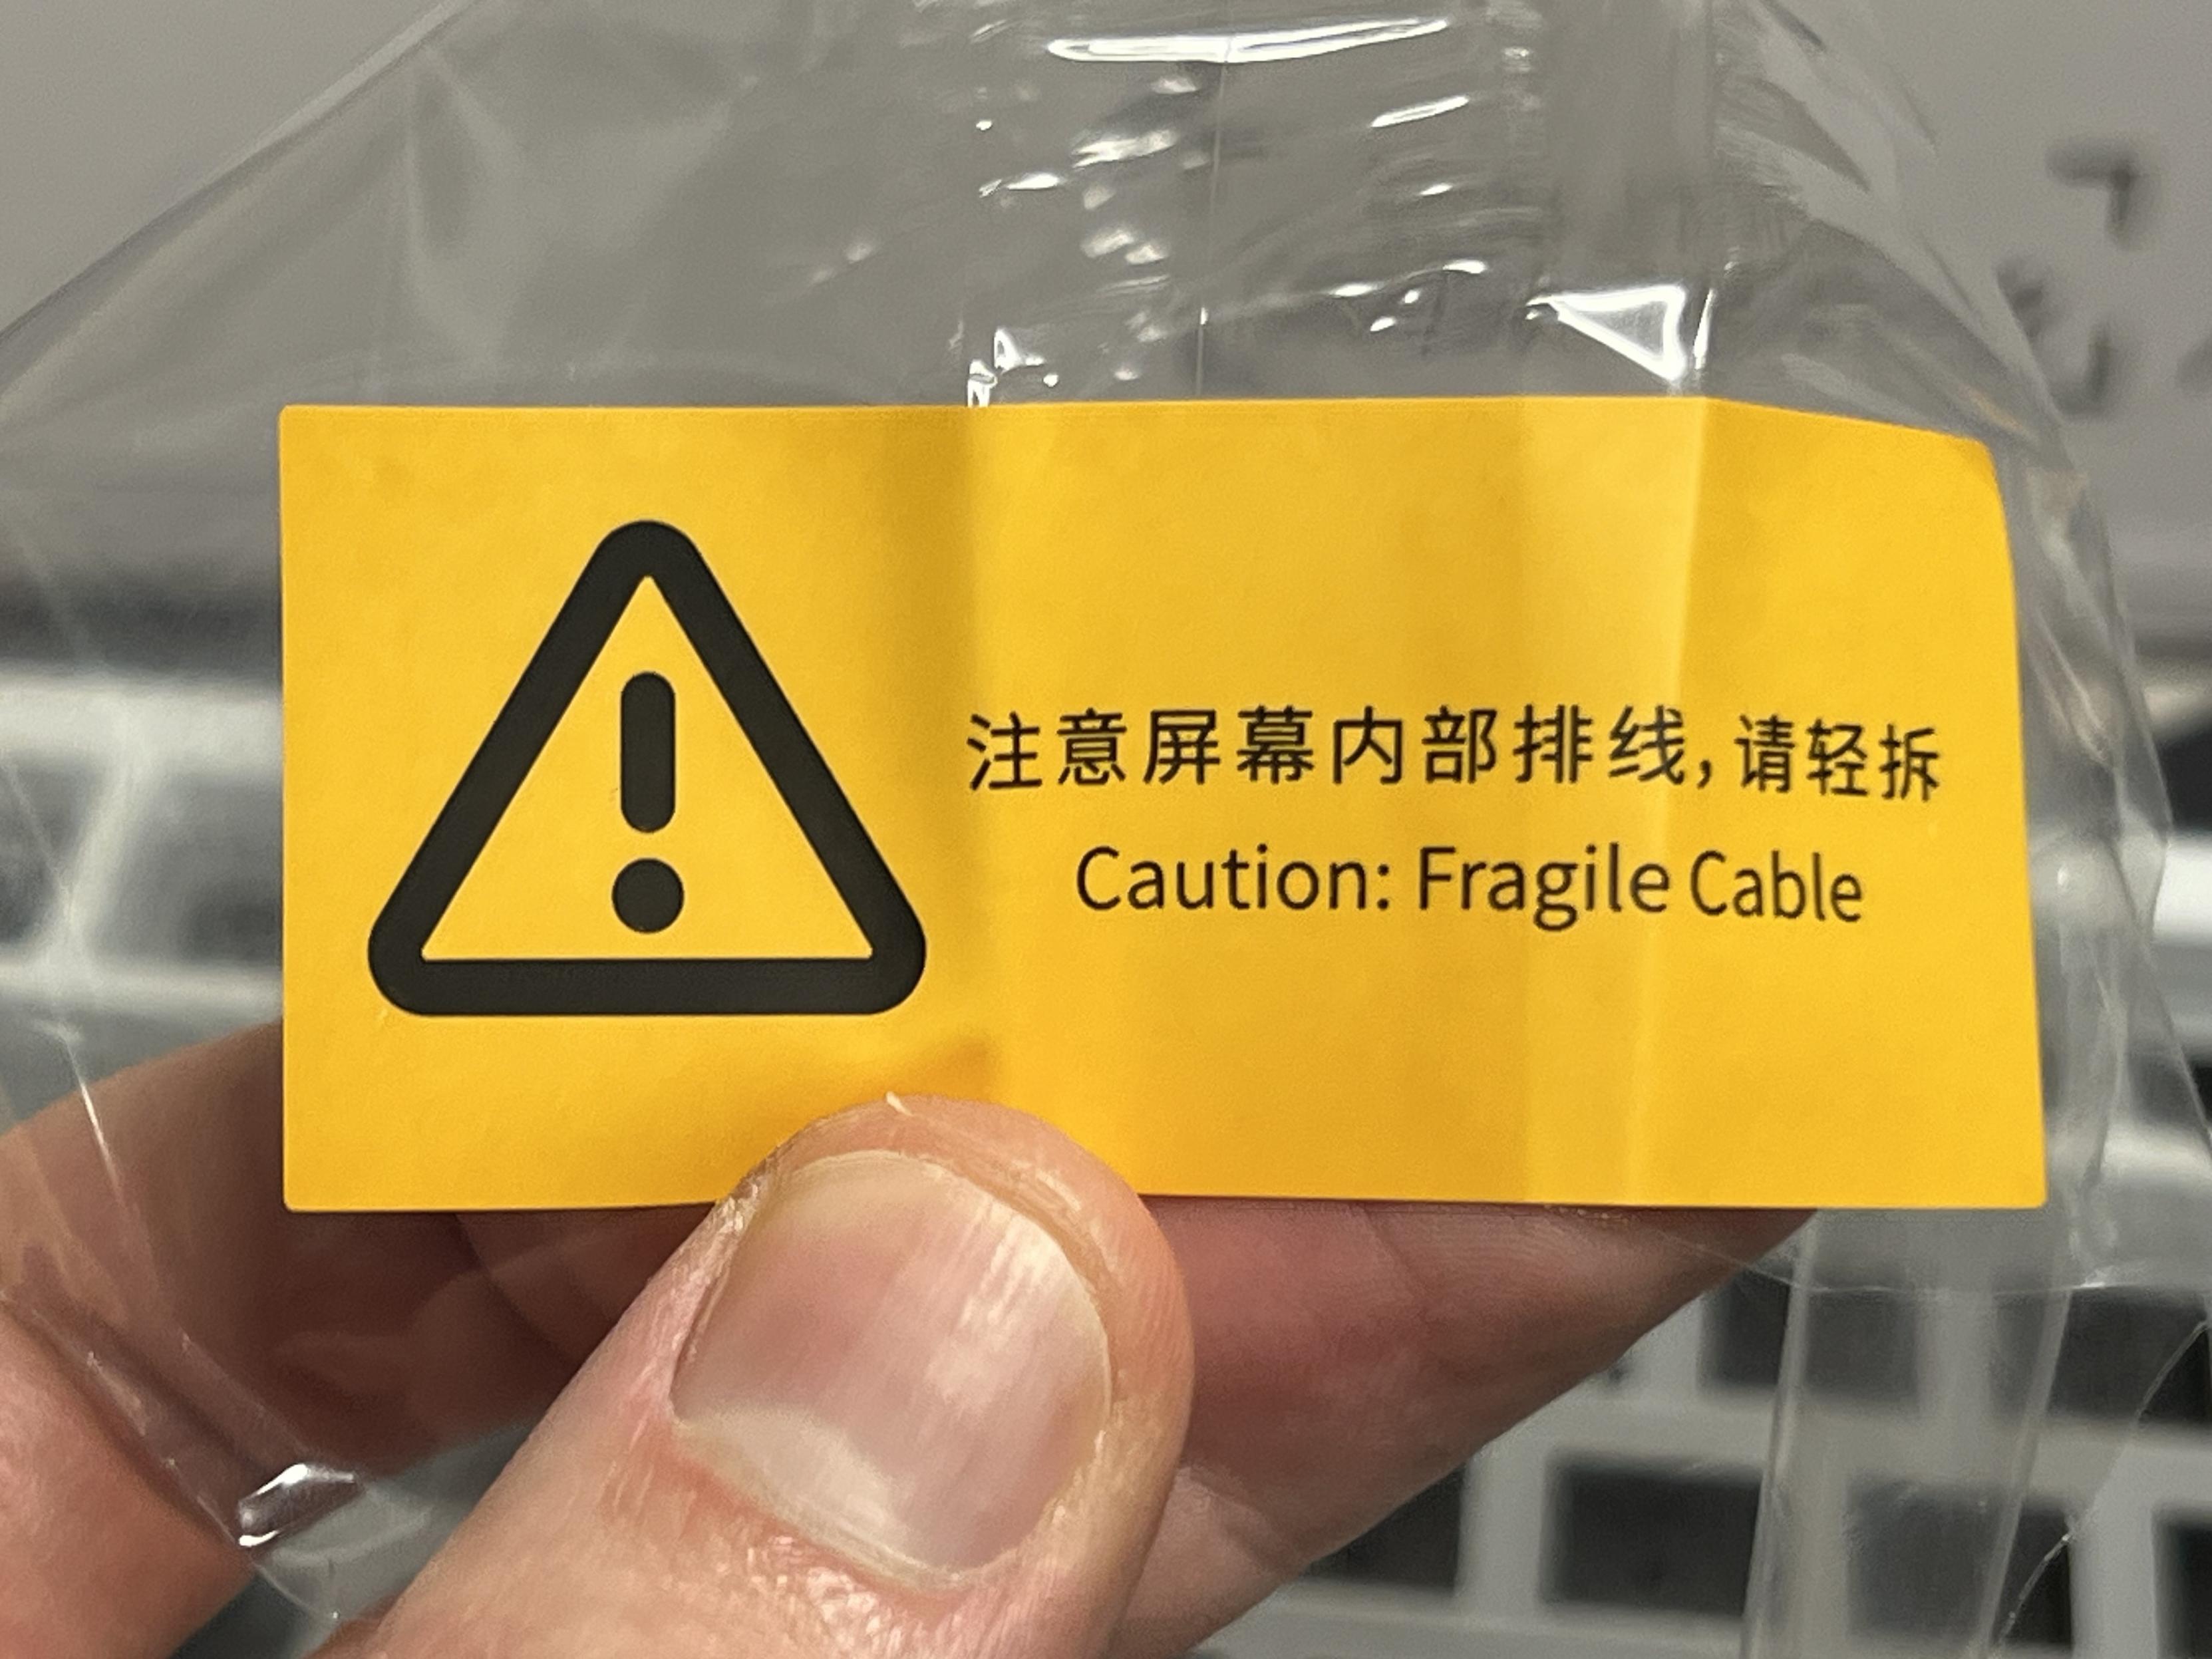
If you dive in and do this, however, beware that a little flat-flex cable ties the LCD (fixed into the top shell) to the PCB (fixed into the bottom shell) and if you’re not careful you’ll make short work of this. The packaging comes with a message warning you, do not ignore it!
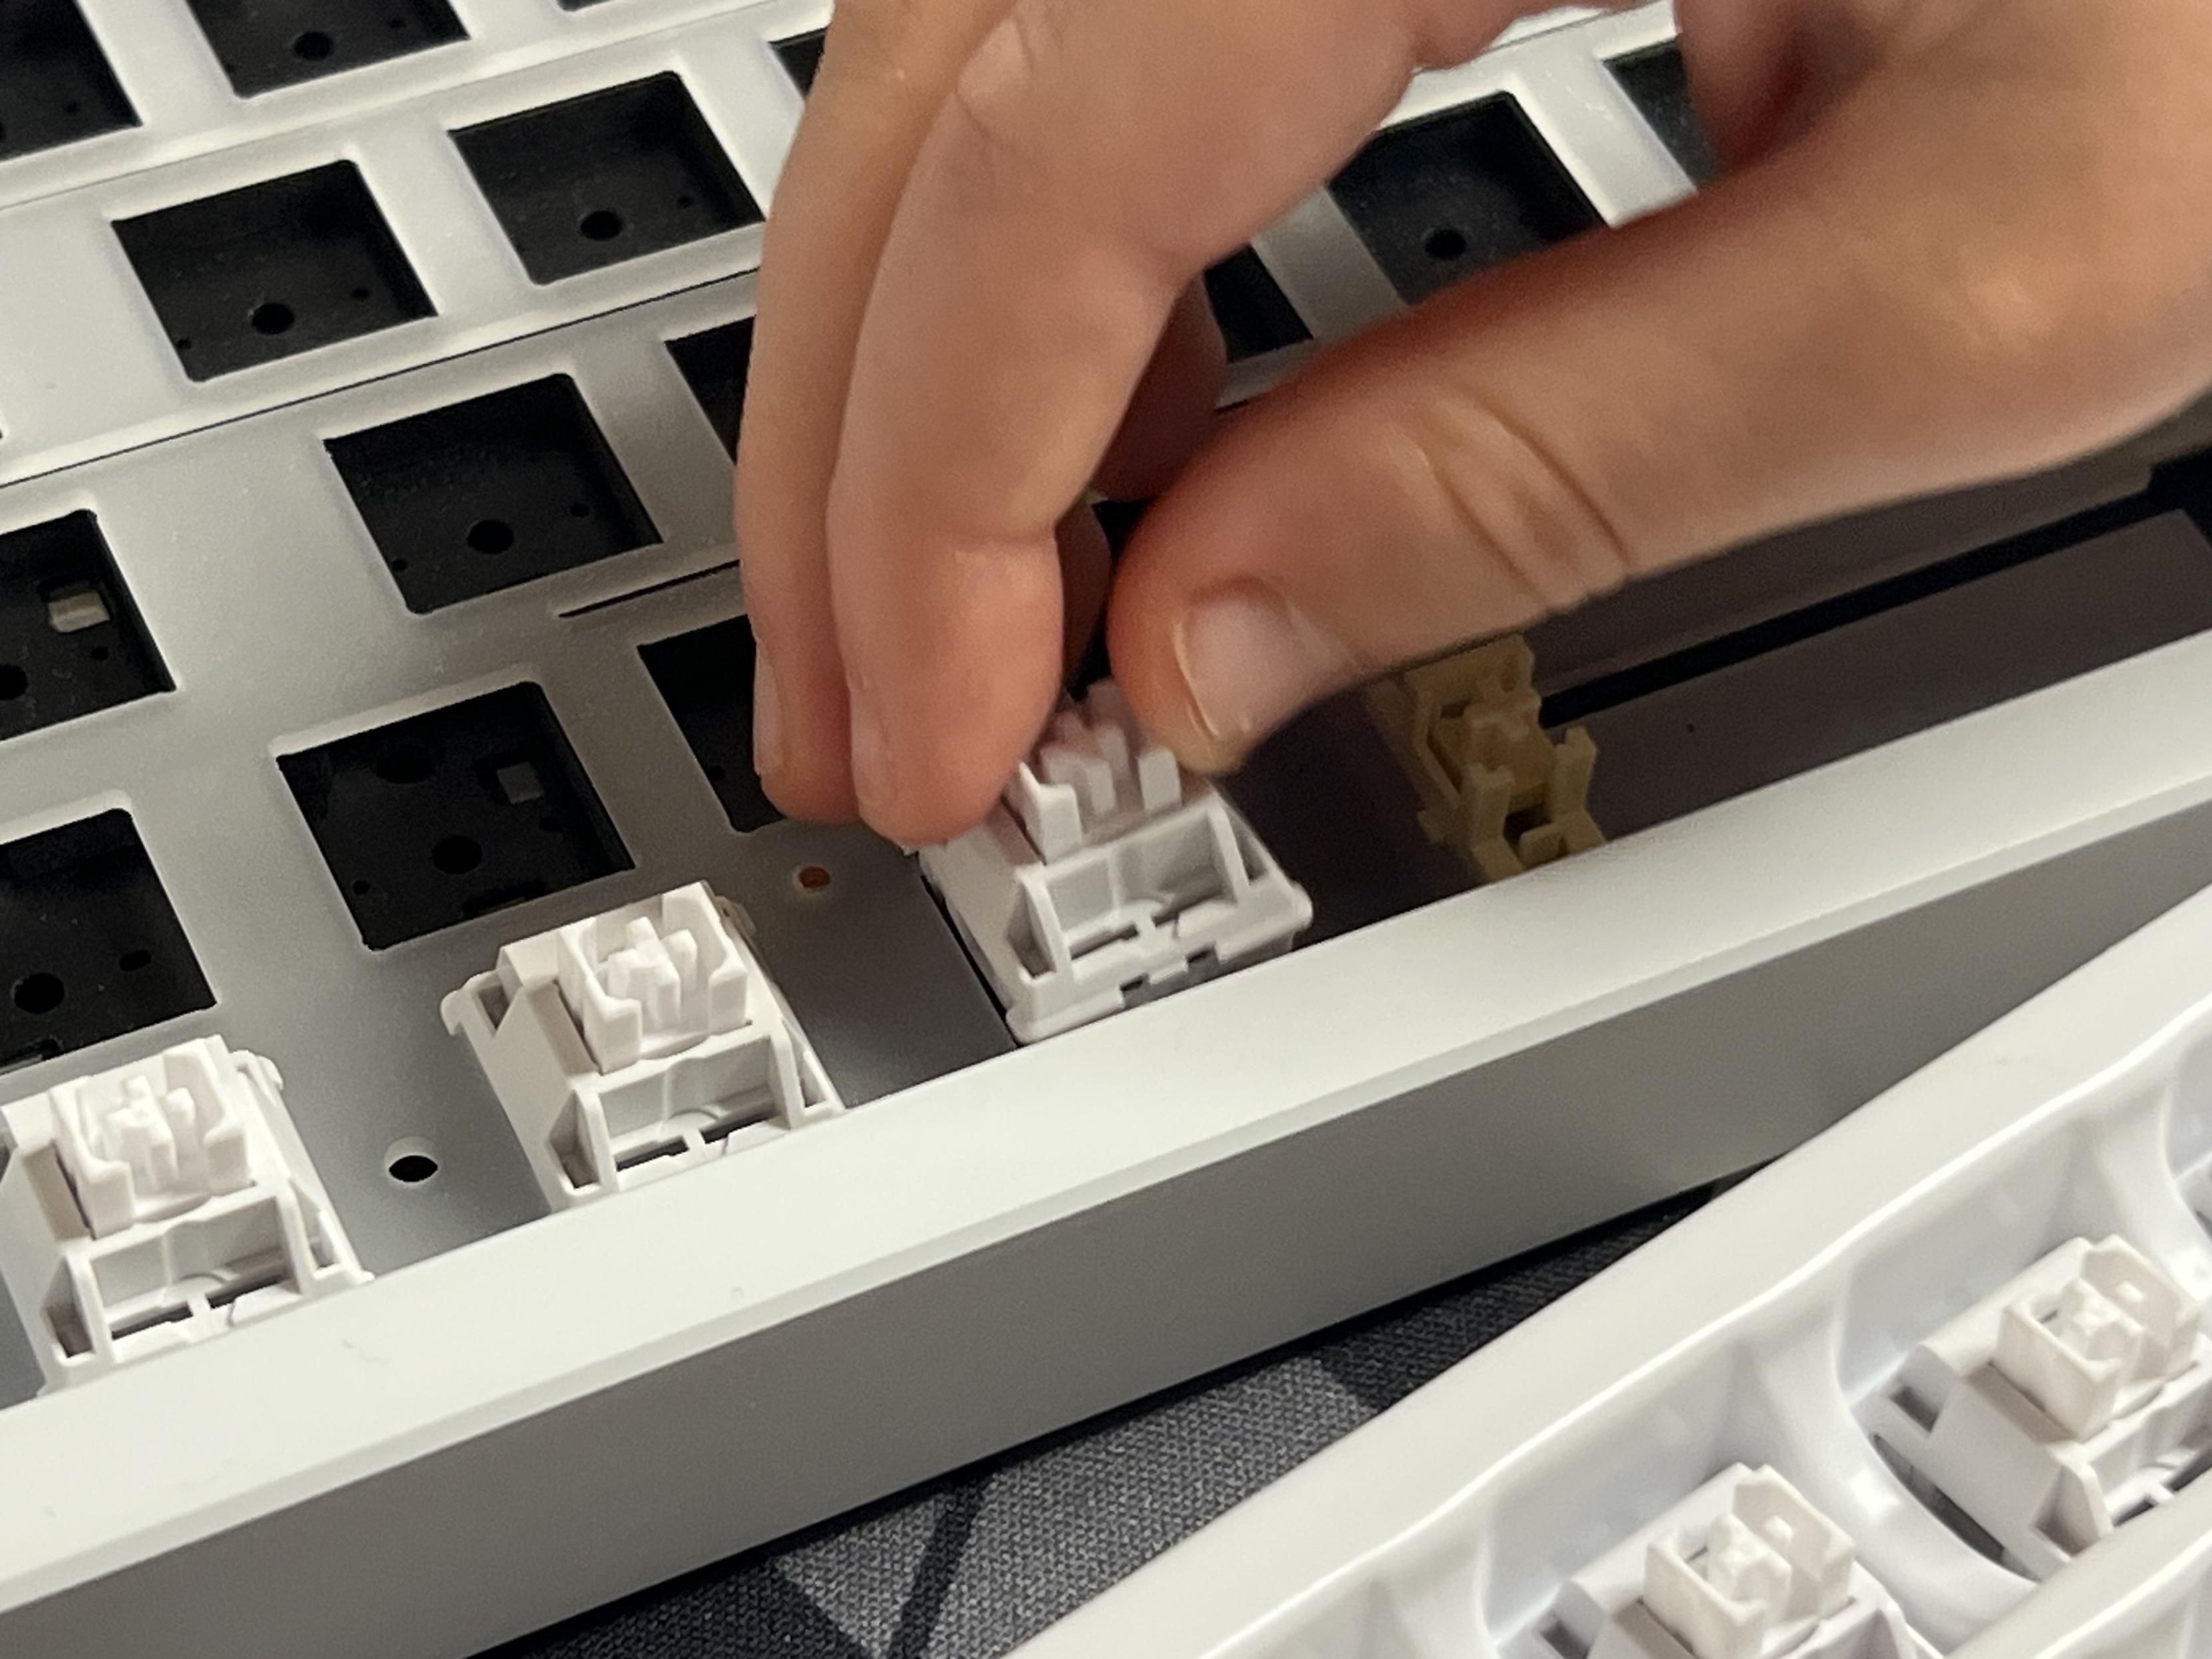
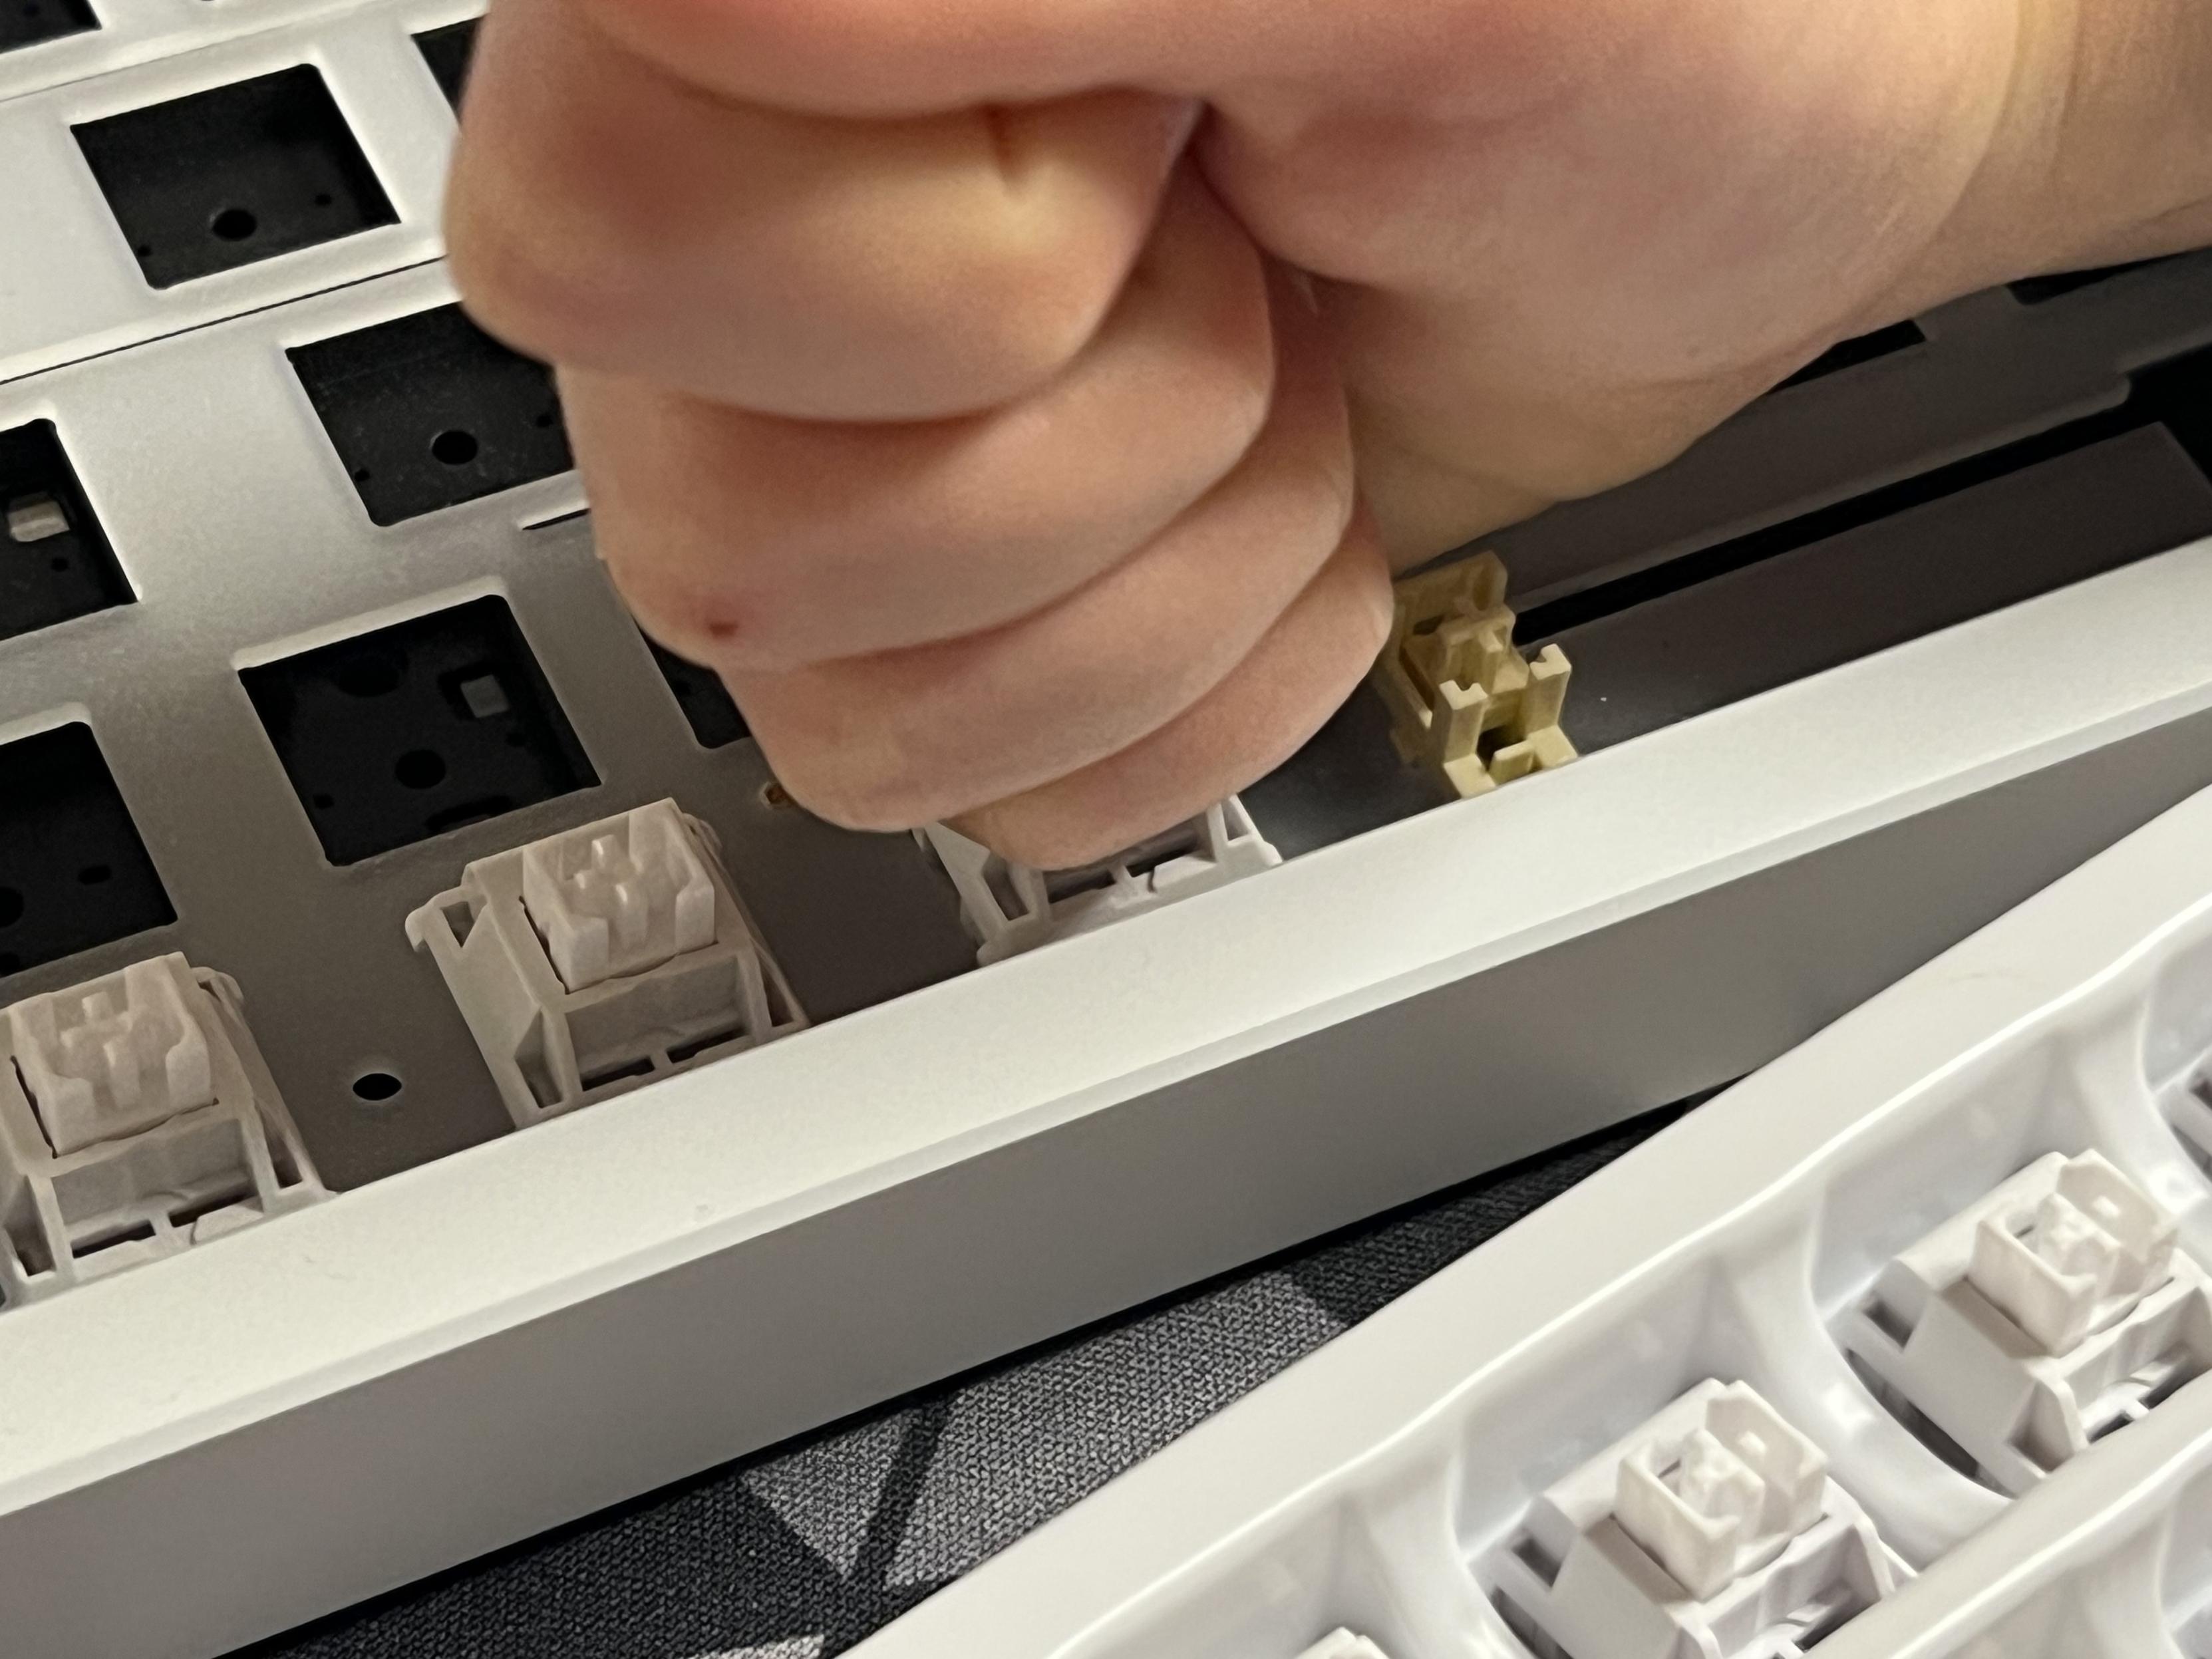
Line em up, bash em in. If a five year old can do it you’re gonna be f…. Aaah my pins!
Populating switches is easy enough, ensure no pins are bent, line them up and push firmly and evenly to pop them into place. You’ll undoubtedly still bend one (I always seem to bend exactly one) and you’ll notice when you test your board and find a non-functional key. Removing switches is a little trickier, but a switch puller tool is supplied – designed to both grasp the switch and release its retaining clips – for this inevitable outcome.
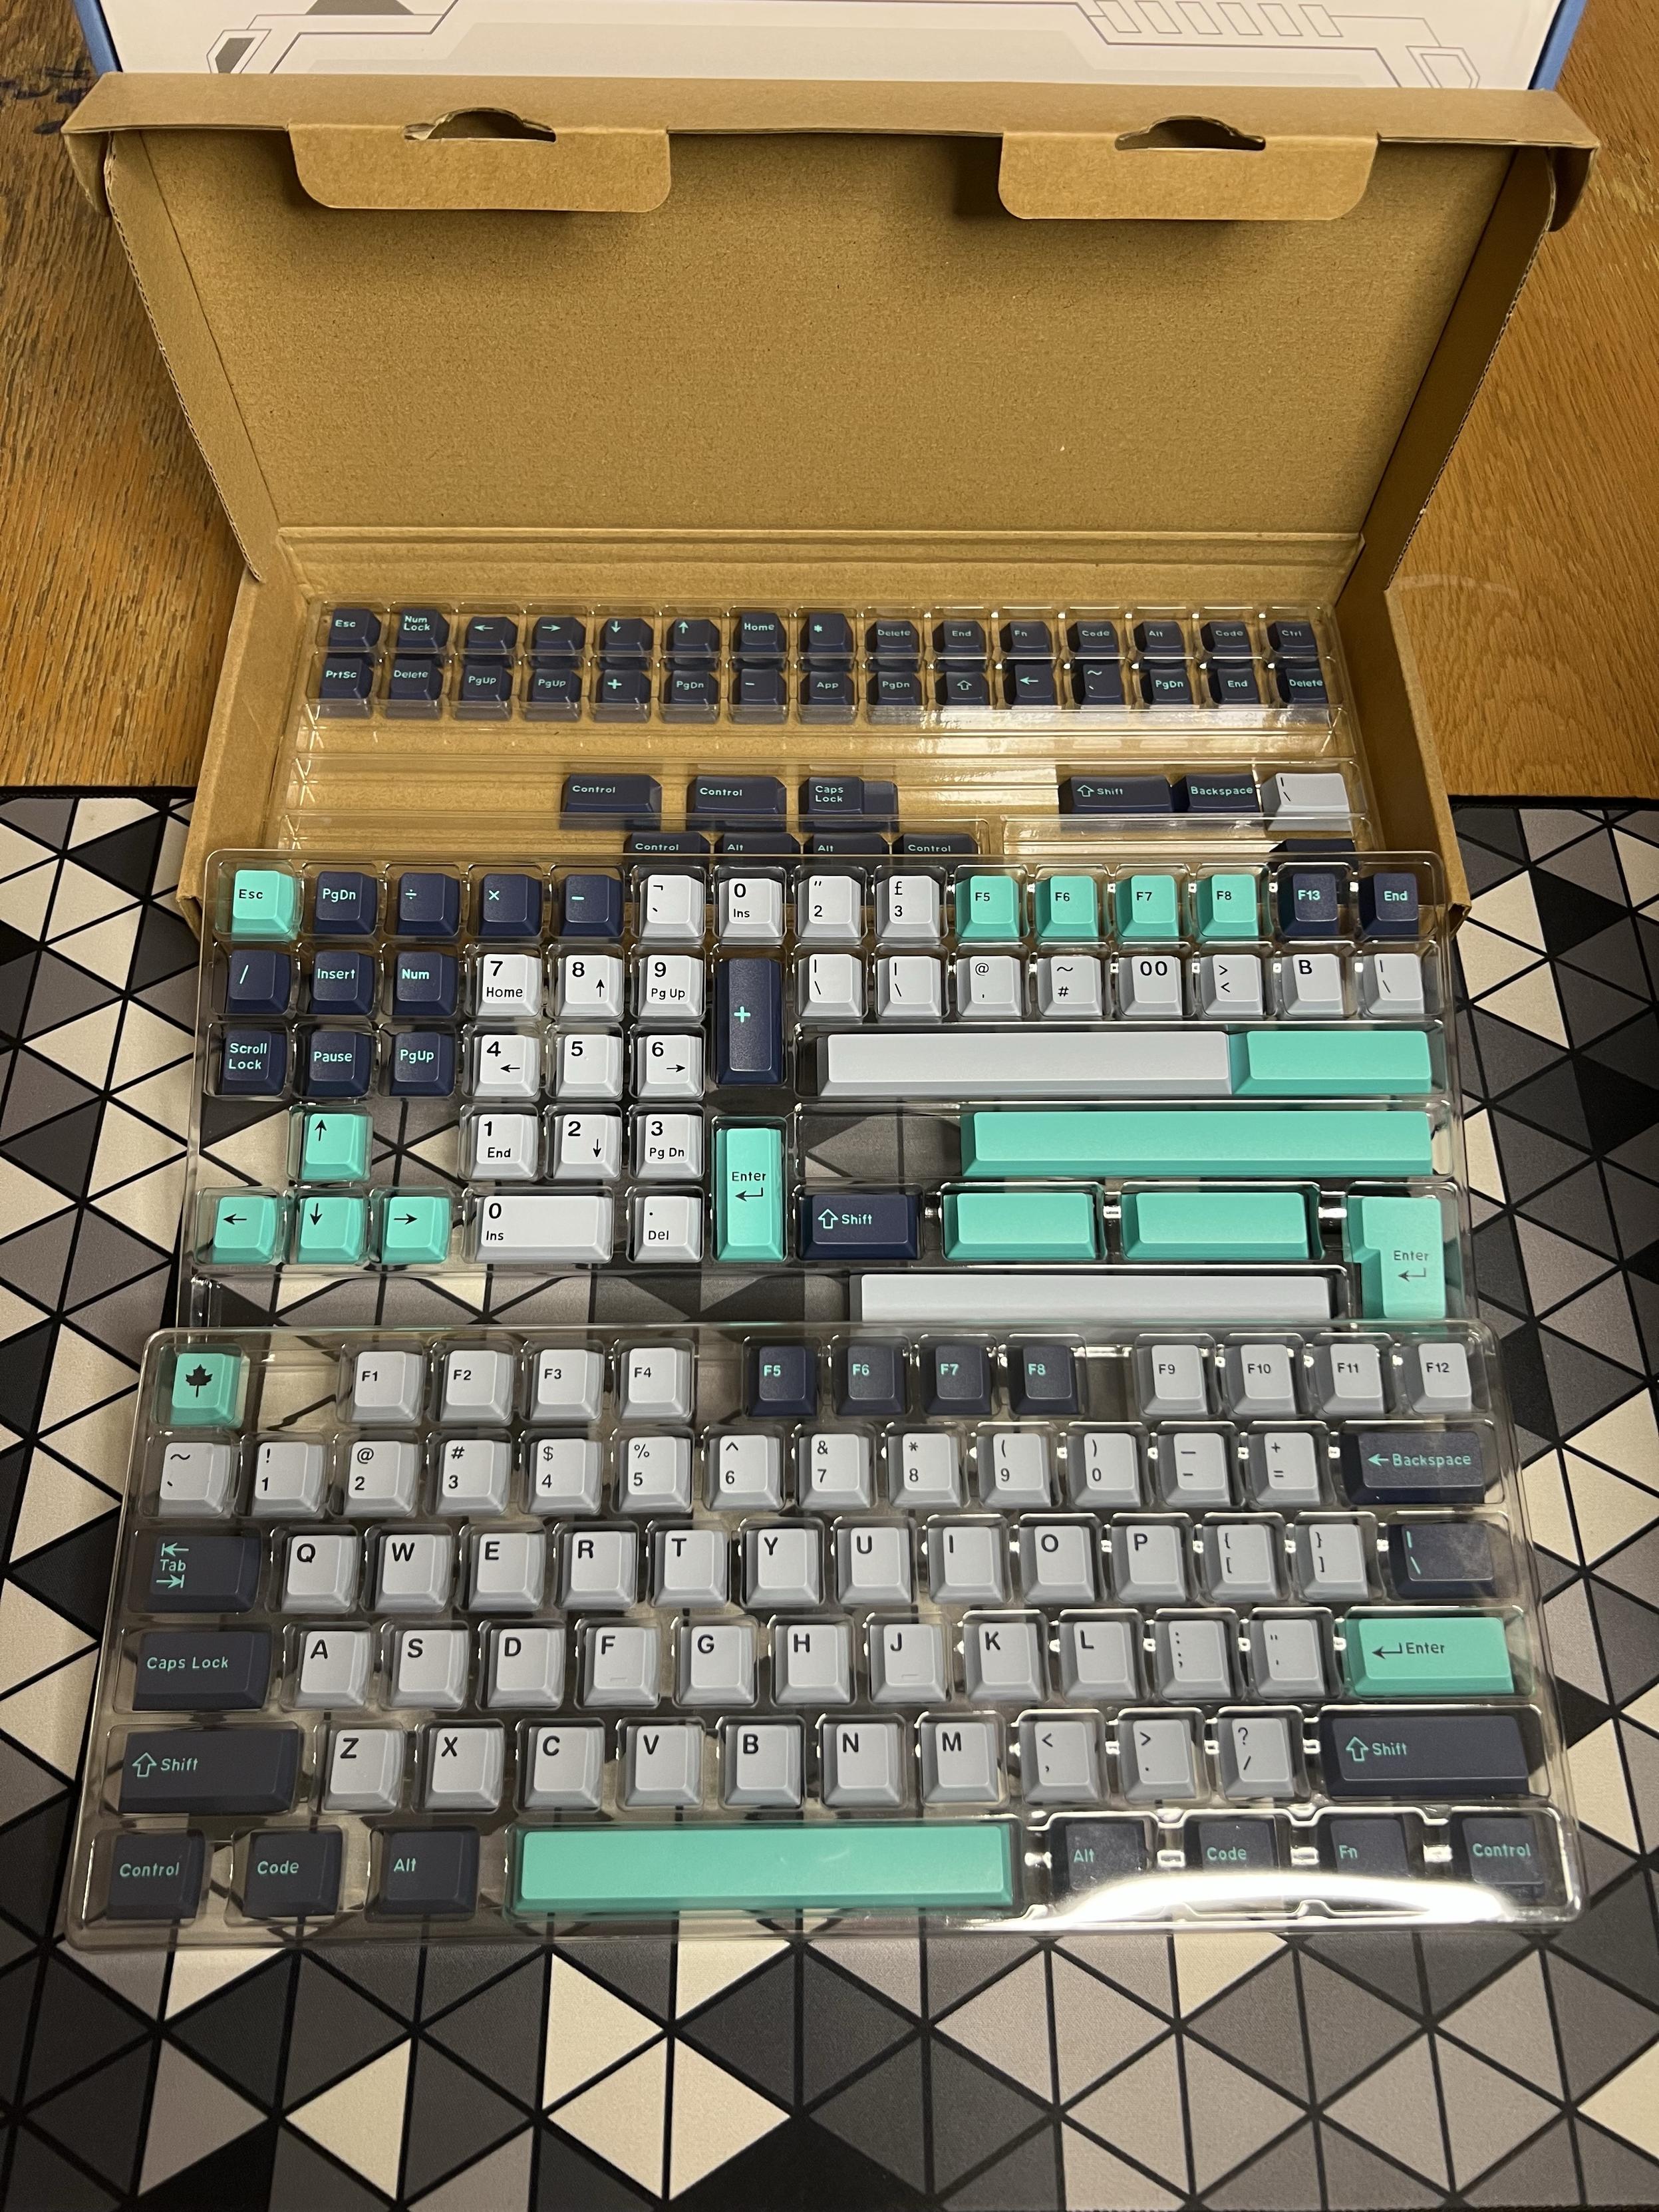
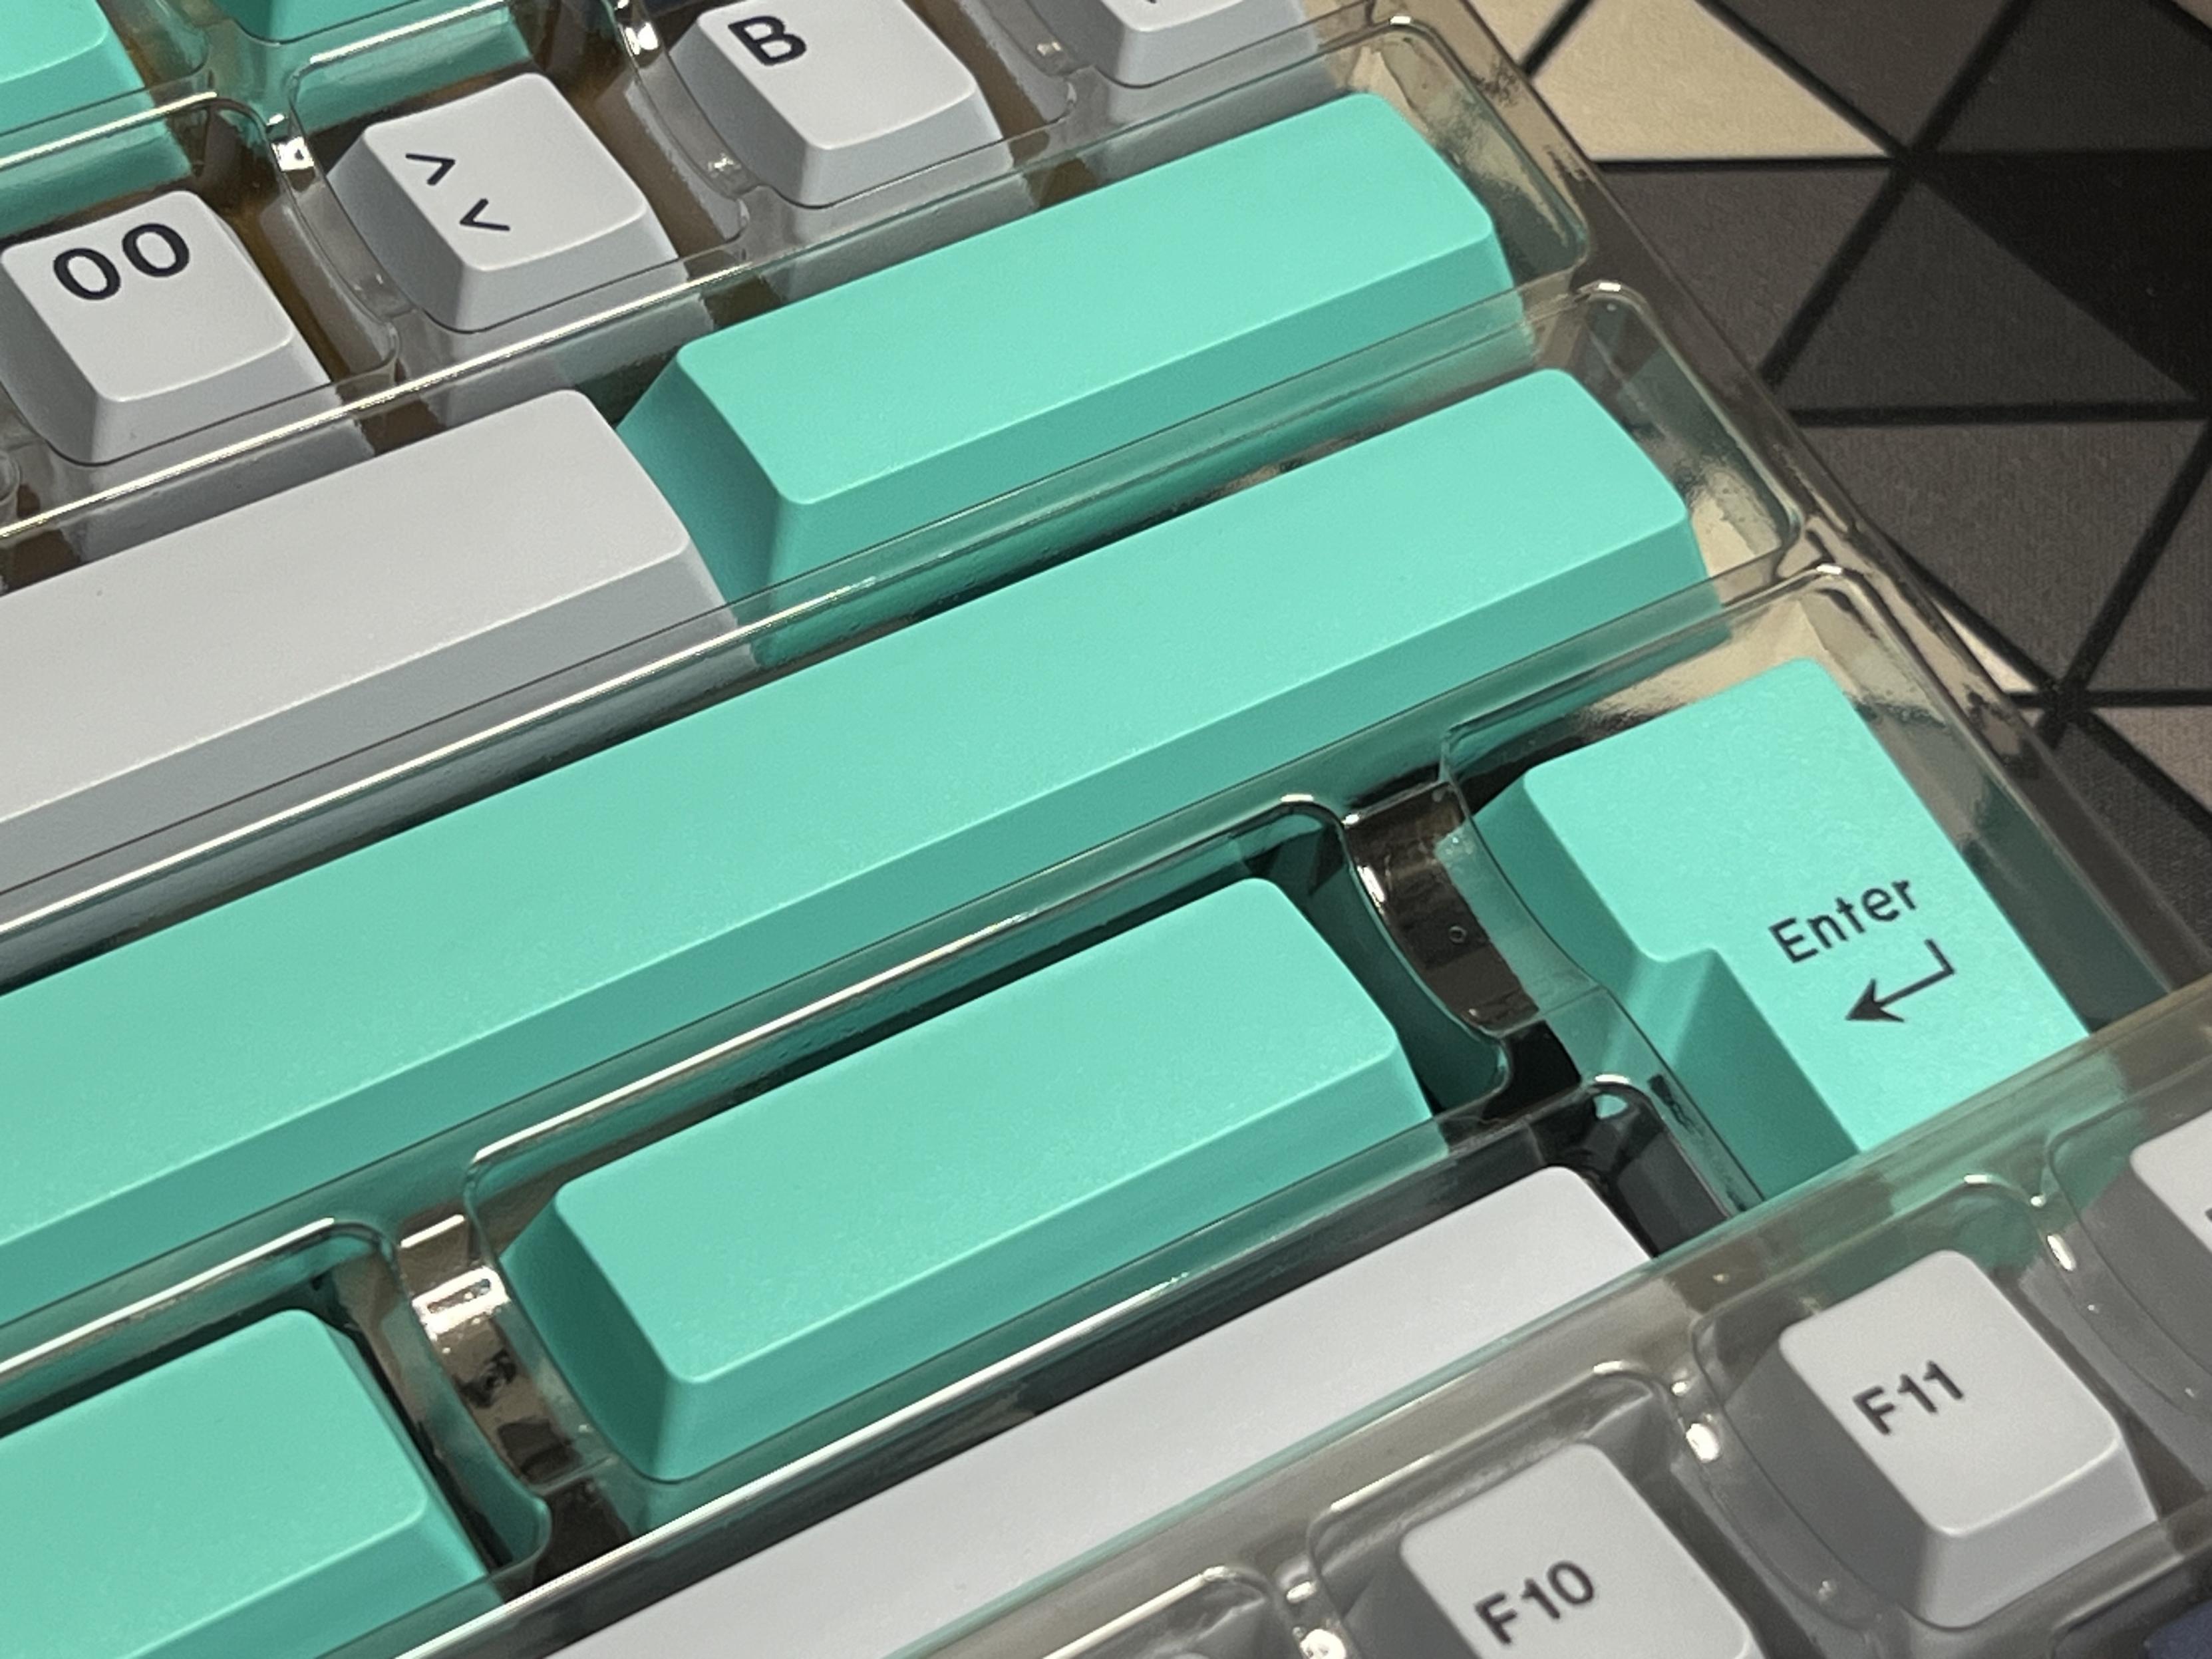
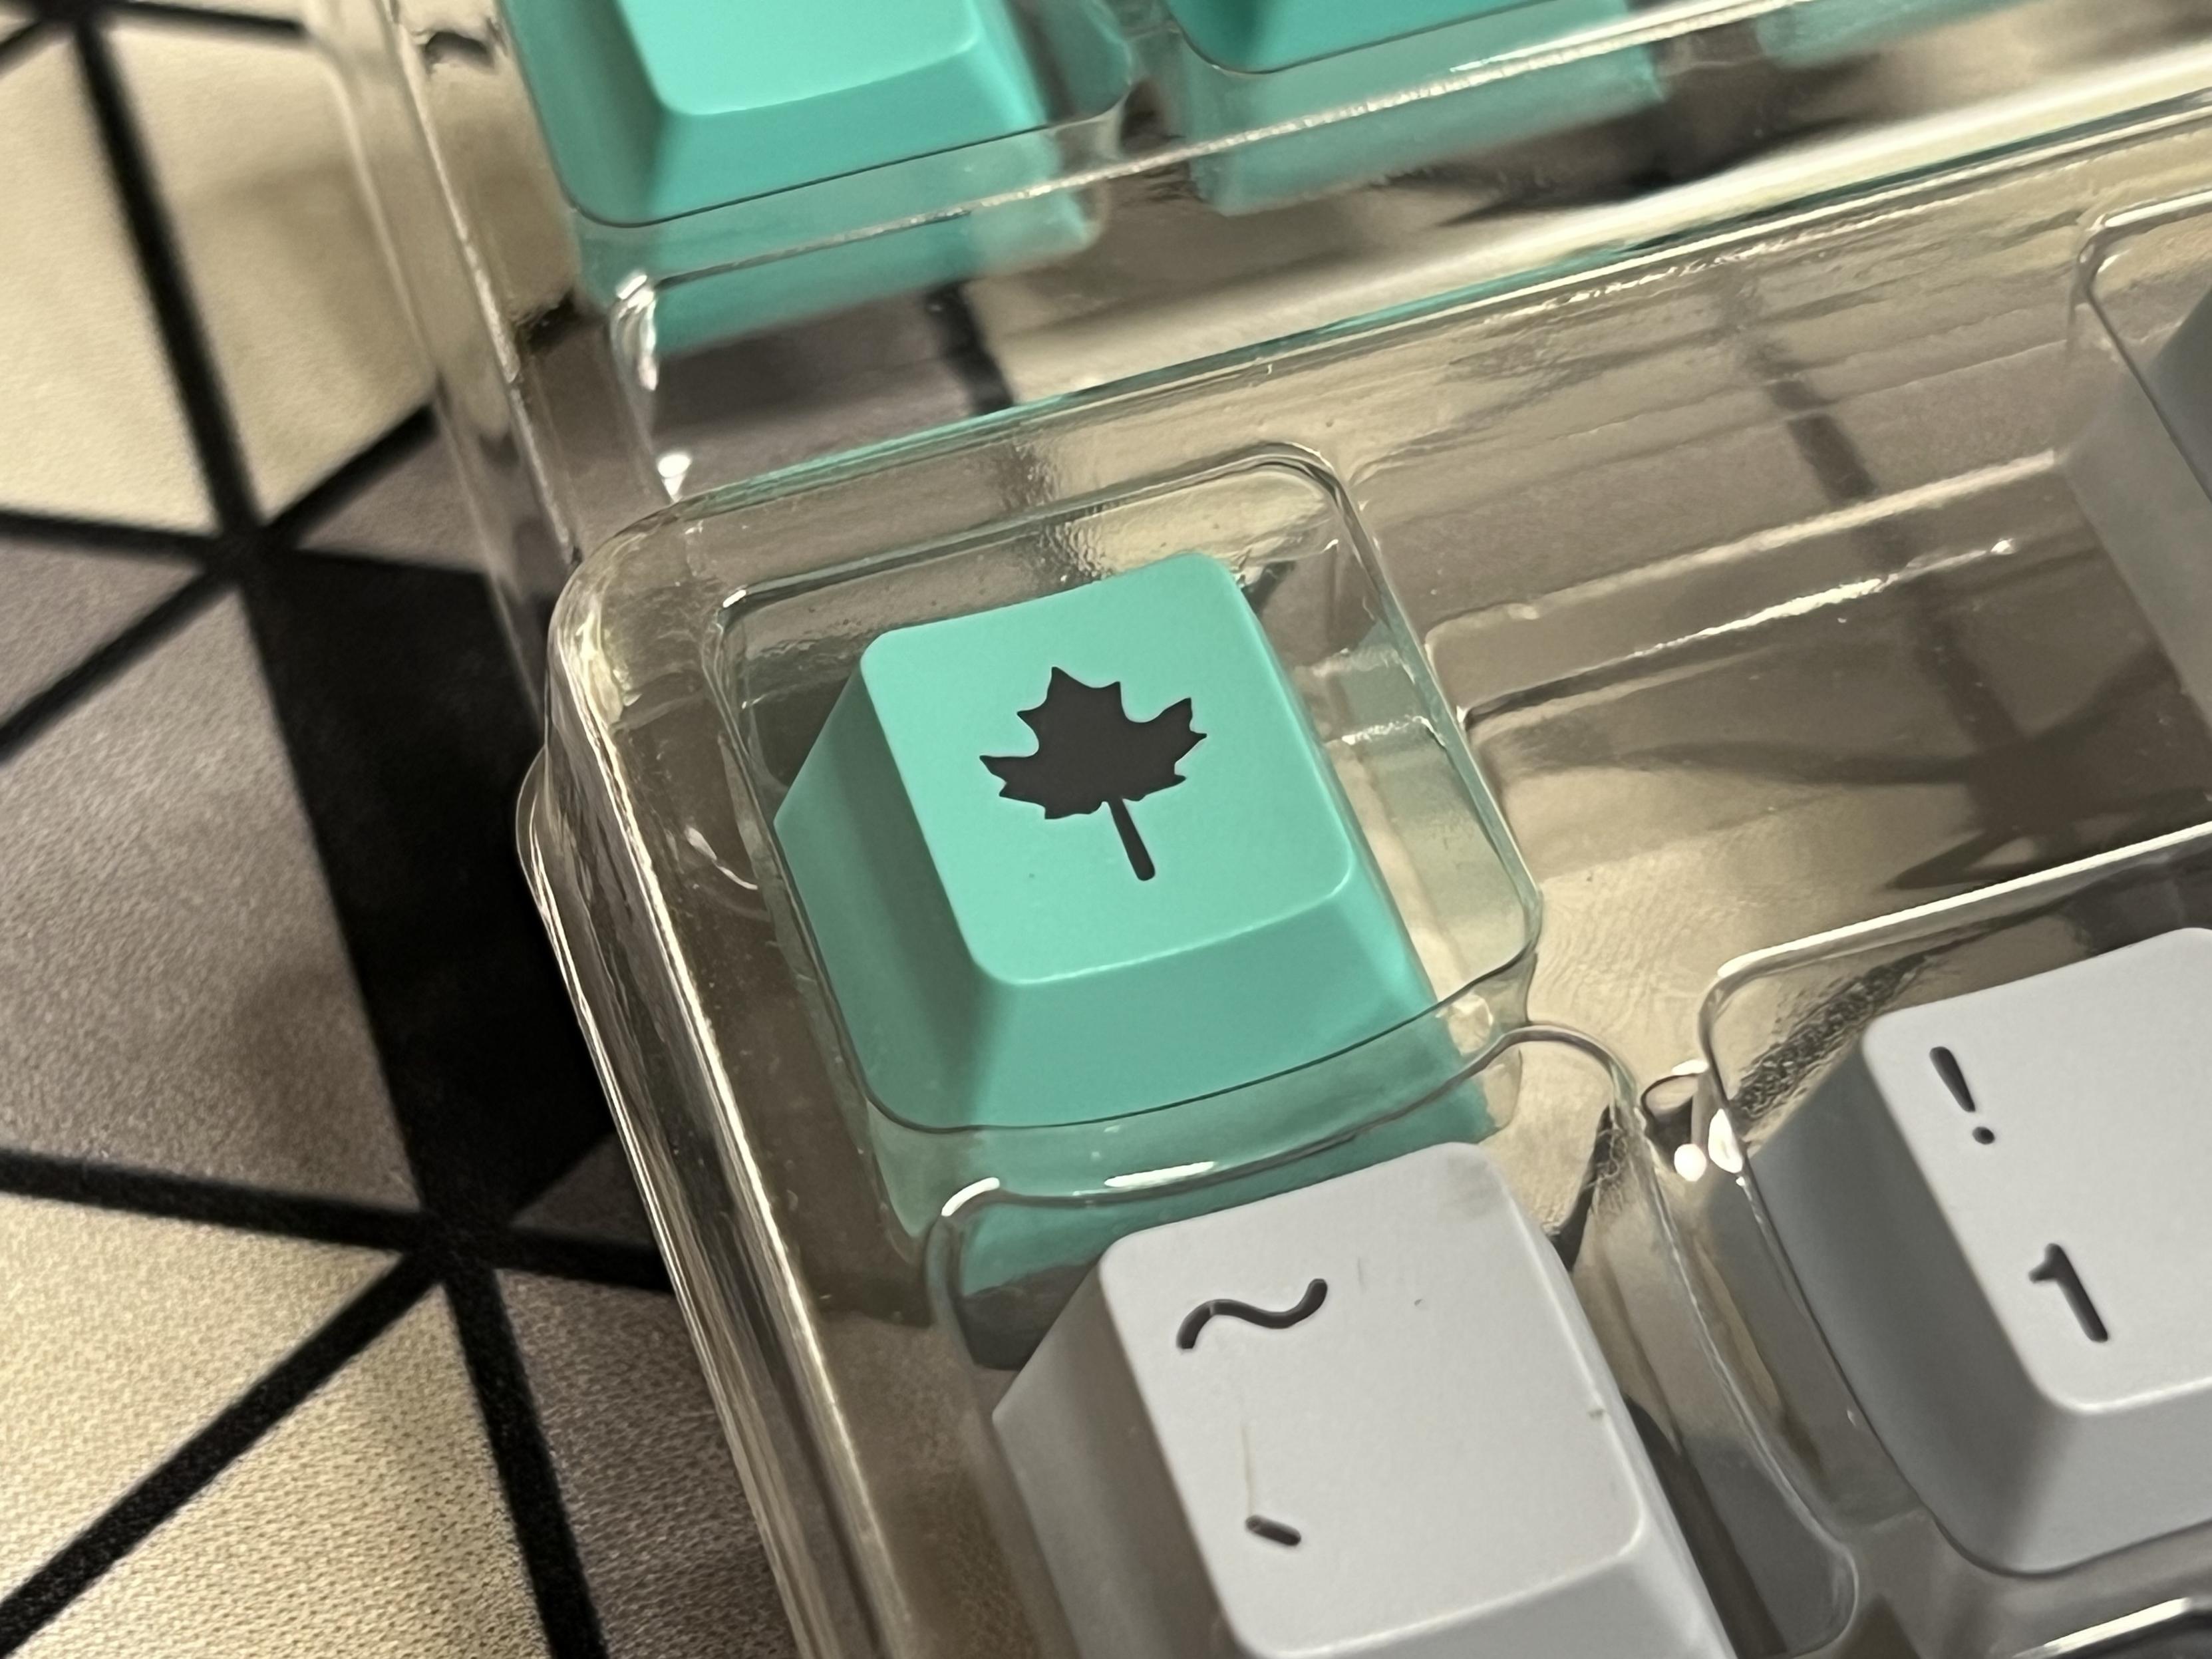
A handful of alternate key choices and a maple leaf esc key. Not the worst deal, but not quite a full artisan set, and no novelties!
As for the keycaps, they usually come neatly arranged in the packaging and you place the ones relevant to your layout – in this case ISO – and preference. These entry level sets usually come with only a basic set of keycaps, and the non-uniform profile of Cherry means you can’t – for example – re-arrange QWERTY to DVORAK without having a keyboard looking like a book of British smiles. The Hammerhead Light set I picked came with some variations of the Esc key (Esc or Maple Leaf), choices of spacebar colour, and a couple of flavours of arrow keys. There’s not much room to express yourself, so be ready for a deep rabbit-hole of artisan keycaps if you’re at all aesthetically inclined.
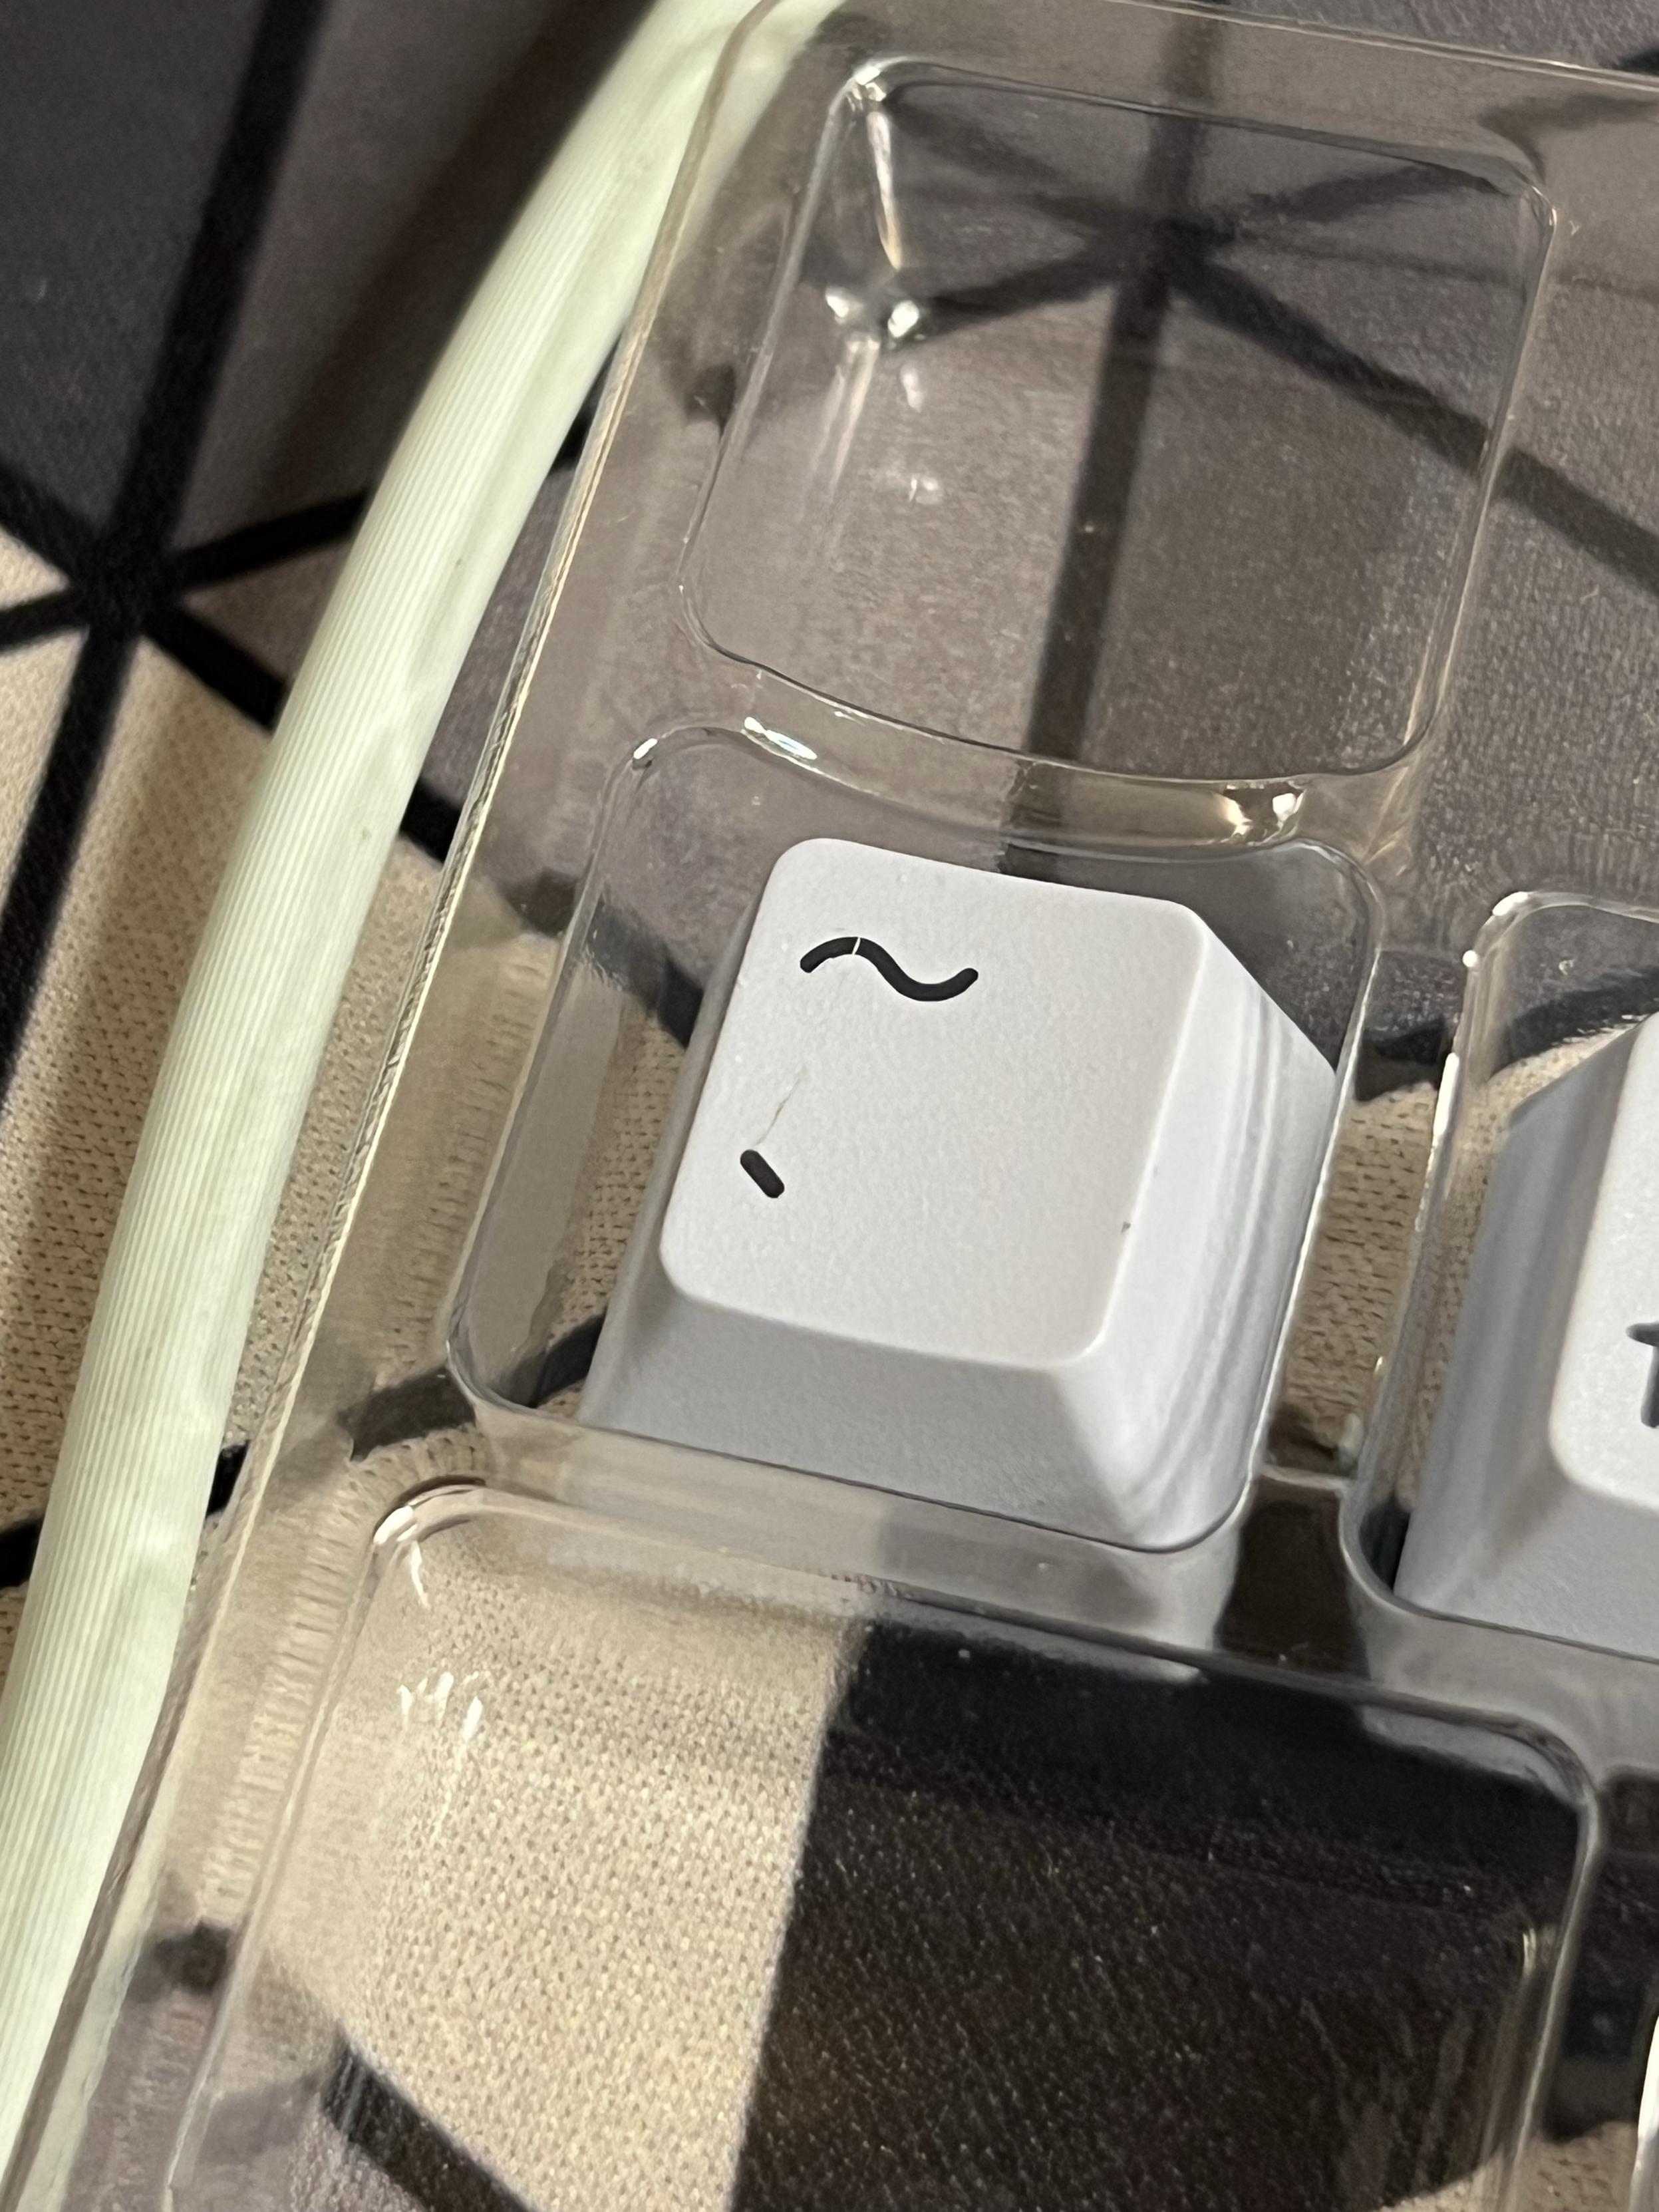
The macOS key that never was
Notably missing are some macOS specific keys, like the tilde/backtick that sits left of Z (I had to use tilde/hash) and the macOS “section” sign key (the § one below Esc) which I don’t think I’ve ever used outside of referring to it in writing. Well actually tilde/backtick exists, but since the keys are cherry profile and non-uniform it doesn’t fit.
Build
A big draw for Chilkey’s ND75 is the build quality, flexibility and attention to detail. It’s the reason it passed muster at ProtoTypist and the reason it’s such a good midrange board if you’re looking to get a feel for the flexibility of mechanical keyboards without immediately diving into the deep end and making very preference-based decisions up front.
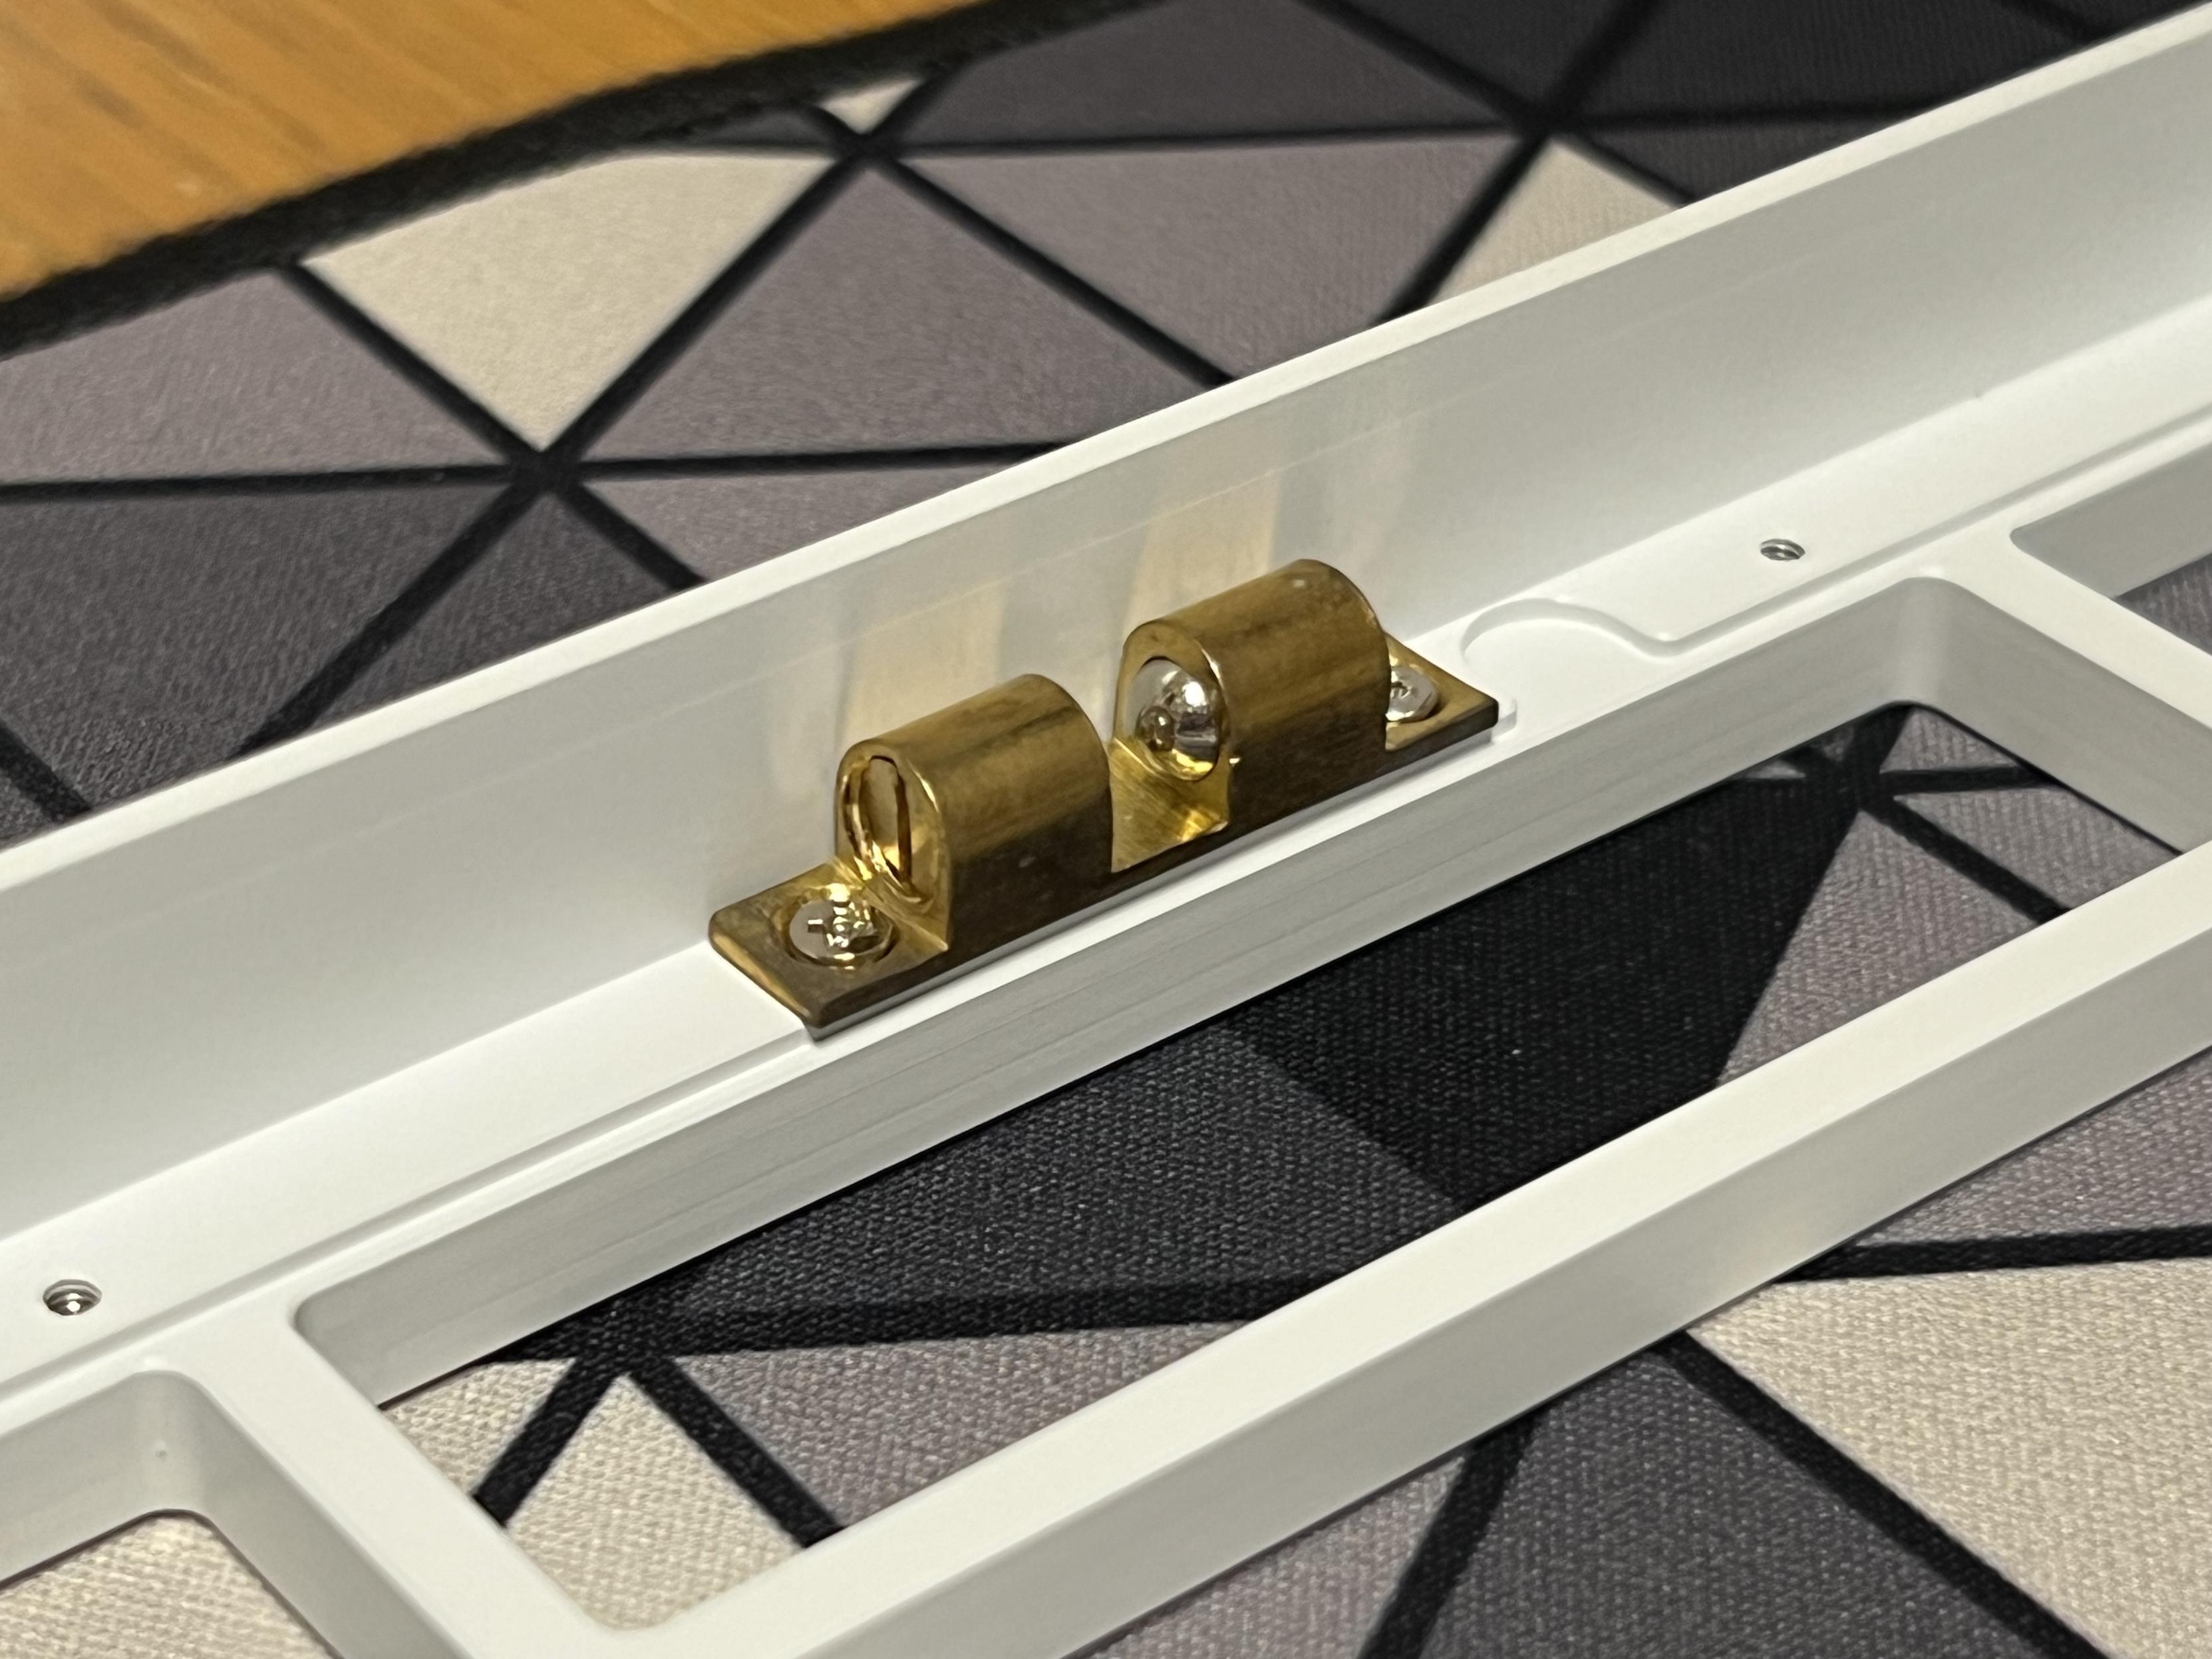
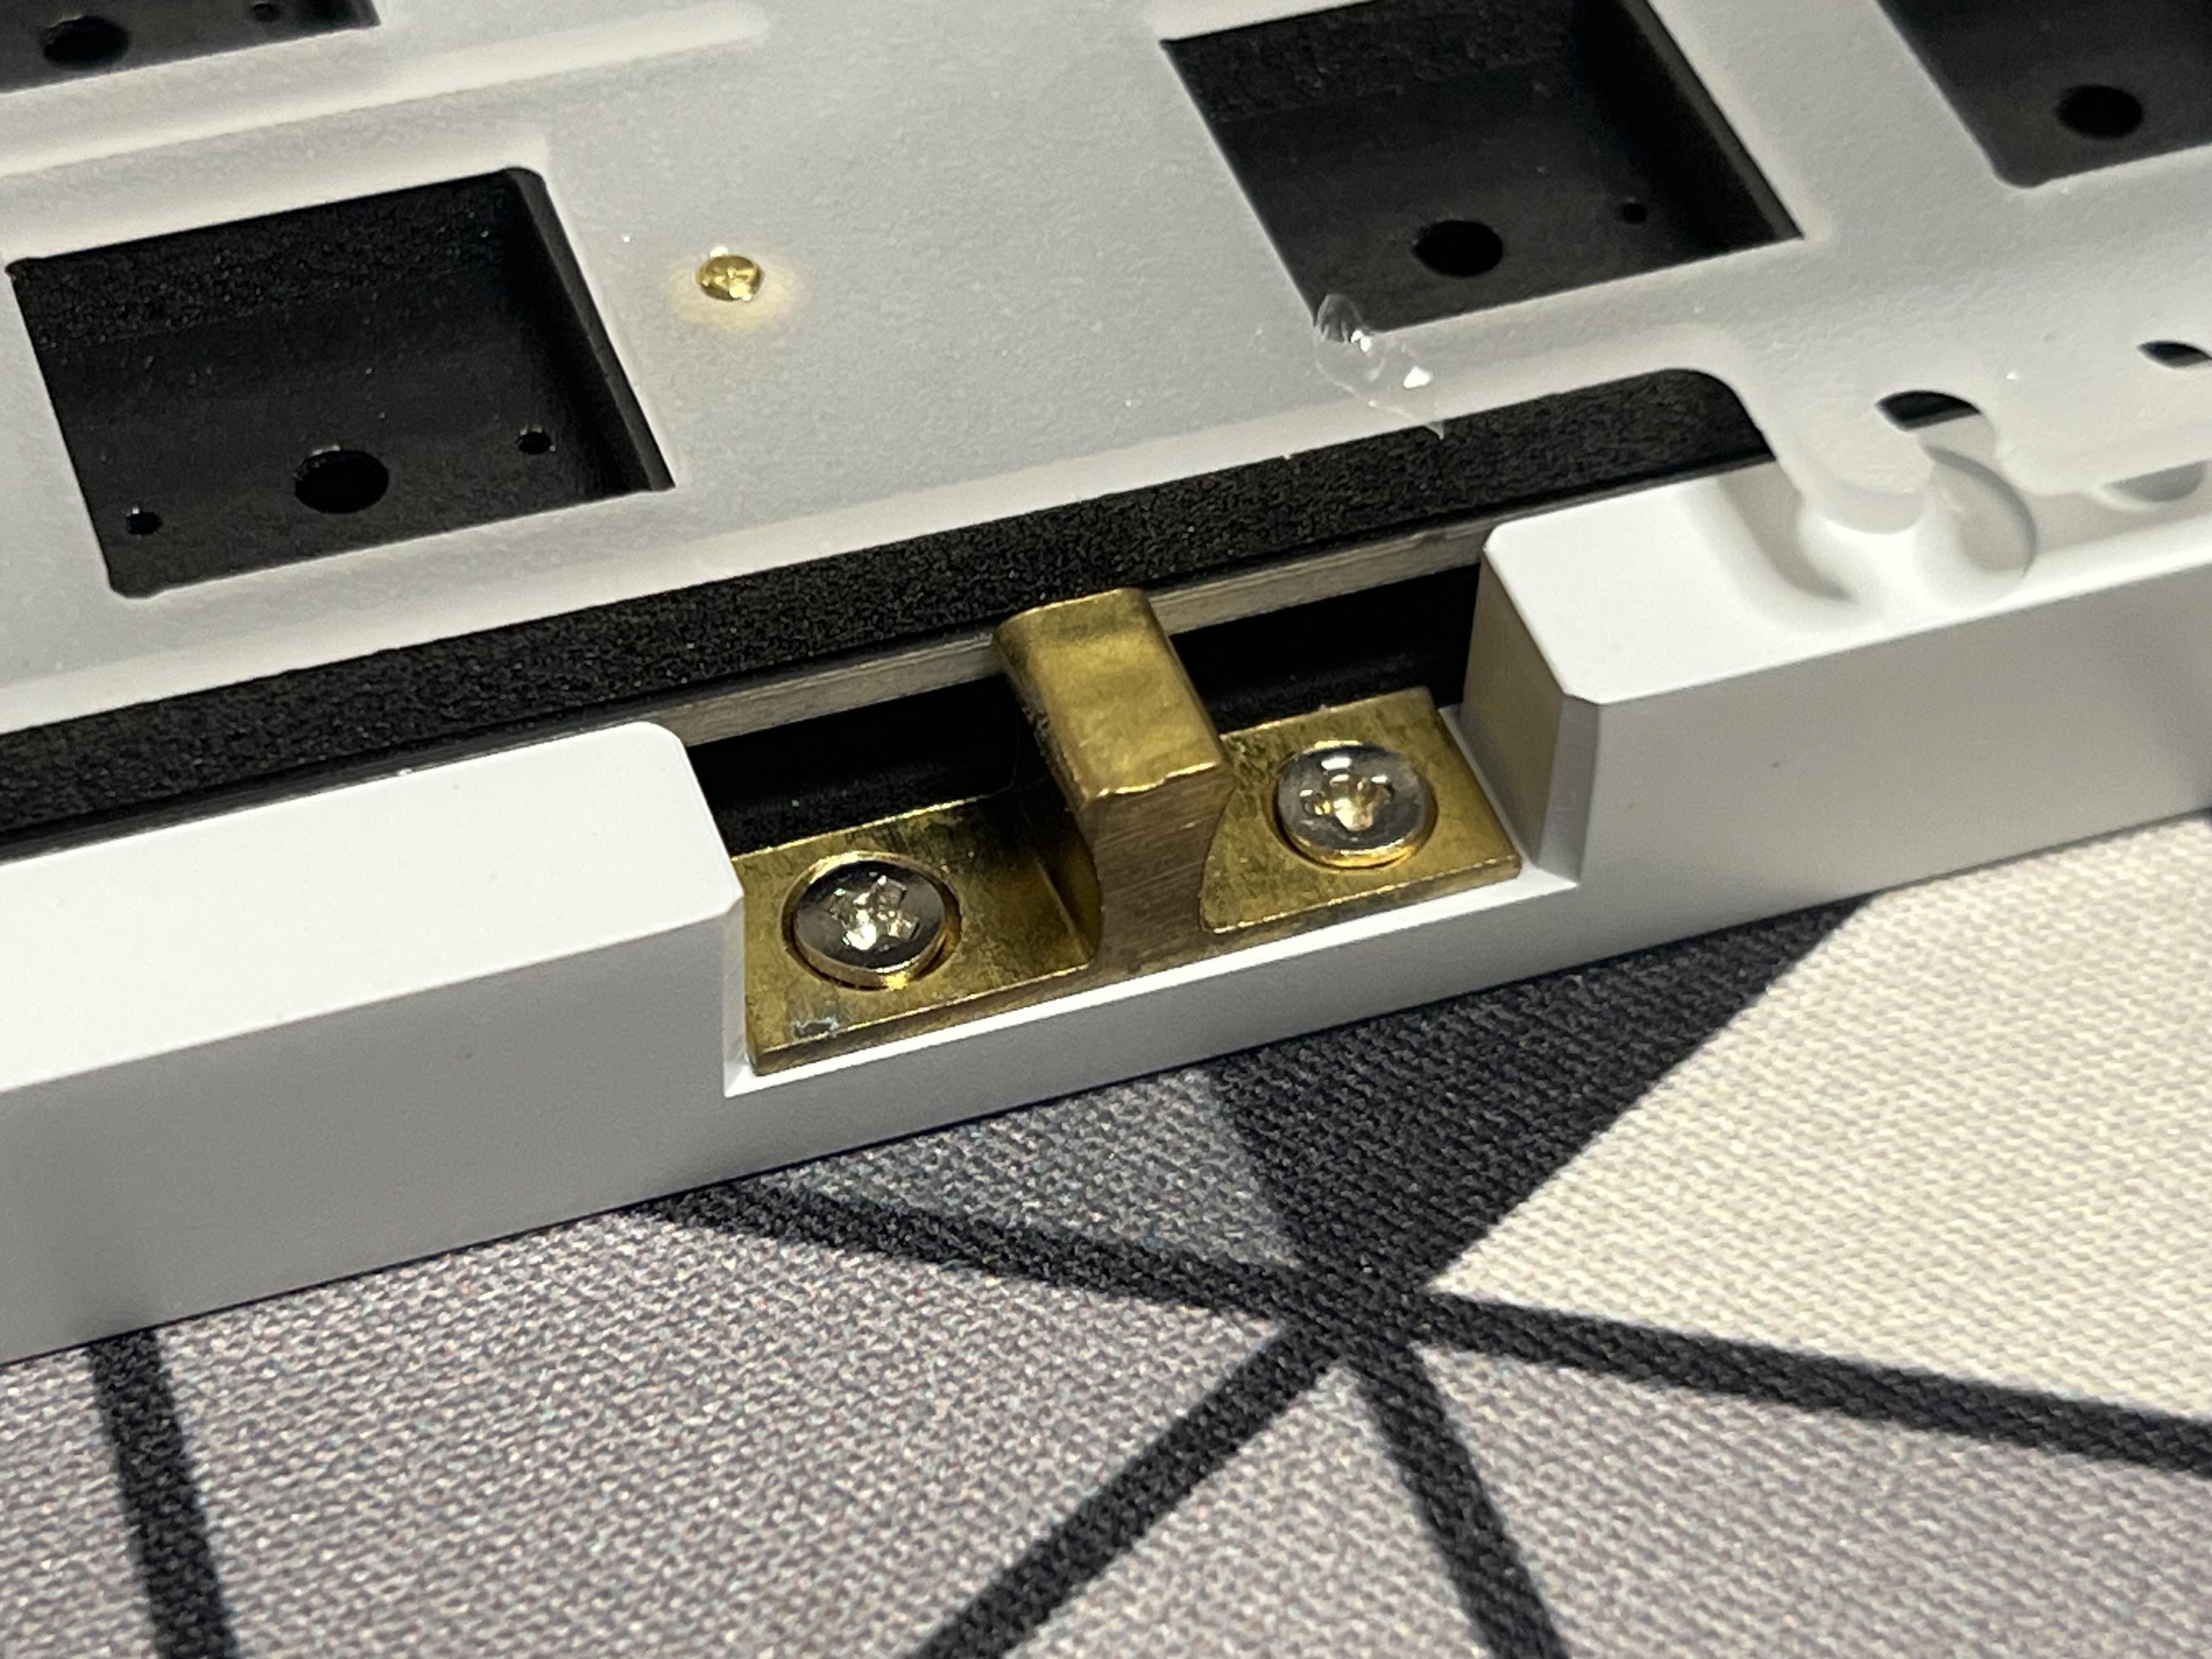
The use of off the shelf cabinet catches to secure the top and bottom halves is clever. They’re really solid but easy enough to open.
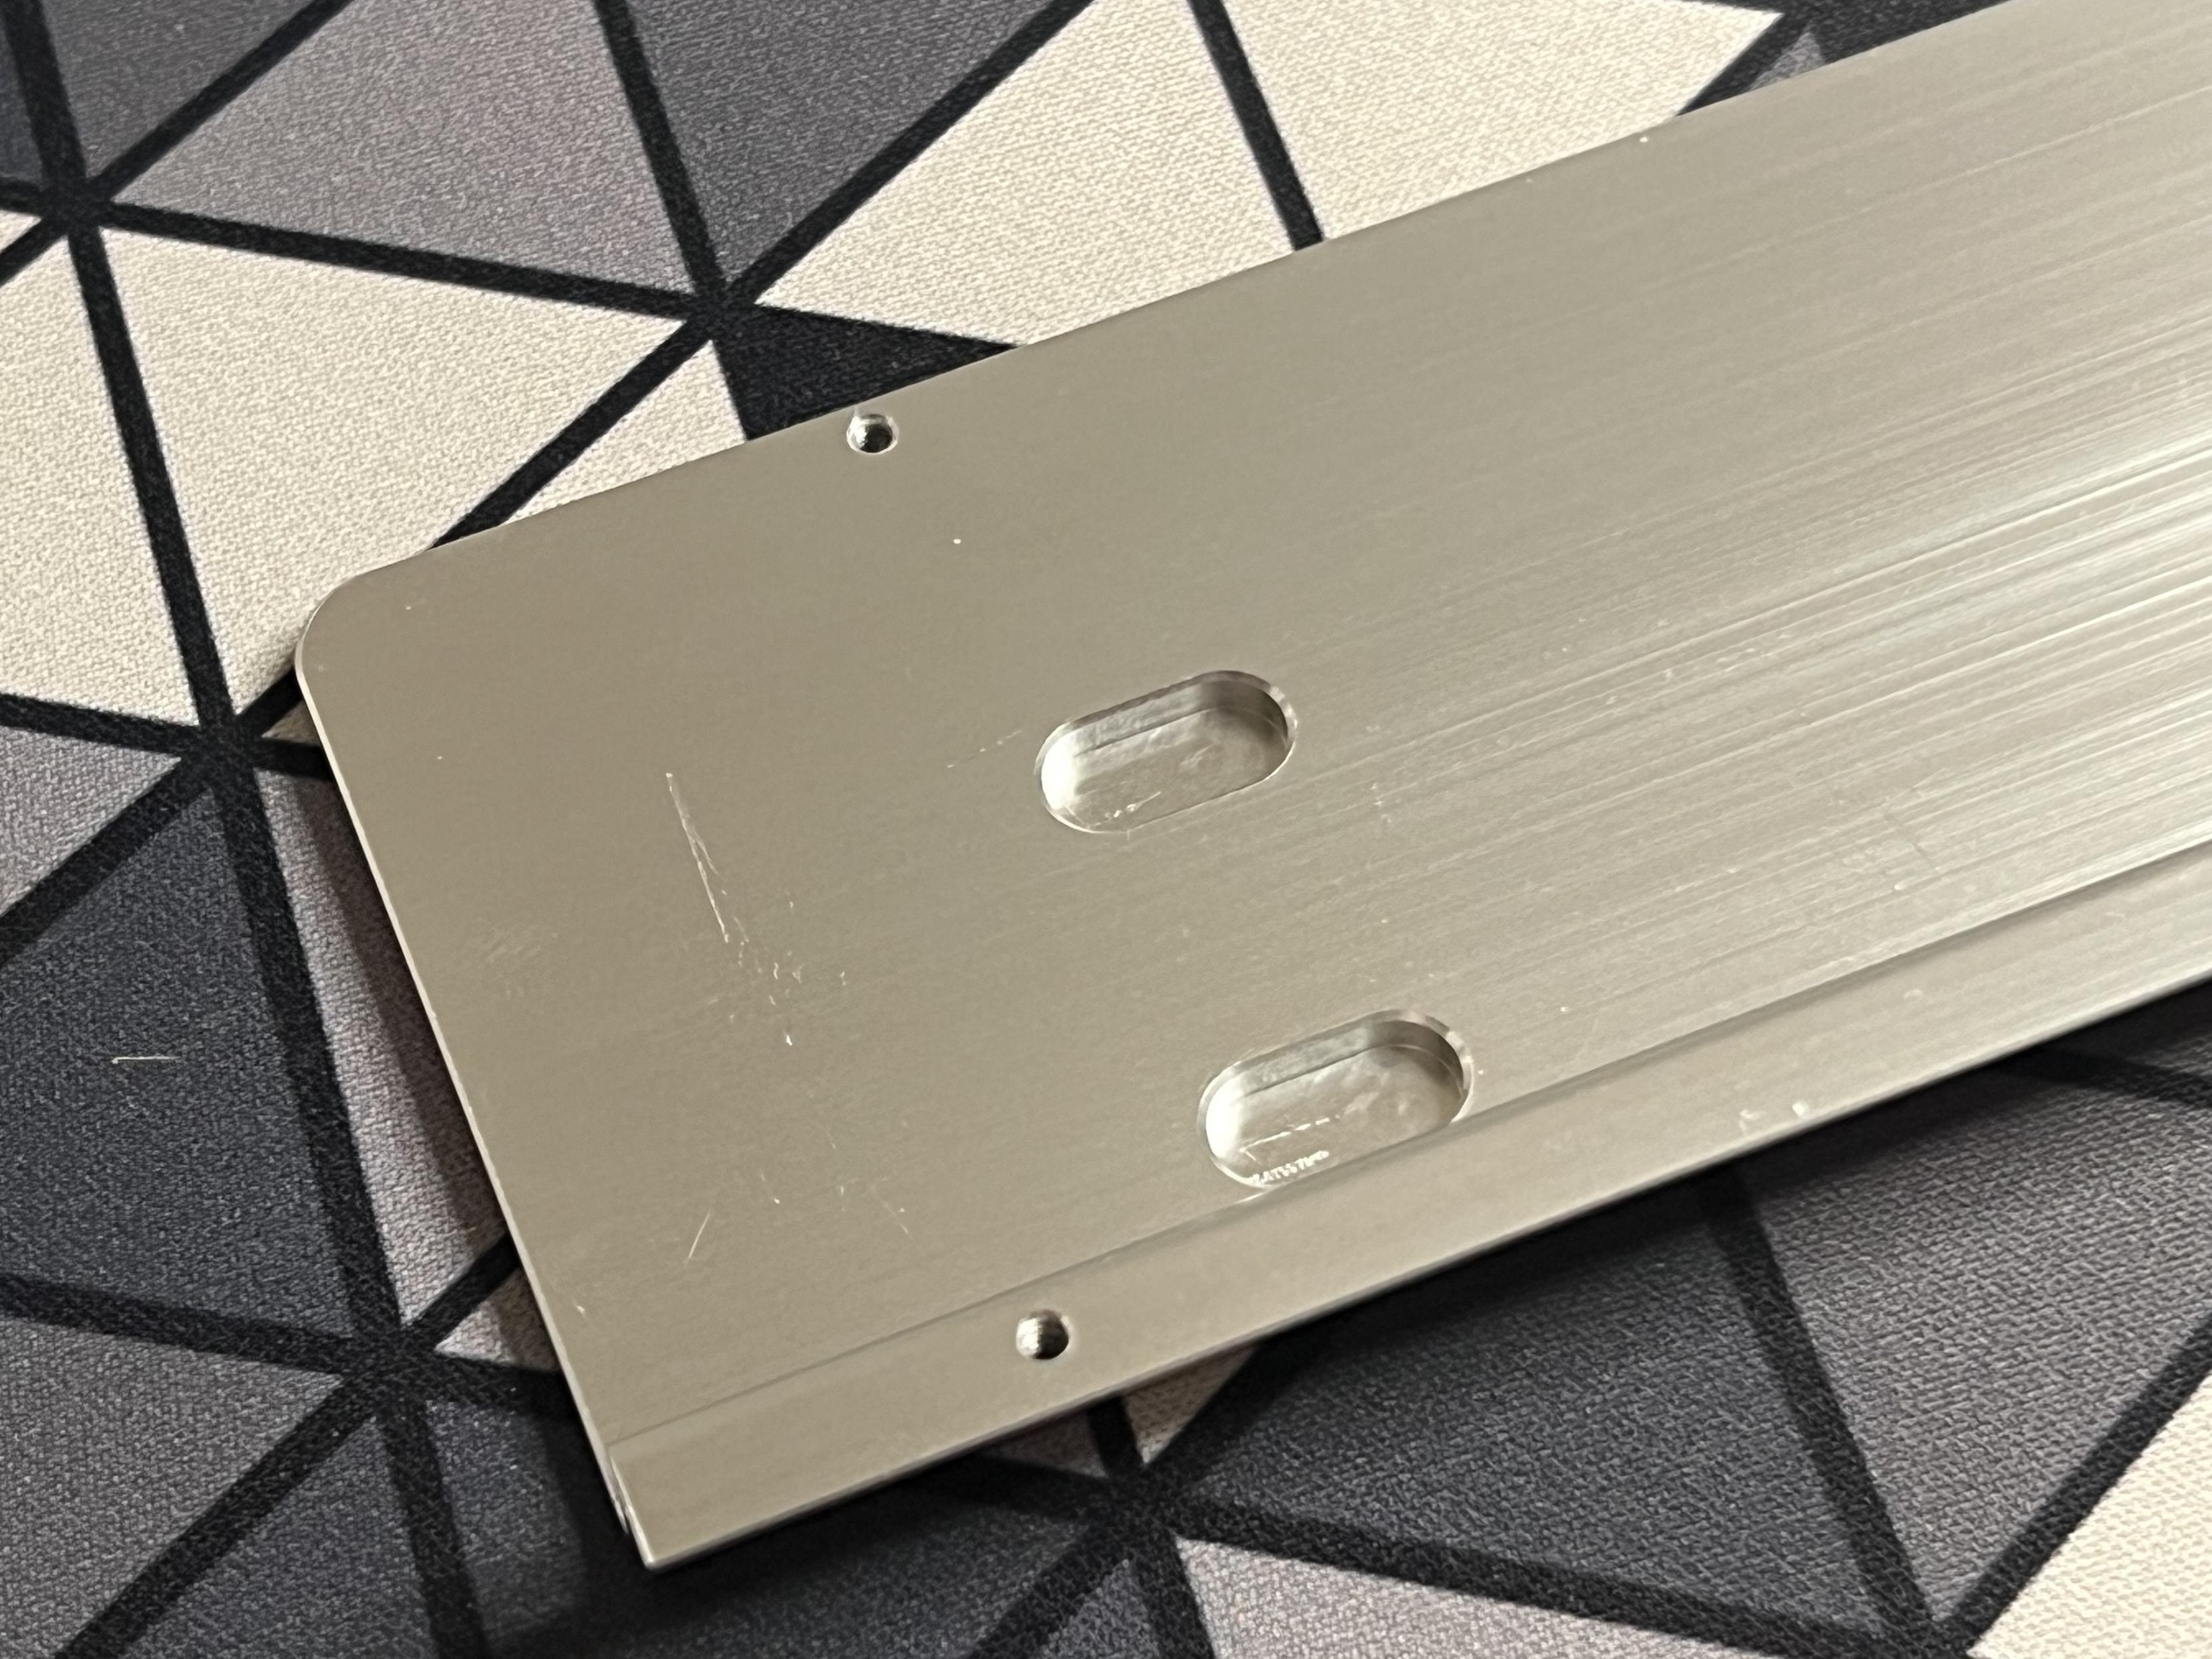
The top and bottom shells are both solid aluminium and are reassuringly tough and well finished, there wasn’t a mark or blemish on the pristine white of my ND75 when it arrived. Less so now I’ve used it for a while- though I’ve only sullied it with grime and nothing is worn, scratched or dented. Solid!
Now, let’s pull the ND75 apart, remove the PCB and look at the base. This is easy since the aforementioned cabinet latches simply pop right open, though you do need to grab the board against its edges and leverage against the keys to achieve this.
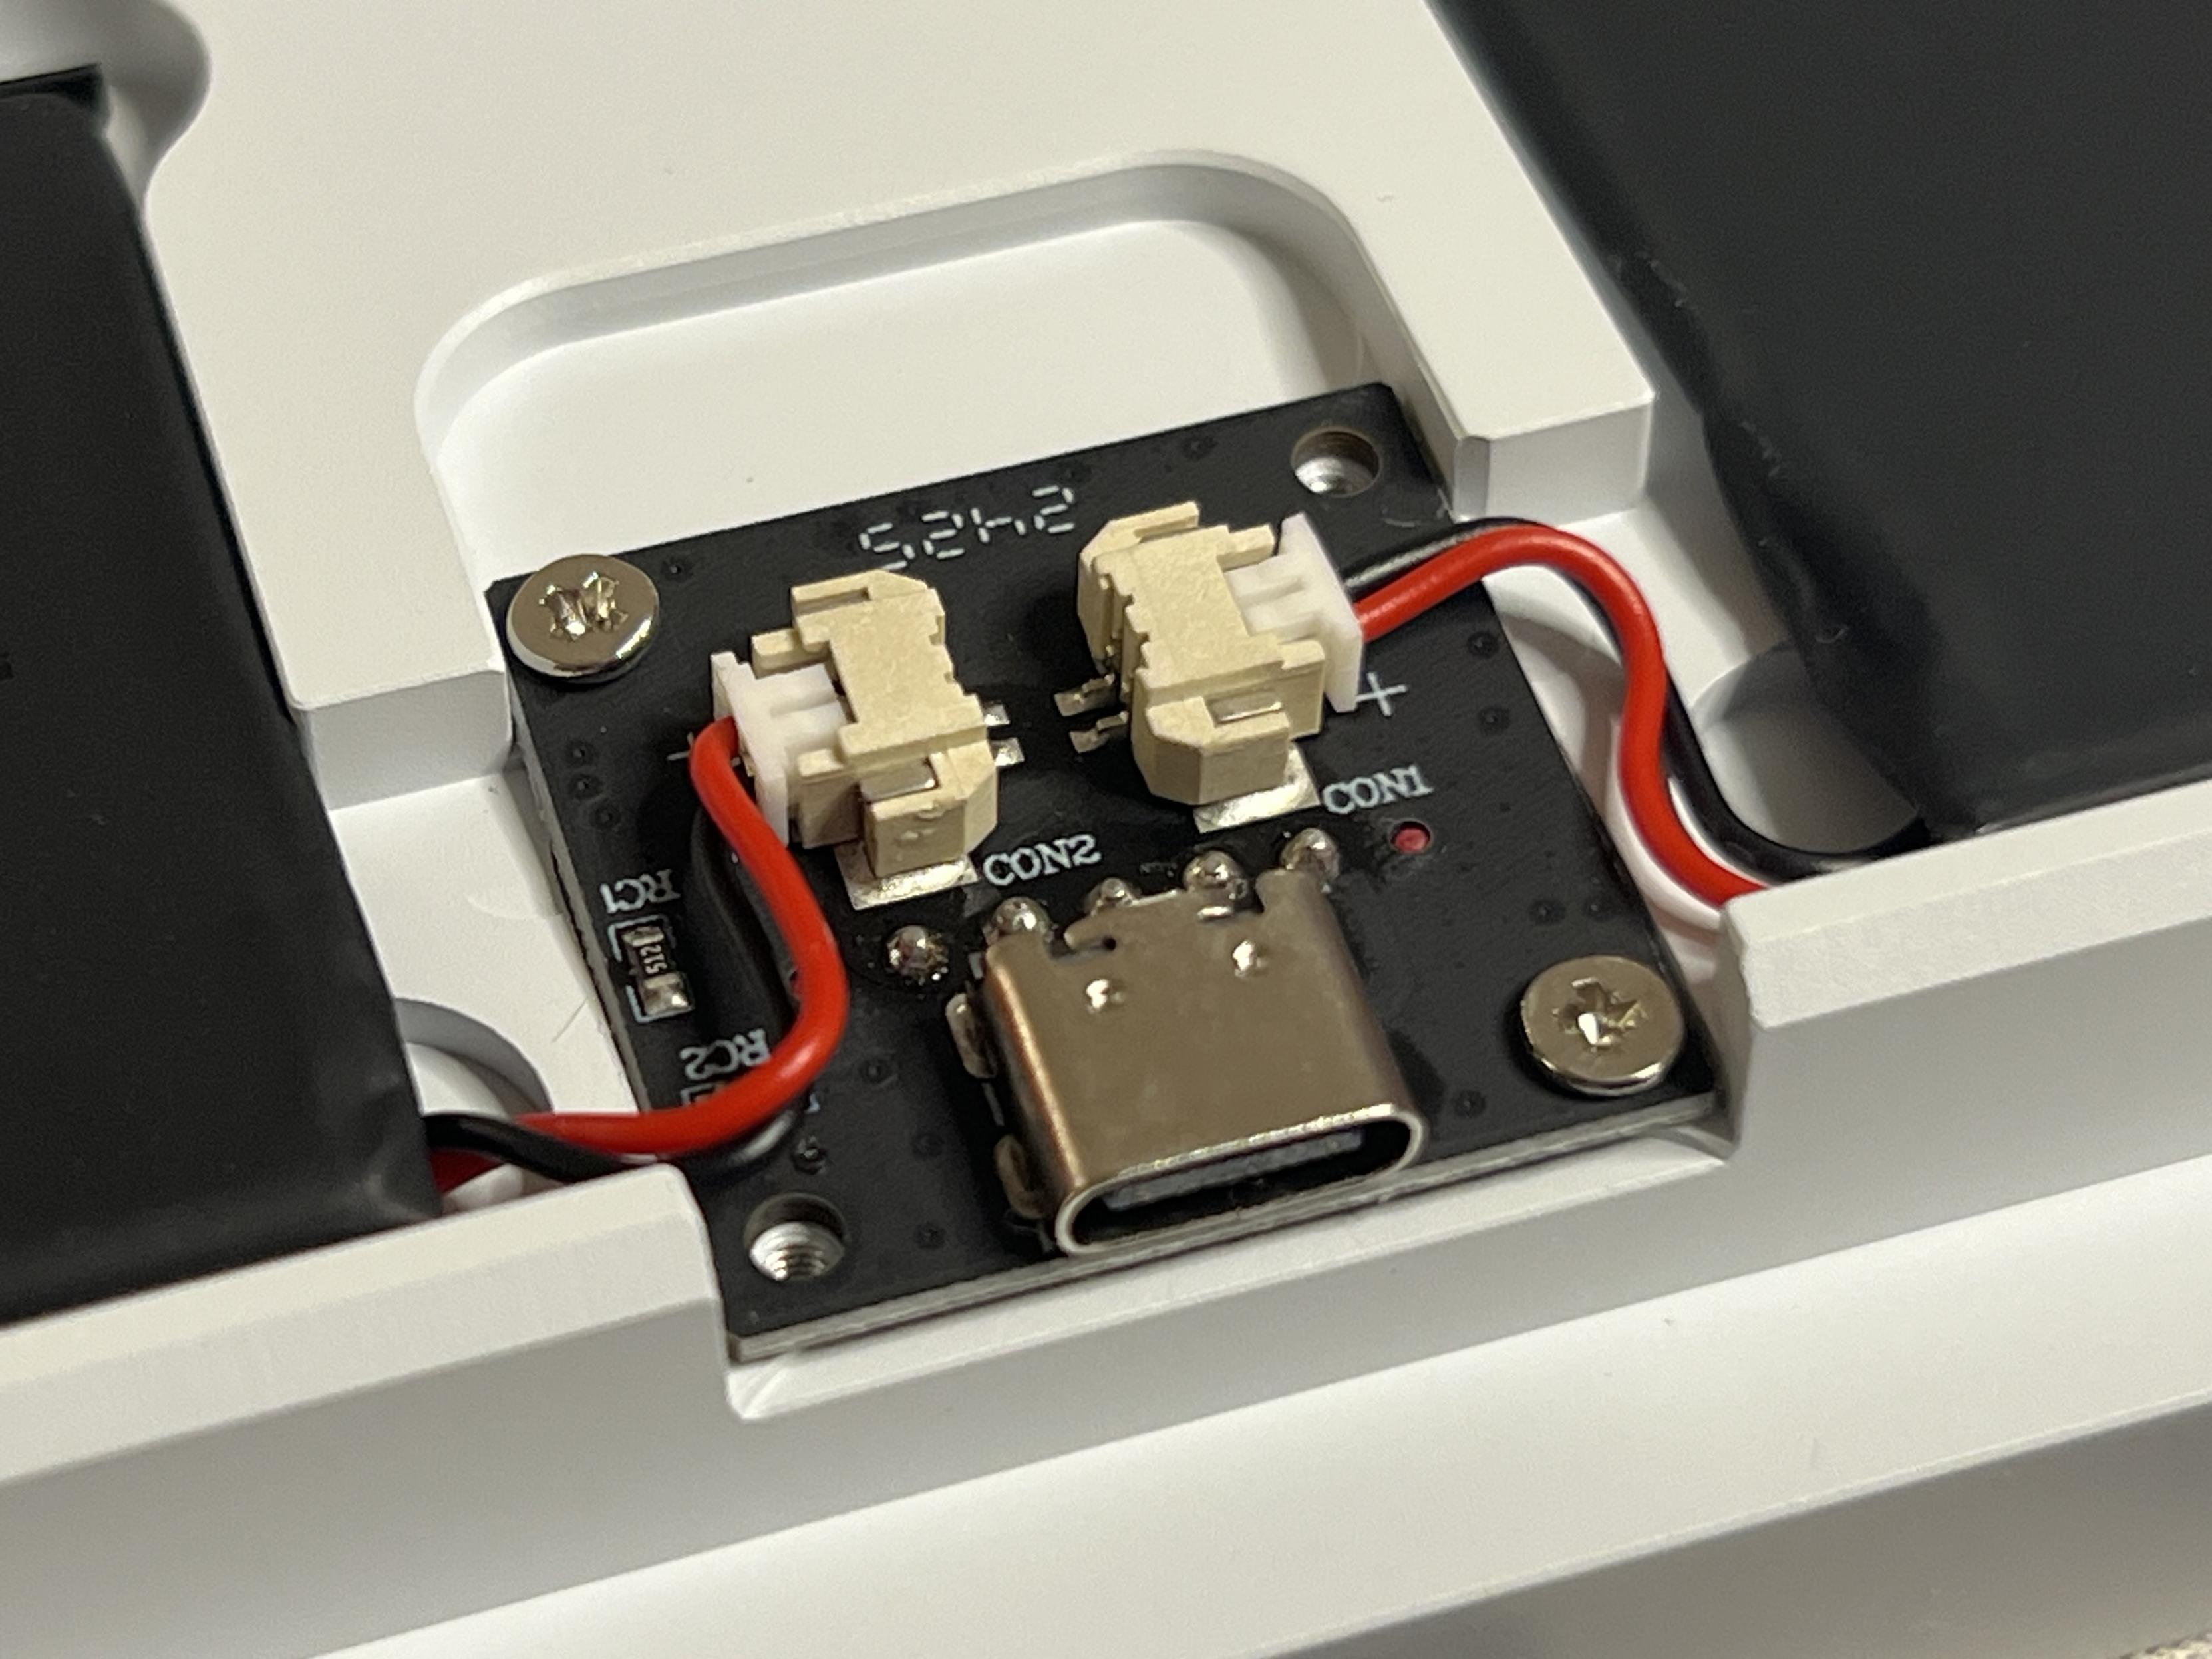
The badge unscrews from inside the board revealing the batteries, and a little PCB with the USB port and JST connectors.
You’d be forgiven for wondering where the battery is- it’s in there, I promise! Despite a clean and screwless outside appearance the badge on the bottom of the ND75s base (the badge being the contrasting chunk of machined aluminium with the ND75 logo debossed into it) is secured with internal screws. Sandwiched between it and the base are a pair of 1,800mAh LiPo batteries connected via JST to a central PCB that also houses the USB port. This means the batteries are secured safely away from your efforts to disassemble and modify your board, but also away from any pointy bits on the underside of the PCB – though there’s a layer of foam padding the underside as standard anyway.
To route power to the PCB there’s a little magnetic daughter-board connected via flat-flex cable. This clips securely onto contacts for the power and USB port, but also allows the PCB to move freely up and down (depending on your mounting choice). Crucially the magnets also mean it pulls away safely when you lift out the PCB, avoiding any damage to the flat-flex cable.
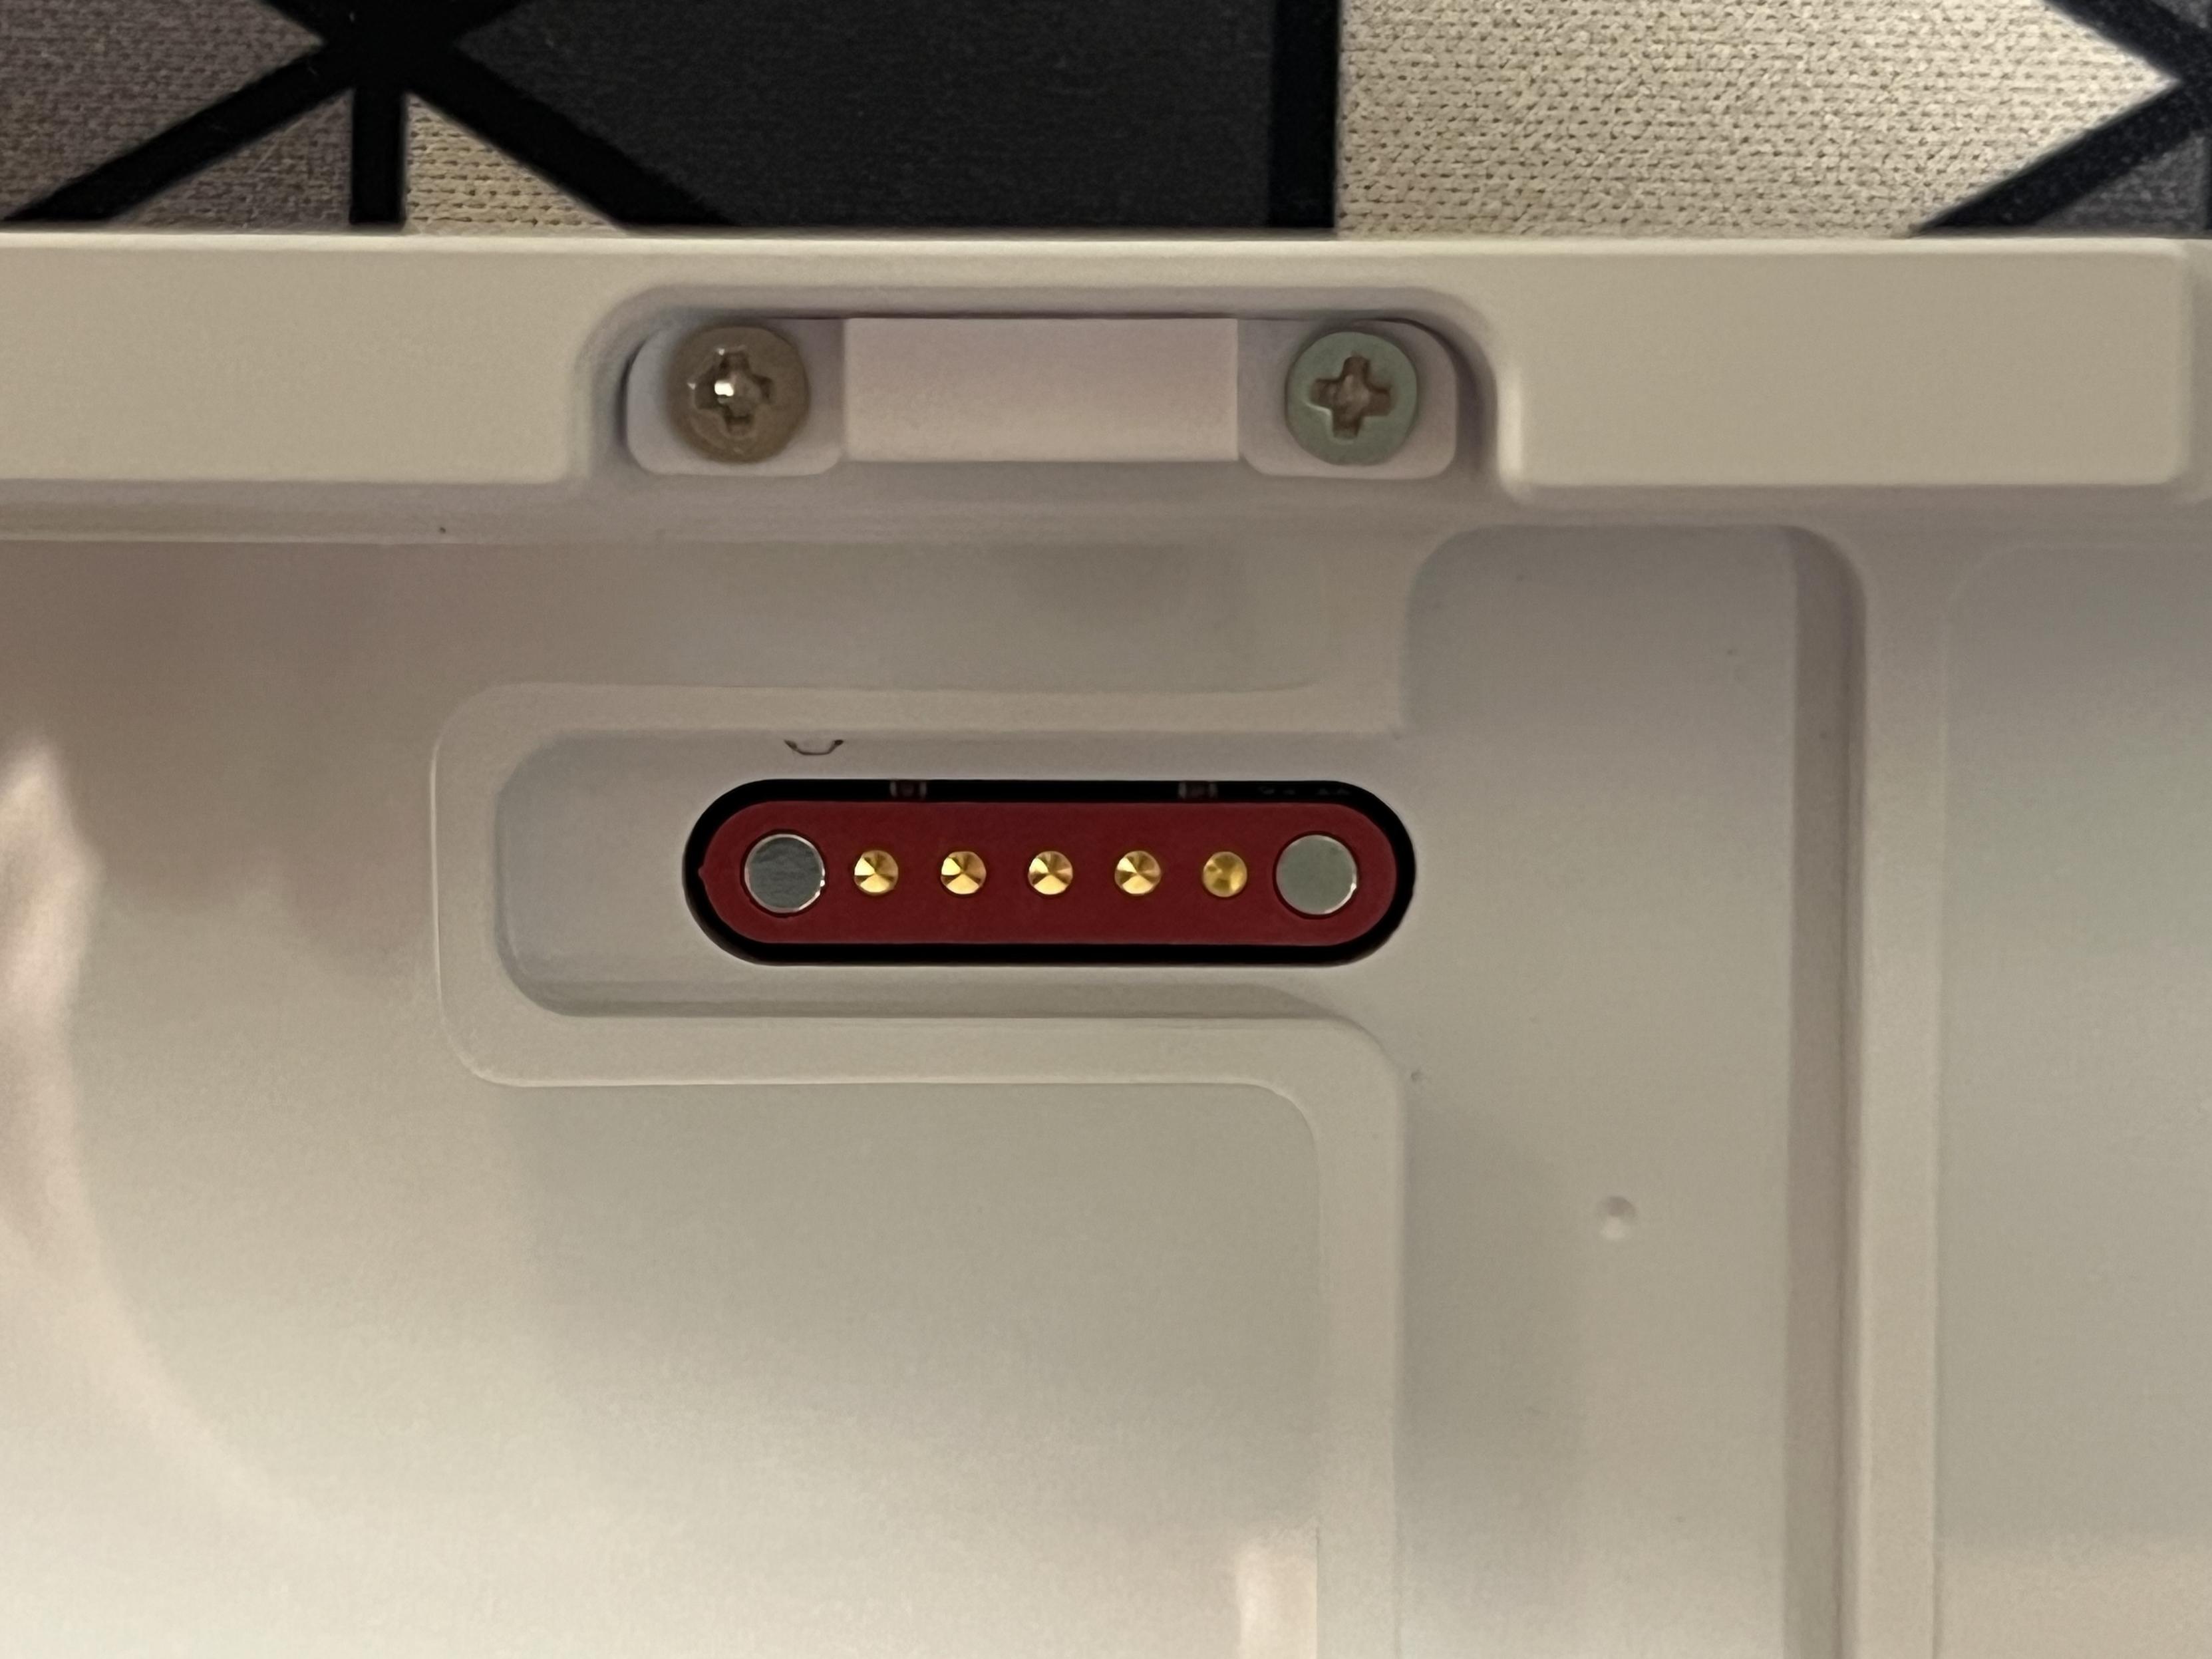
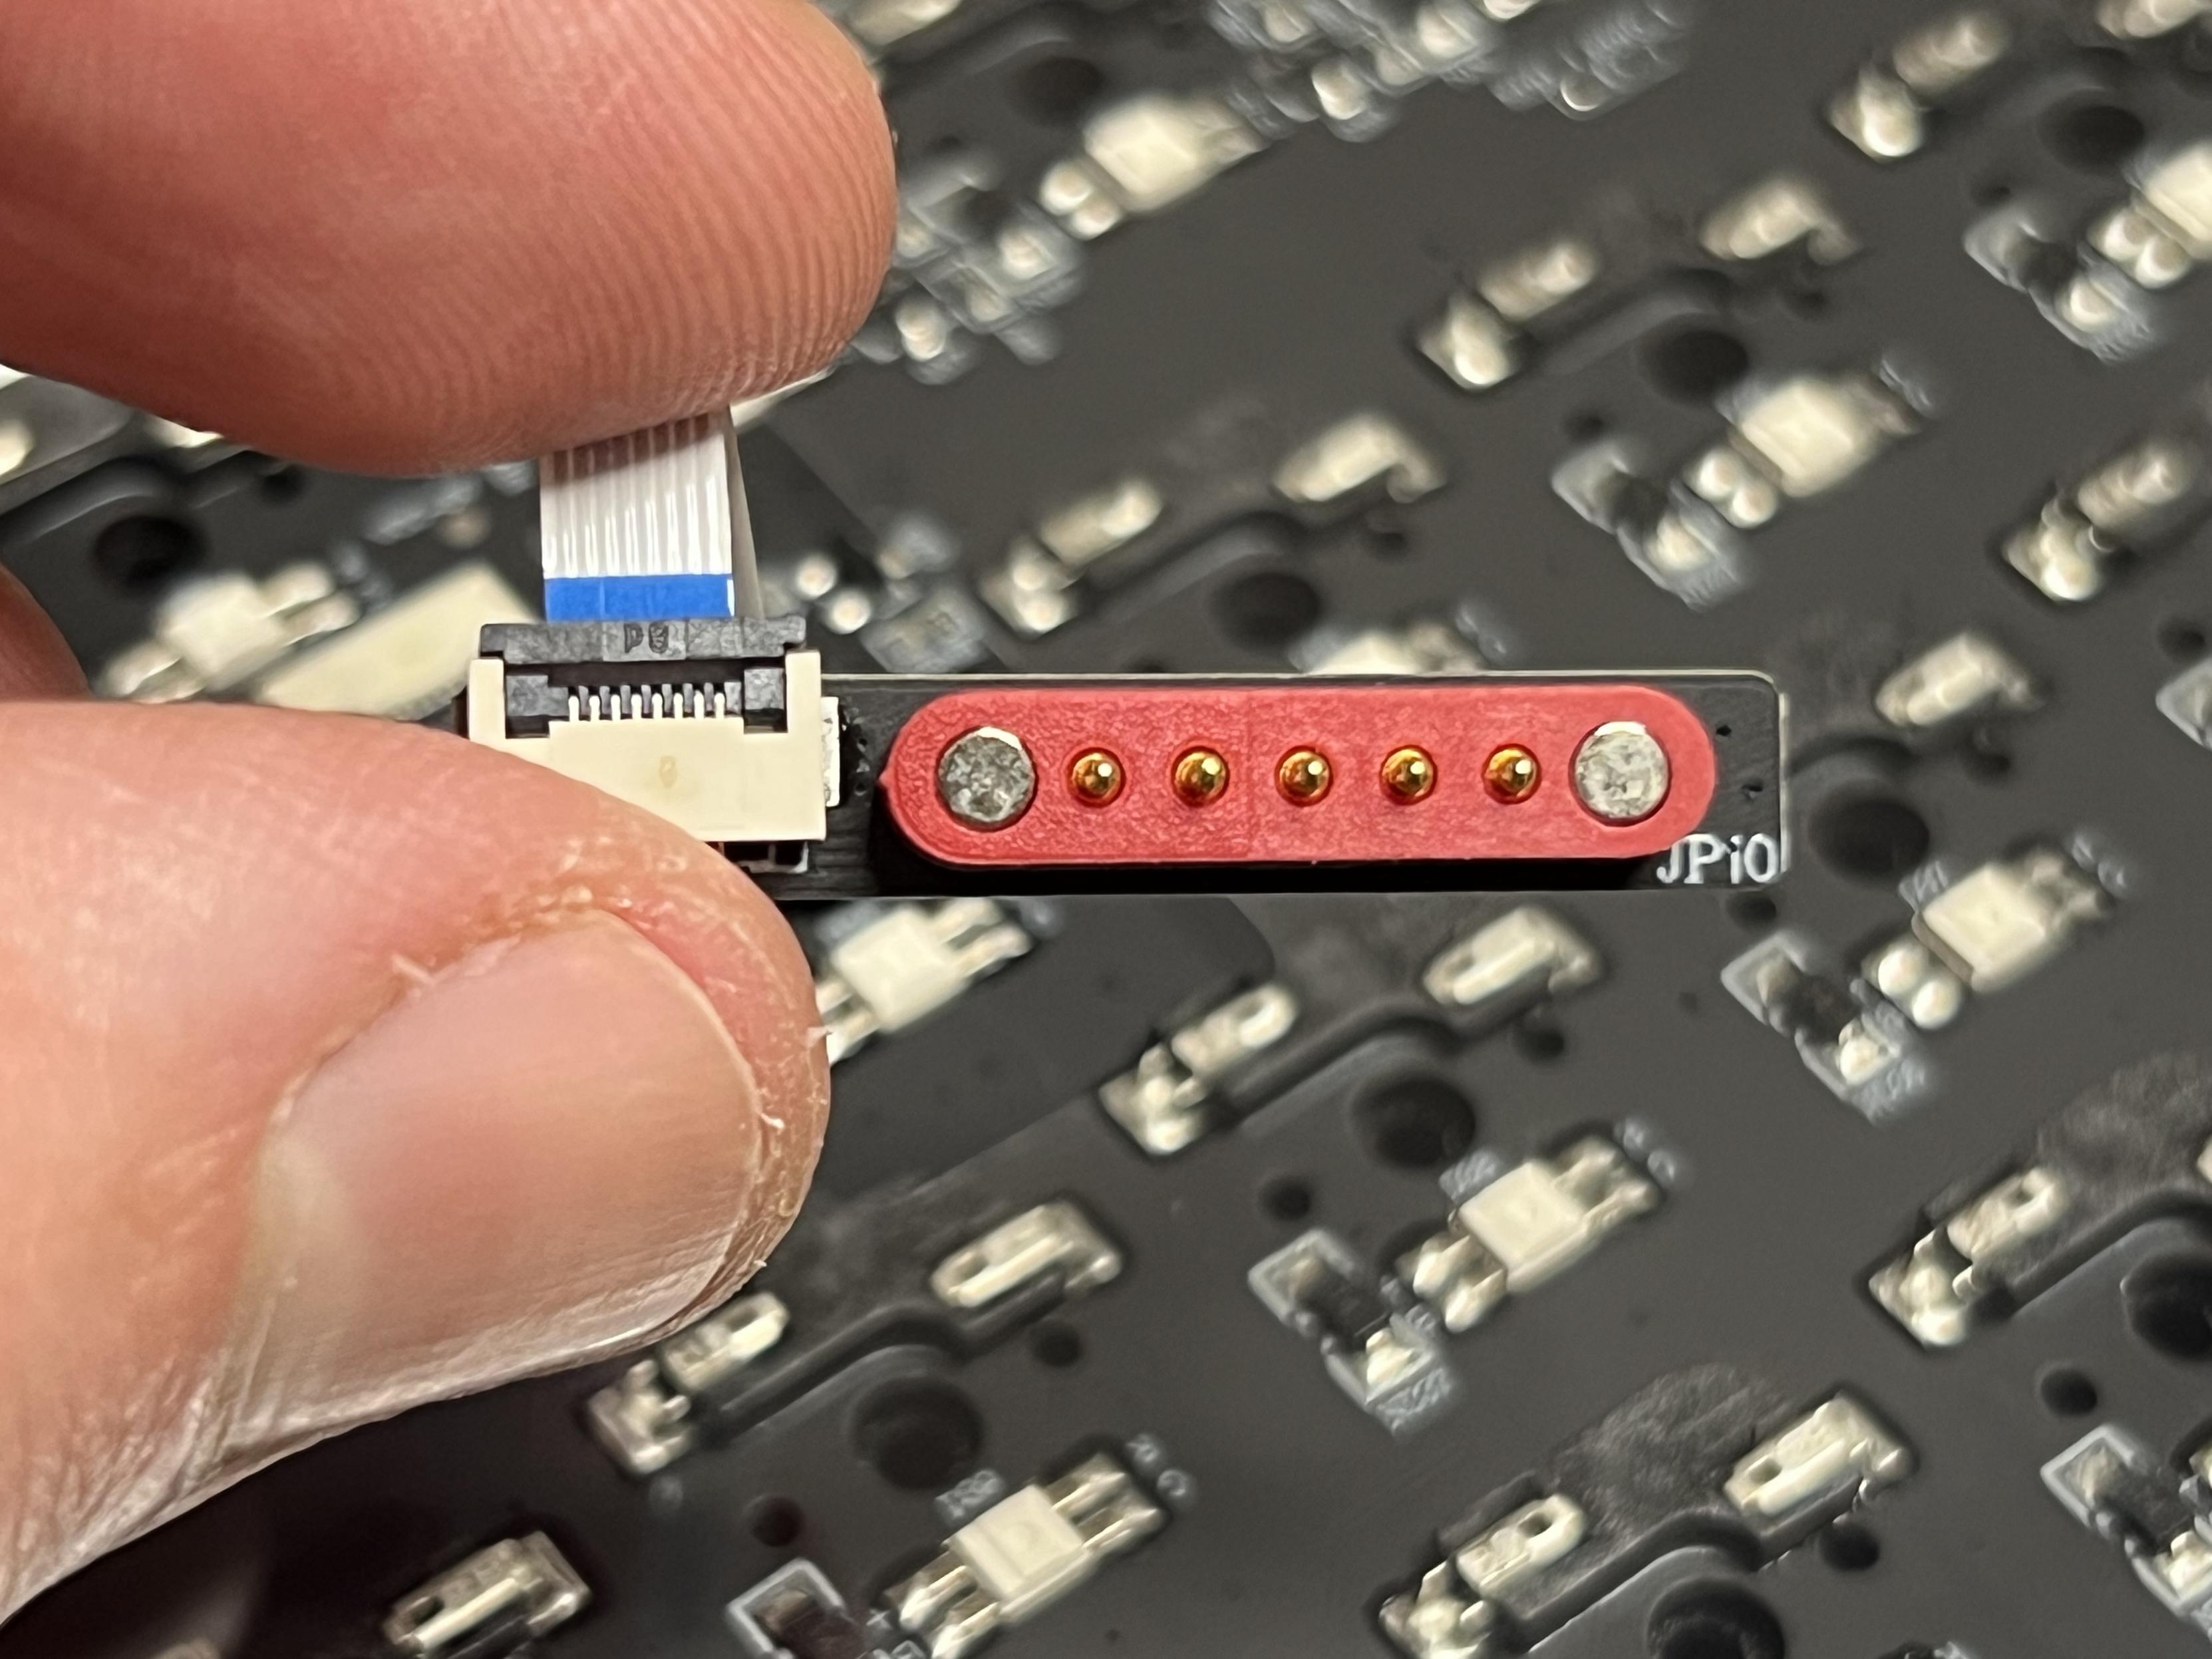
The subtle genius of a little pull away magnetic connector to join the main keyboard PCB to the USB port and batteries. It snaps in so easily!
I should also stop a minute here to appreciate just how decisively this little magnetic doodad snaps into the right position- when replacing the PCB I’ve never had to worry about alignment, instead dangling it in the general vicinity of its counterpart magnetic contacts as I close up the keyboard. It’s a brilliant little touch. Most low to mid-range boards would require unplugging the battery JST connectors and the USB daughter board if there is a separate one. Though to be fair, many are not designed to be customised.
Mounting Options
These considerations are crucial to the ND75s secret weapon- flexible mounting choices. This is where most casual Mechanical Keyboard enjoyers (and me, included, to be honest) start to hear static and tune out. Mounting is broadly how the keyboard PCB – where all the switches and keys are – fits and secures into the keyboard case. As standard the ND75 ISO comes with “Split O-Ring” style mounting. Protrusions from the keyboard PCB act as hooks around which an O-Ring is looped and this, in turn, slips over hooks in the base of the case. This means the PCB is somewhat isolated from the case, with the plate (that’s the bit the switches clip into, that sits above the PCB) riding about 1mm above the metal edge. This means that firm typing is cushioned somewhat, though I found the ND75 didn’t have quite the amount of flex I was accustomed to. This may be because the PCB itself is not “flex cut”, a technique of routing cutouts into the PCB, increasing its natural flexibility.
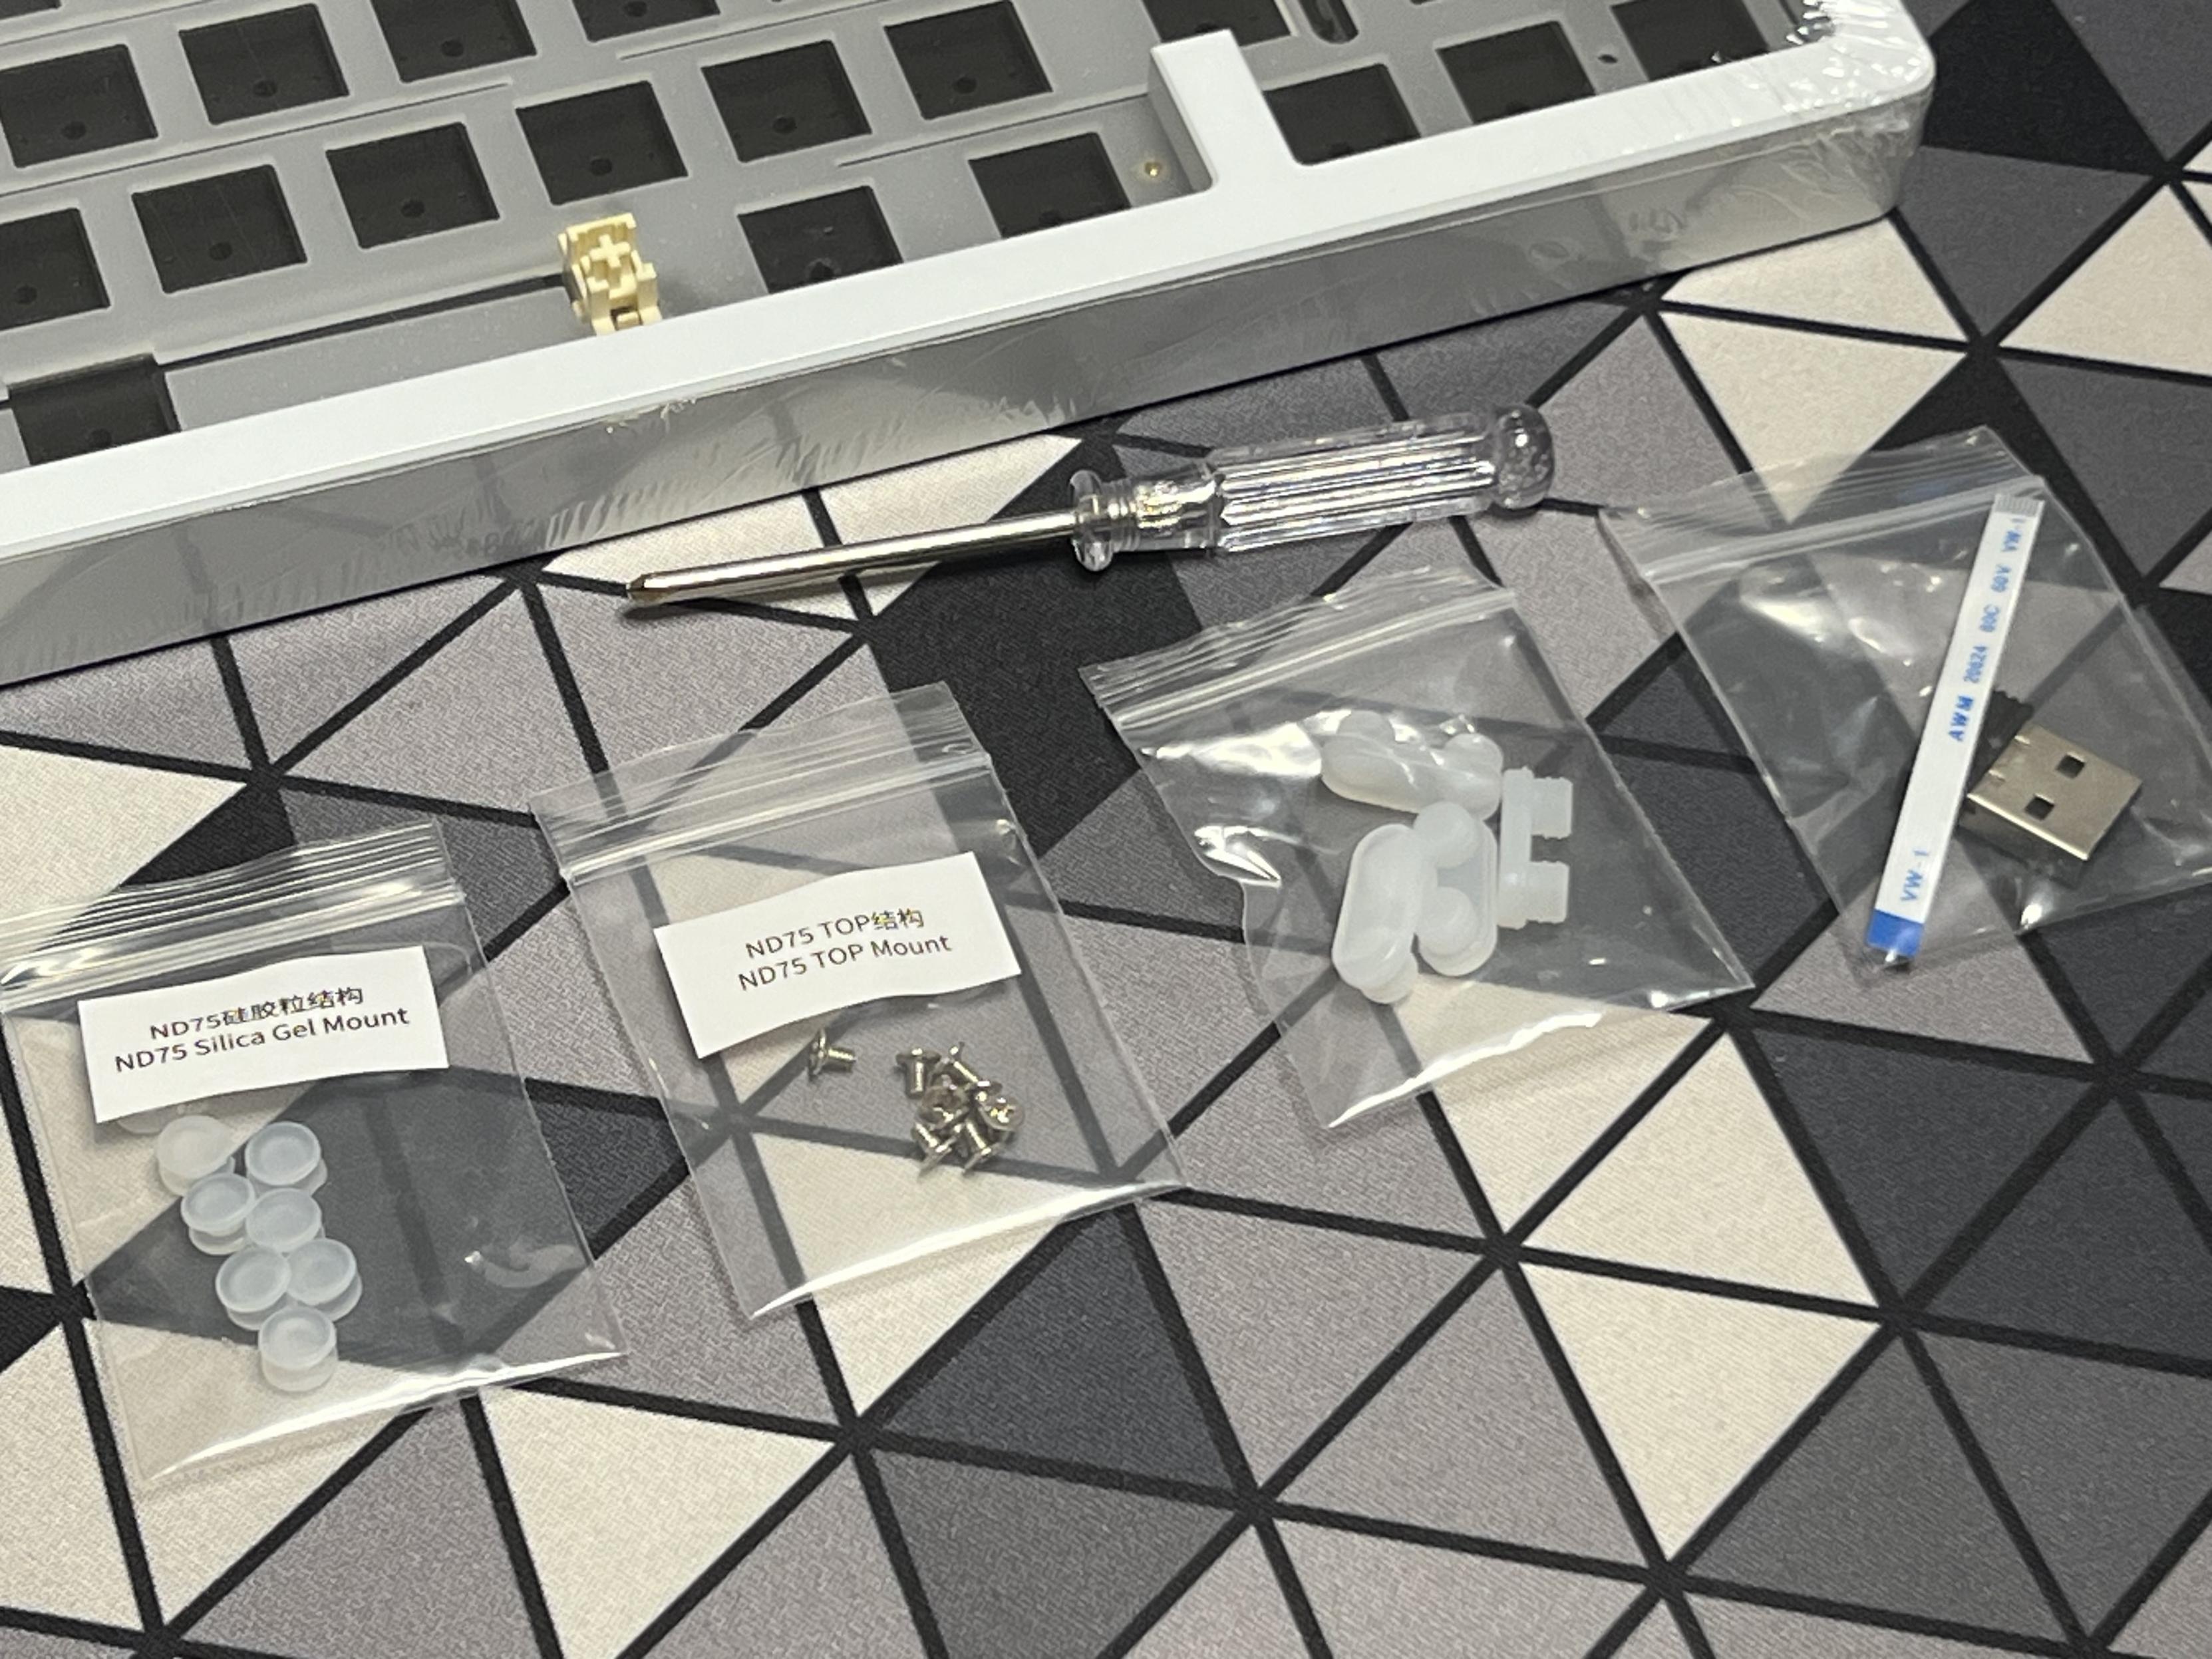
Parts for o-ring, silicone grommet or screw top mount options!
Oh and a spare flat flex for the inevitable first tear!
The other choices are little silicone gaskets which Chilkey call “Silica Gel Mount”, which slip into eight grooves in the plate providing firmer, more numerous supports for the PCB. These are less readily customisable than the O-Ring style… I had to fix a leaky tap recently and have a whole box of O-Rings I could experiment with. Little mounting gaskets? I have none!
Finally there’s “Top-Mount” which, as you might guess, mounts the whole PCB assembly into the top shell of the case. There are screws supplied for this, and holes in the plate. This is the firmest mounting setup, since the plate is mechanically coupled to the case, eliminating the sponginess of a free-floating PCB.
The books for the split O-ring gasket are screwed in and removable for mounting adventures.
Which of these mounts to choose is entirely down to you, and the ability to experiment with them is what makes ND75 such a great starter board. Even if it’s not your forever board, it may give you the opportunity to develop a preference.
As for me? I like a bit of give, so beyond using my new-found abundance of o-rings to experiment somewhat I’ll be sticking to the o-ring mount setup.
Software
I’m going to level with you- I never touched the software. The onboard LCD grants access to a mode switch to kick the keyboard into macOS mode, and I have no great desire for custom key bindings. Though as a macOS user I appreciate that there’s a web-based interface for configuring these, and no fooling about side-loading Via JSON files necessary. One quirk, hardly a surprise to Bluetooth users, is that you must go via the LCD menu and switch the keyboard into USB mode before the software will detect it. Switching isn’t automatic, with the board only charging from USB by default. This even applies if you’ve set the power switch to off.
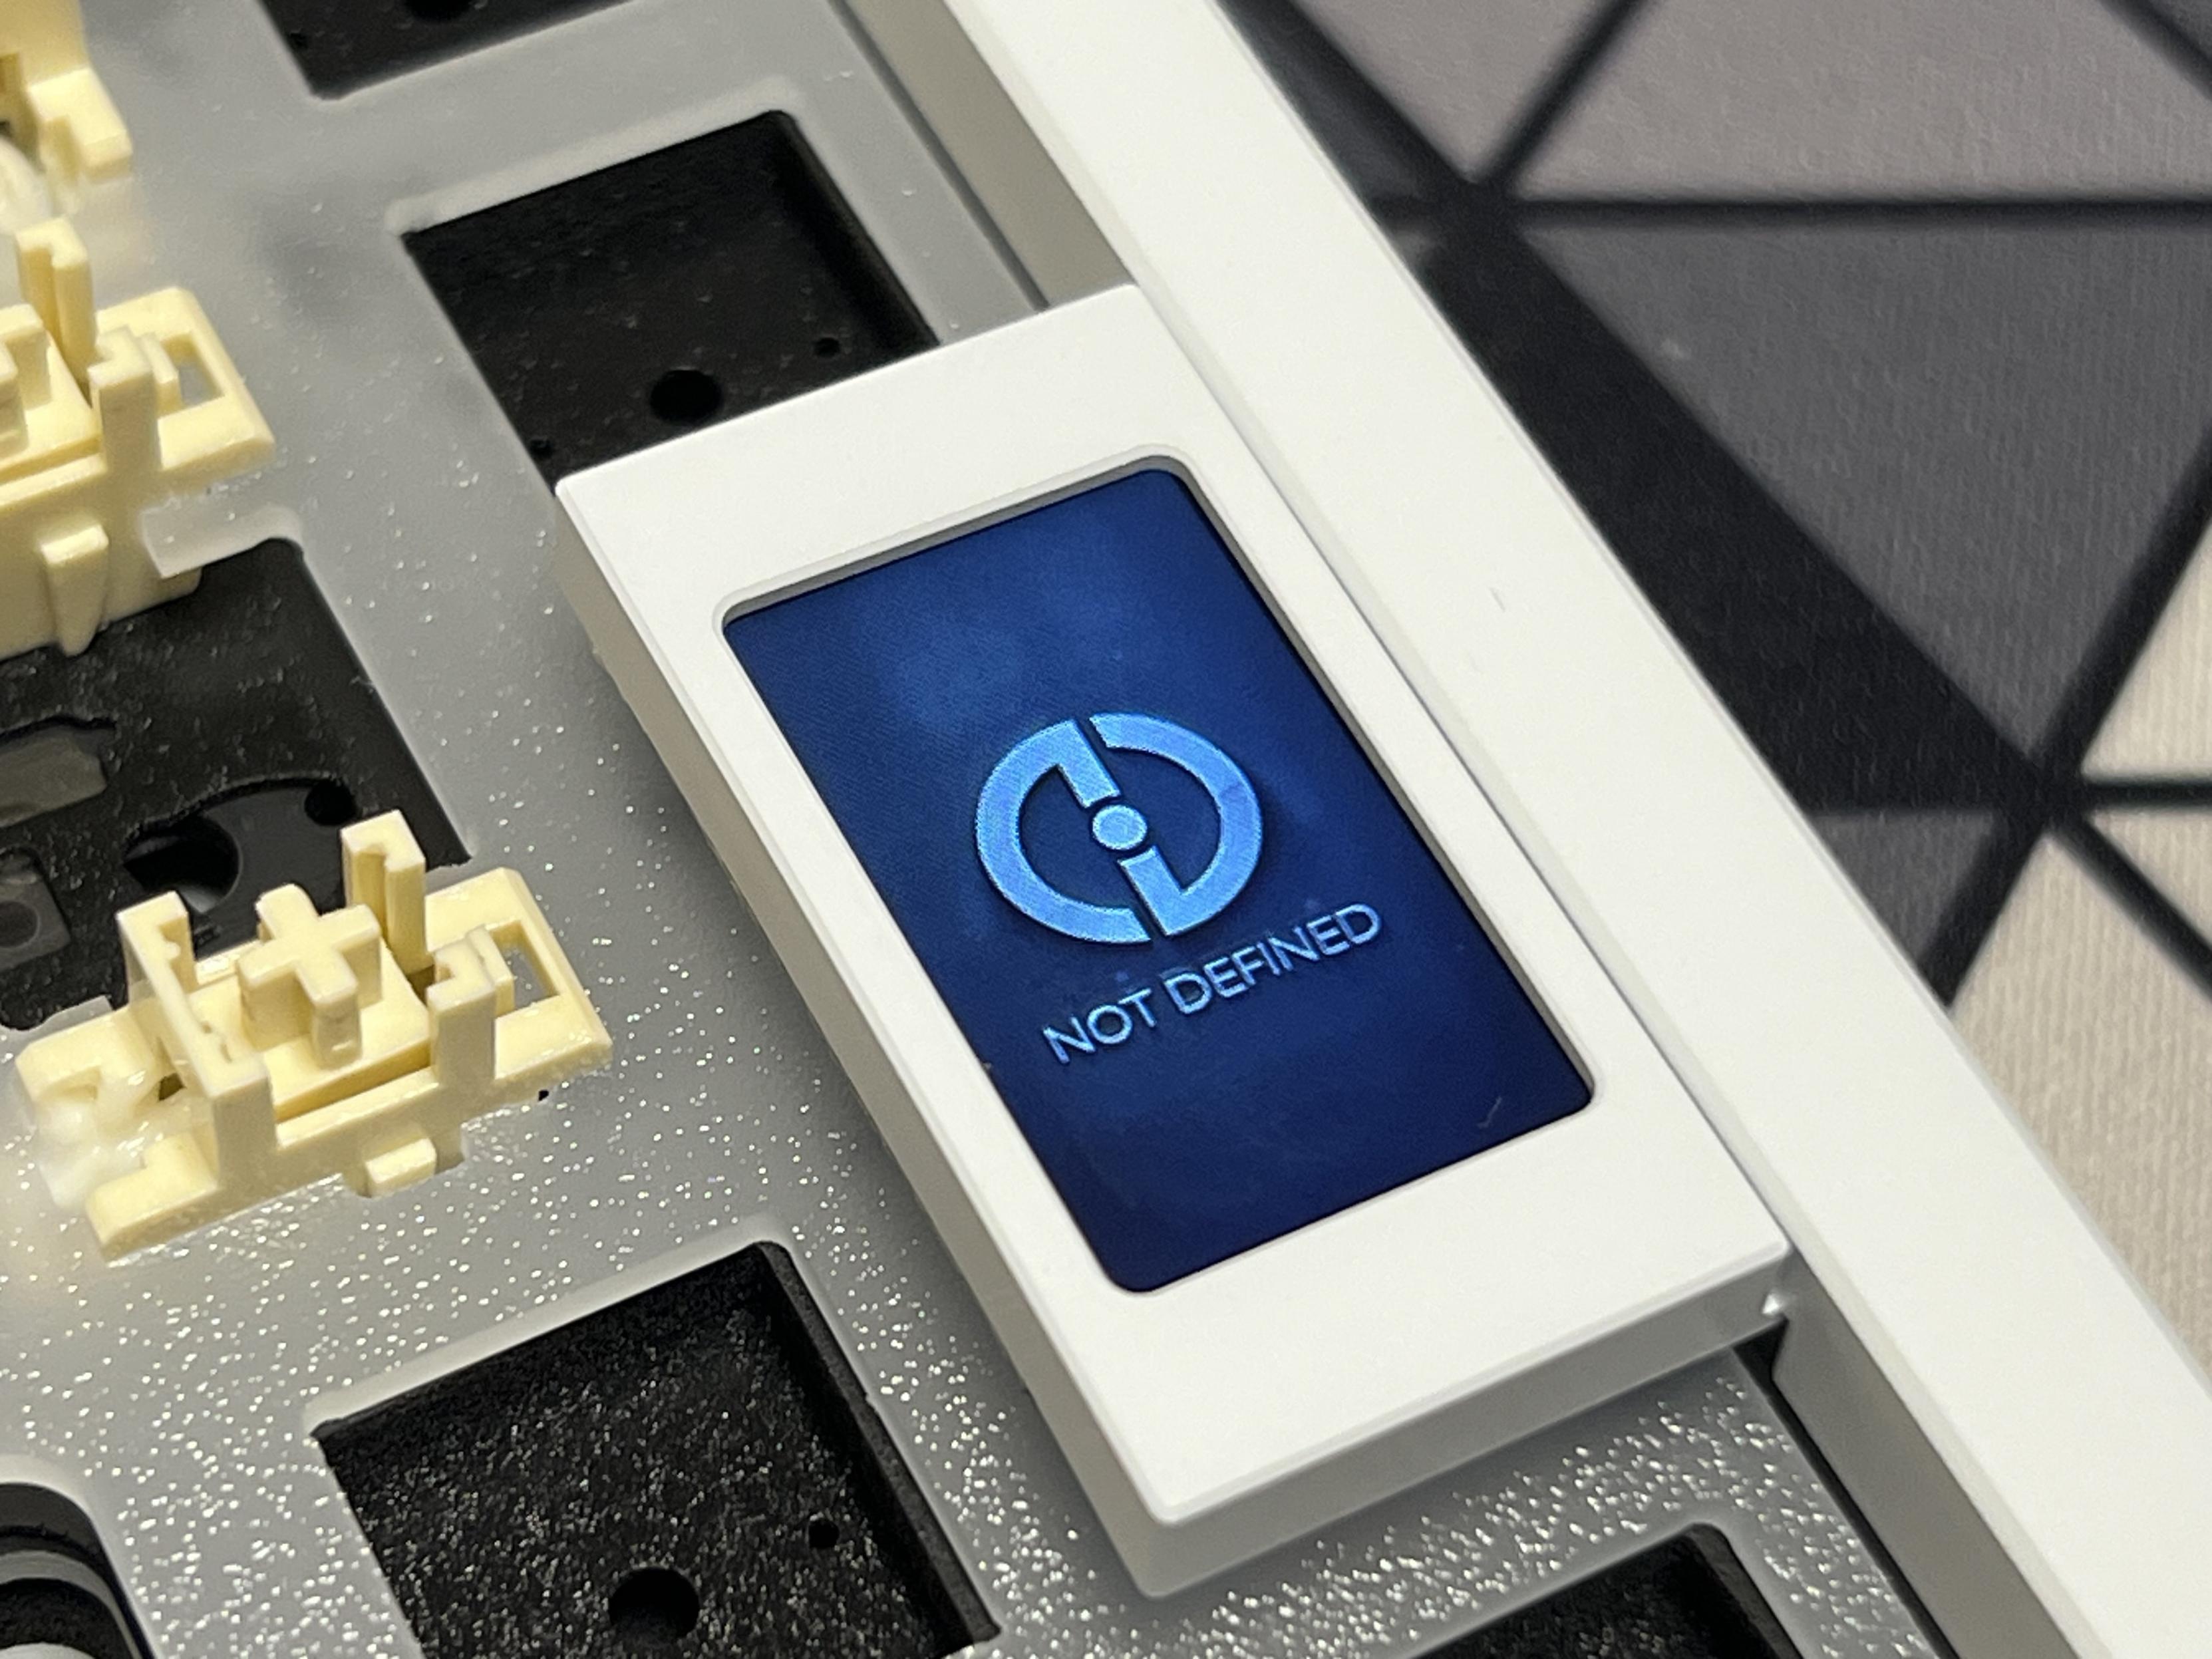
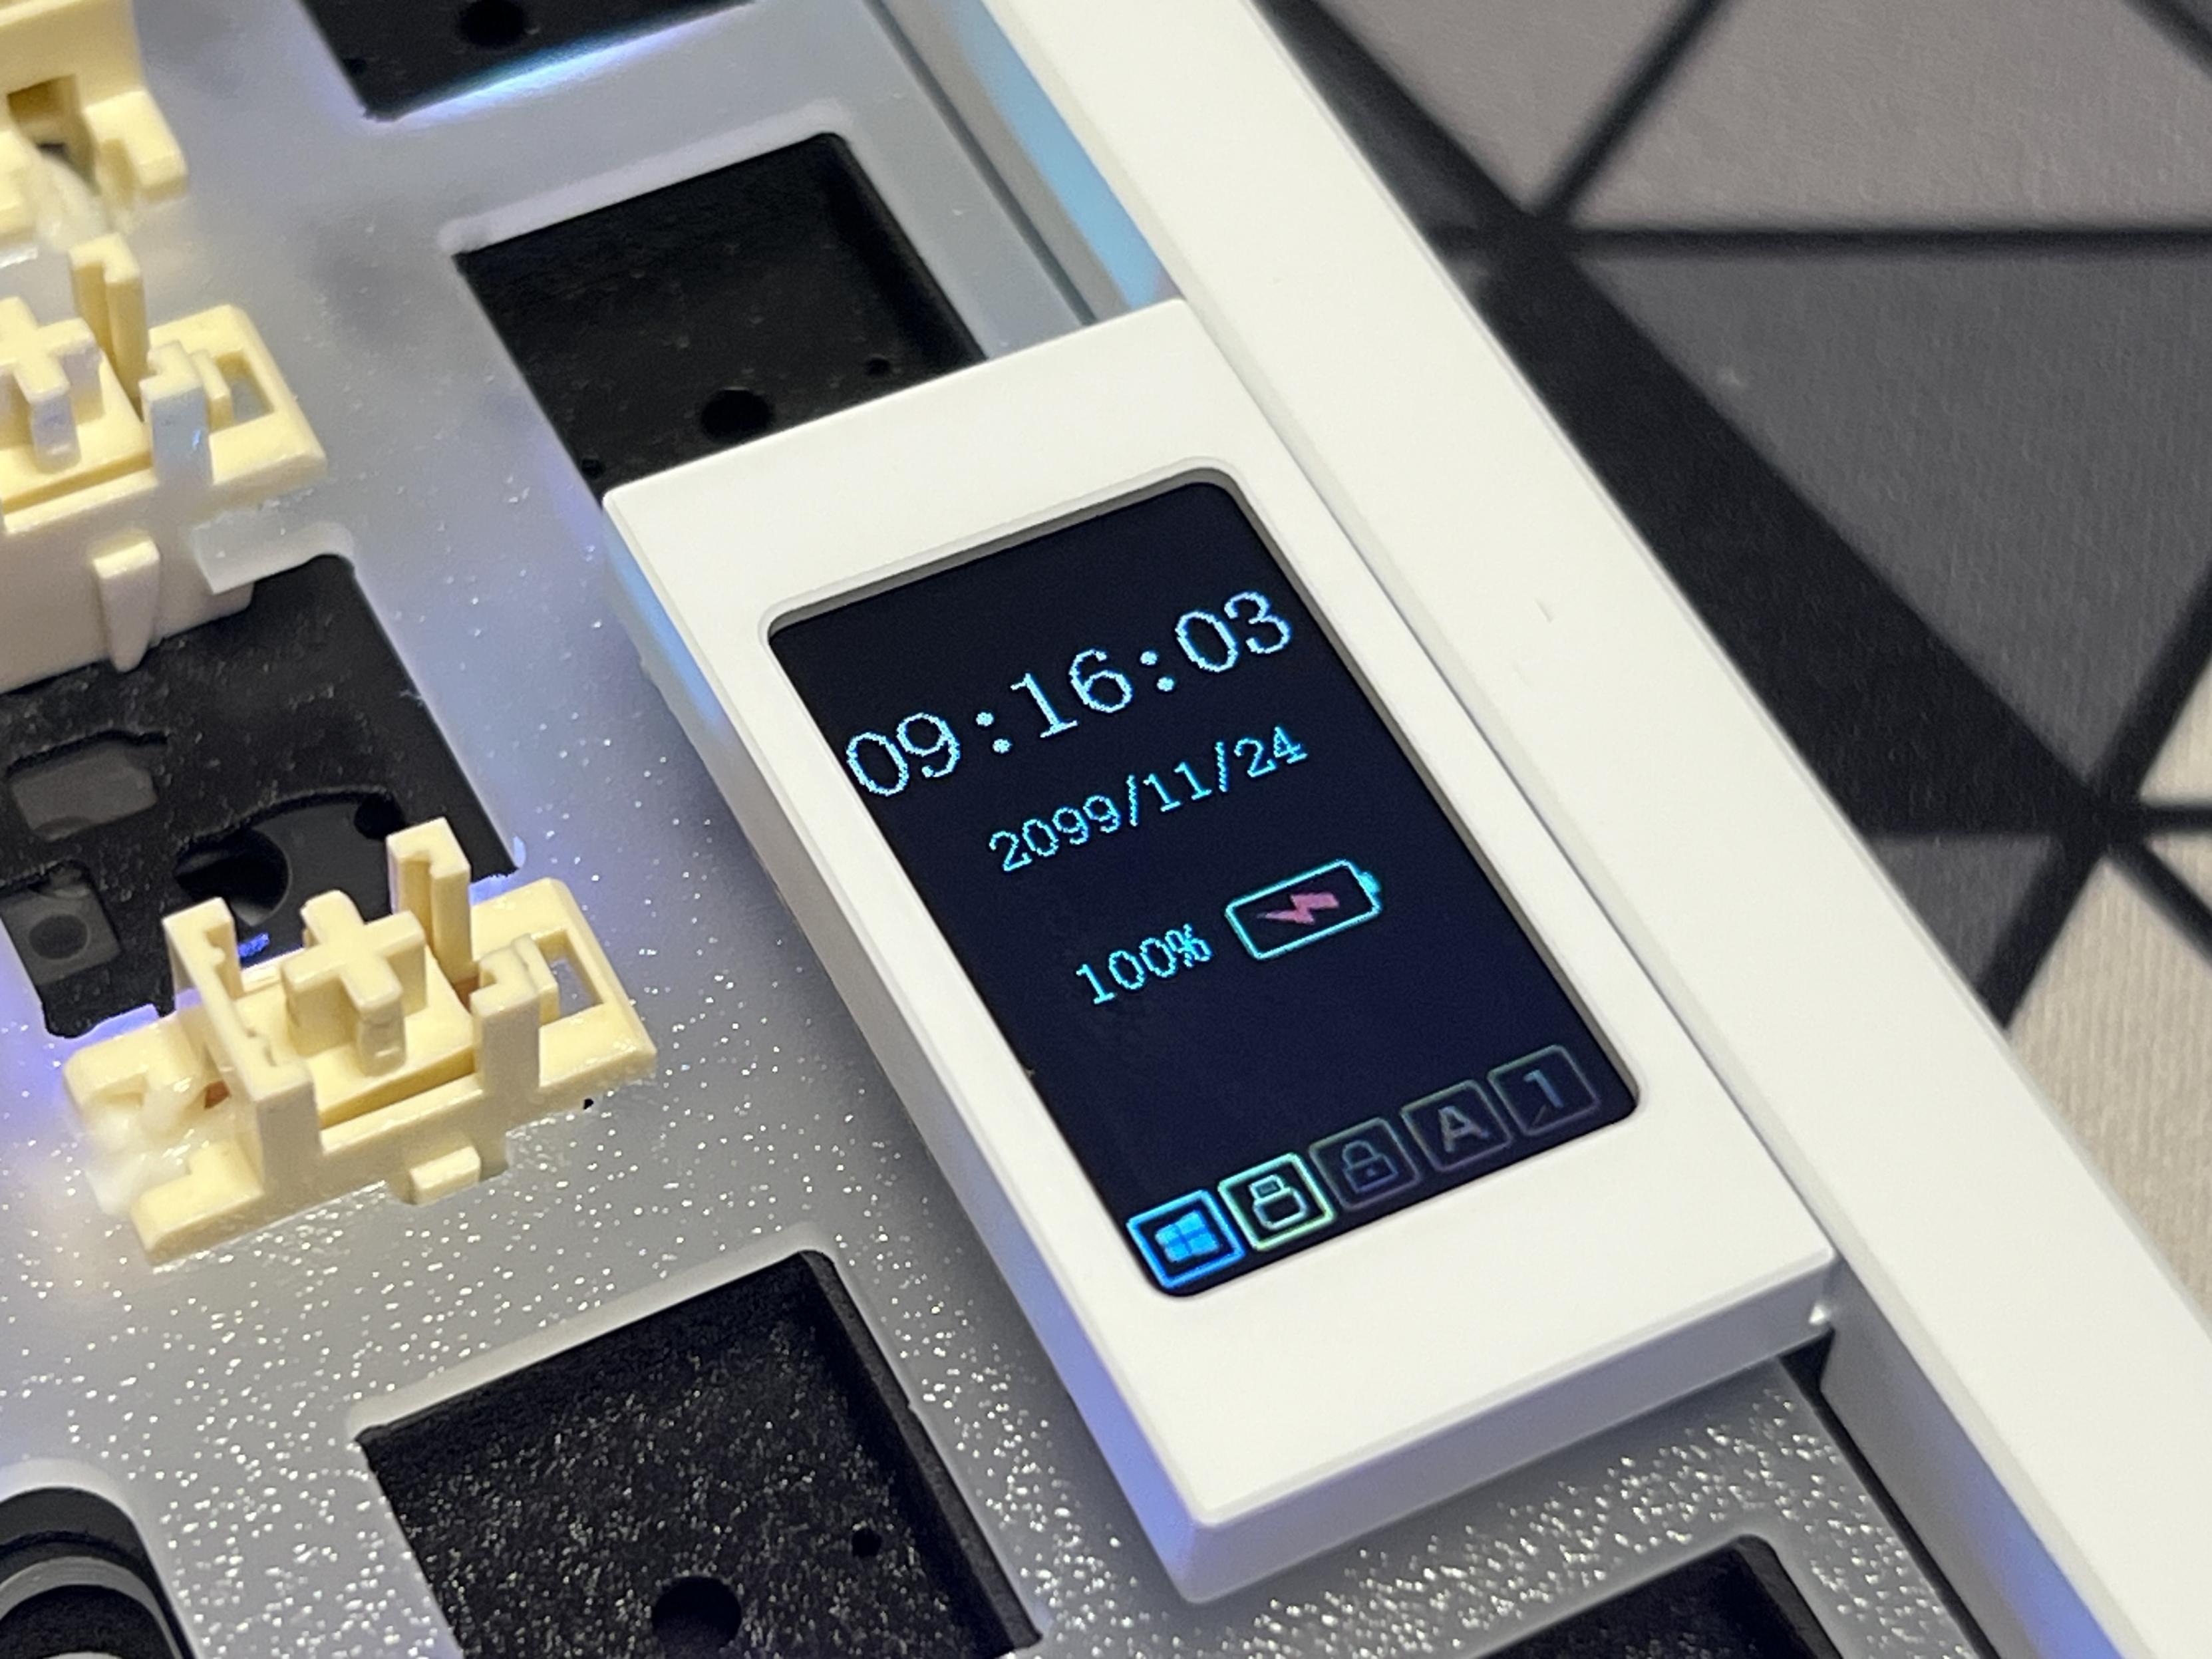
I’m not sure if “Not Defined” is a slogan but it looks like an error 🤣 and yes the clock is always wrong… standard.
The onboard LCD is a little janky looking- it could use an artistic touch to bring it together – but gives relatively easy access to backlight controls (which are easy to forget the key bindings for), Bluetooth/wireless pairing modes, and basic status information. Including the comically useless and ubiquitous wrong clock – no you can’t set the time via the LCD menus. Sorry. Apparently you can’t set it via the software either, since no matter how many times I clicked the “Time Correction” button it would not change. A little Developer Tools inspection showed the “Time Correction” command to be failing… I could probably figure it out, but I’ve already done that once for another board and it was not very exciting or useful.
The Downsides
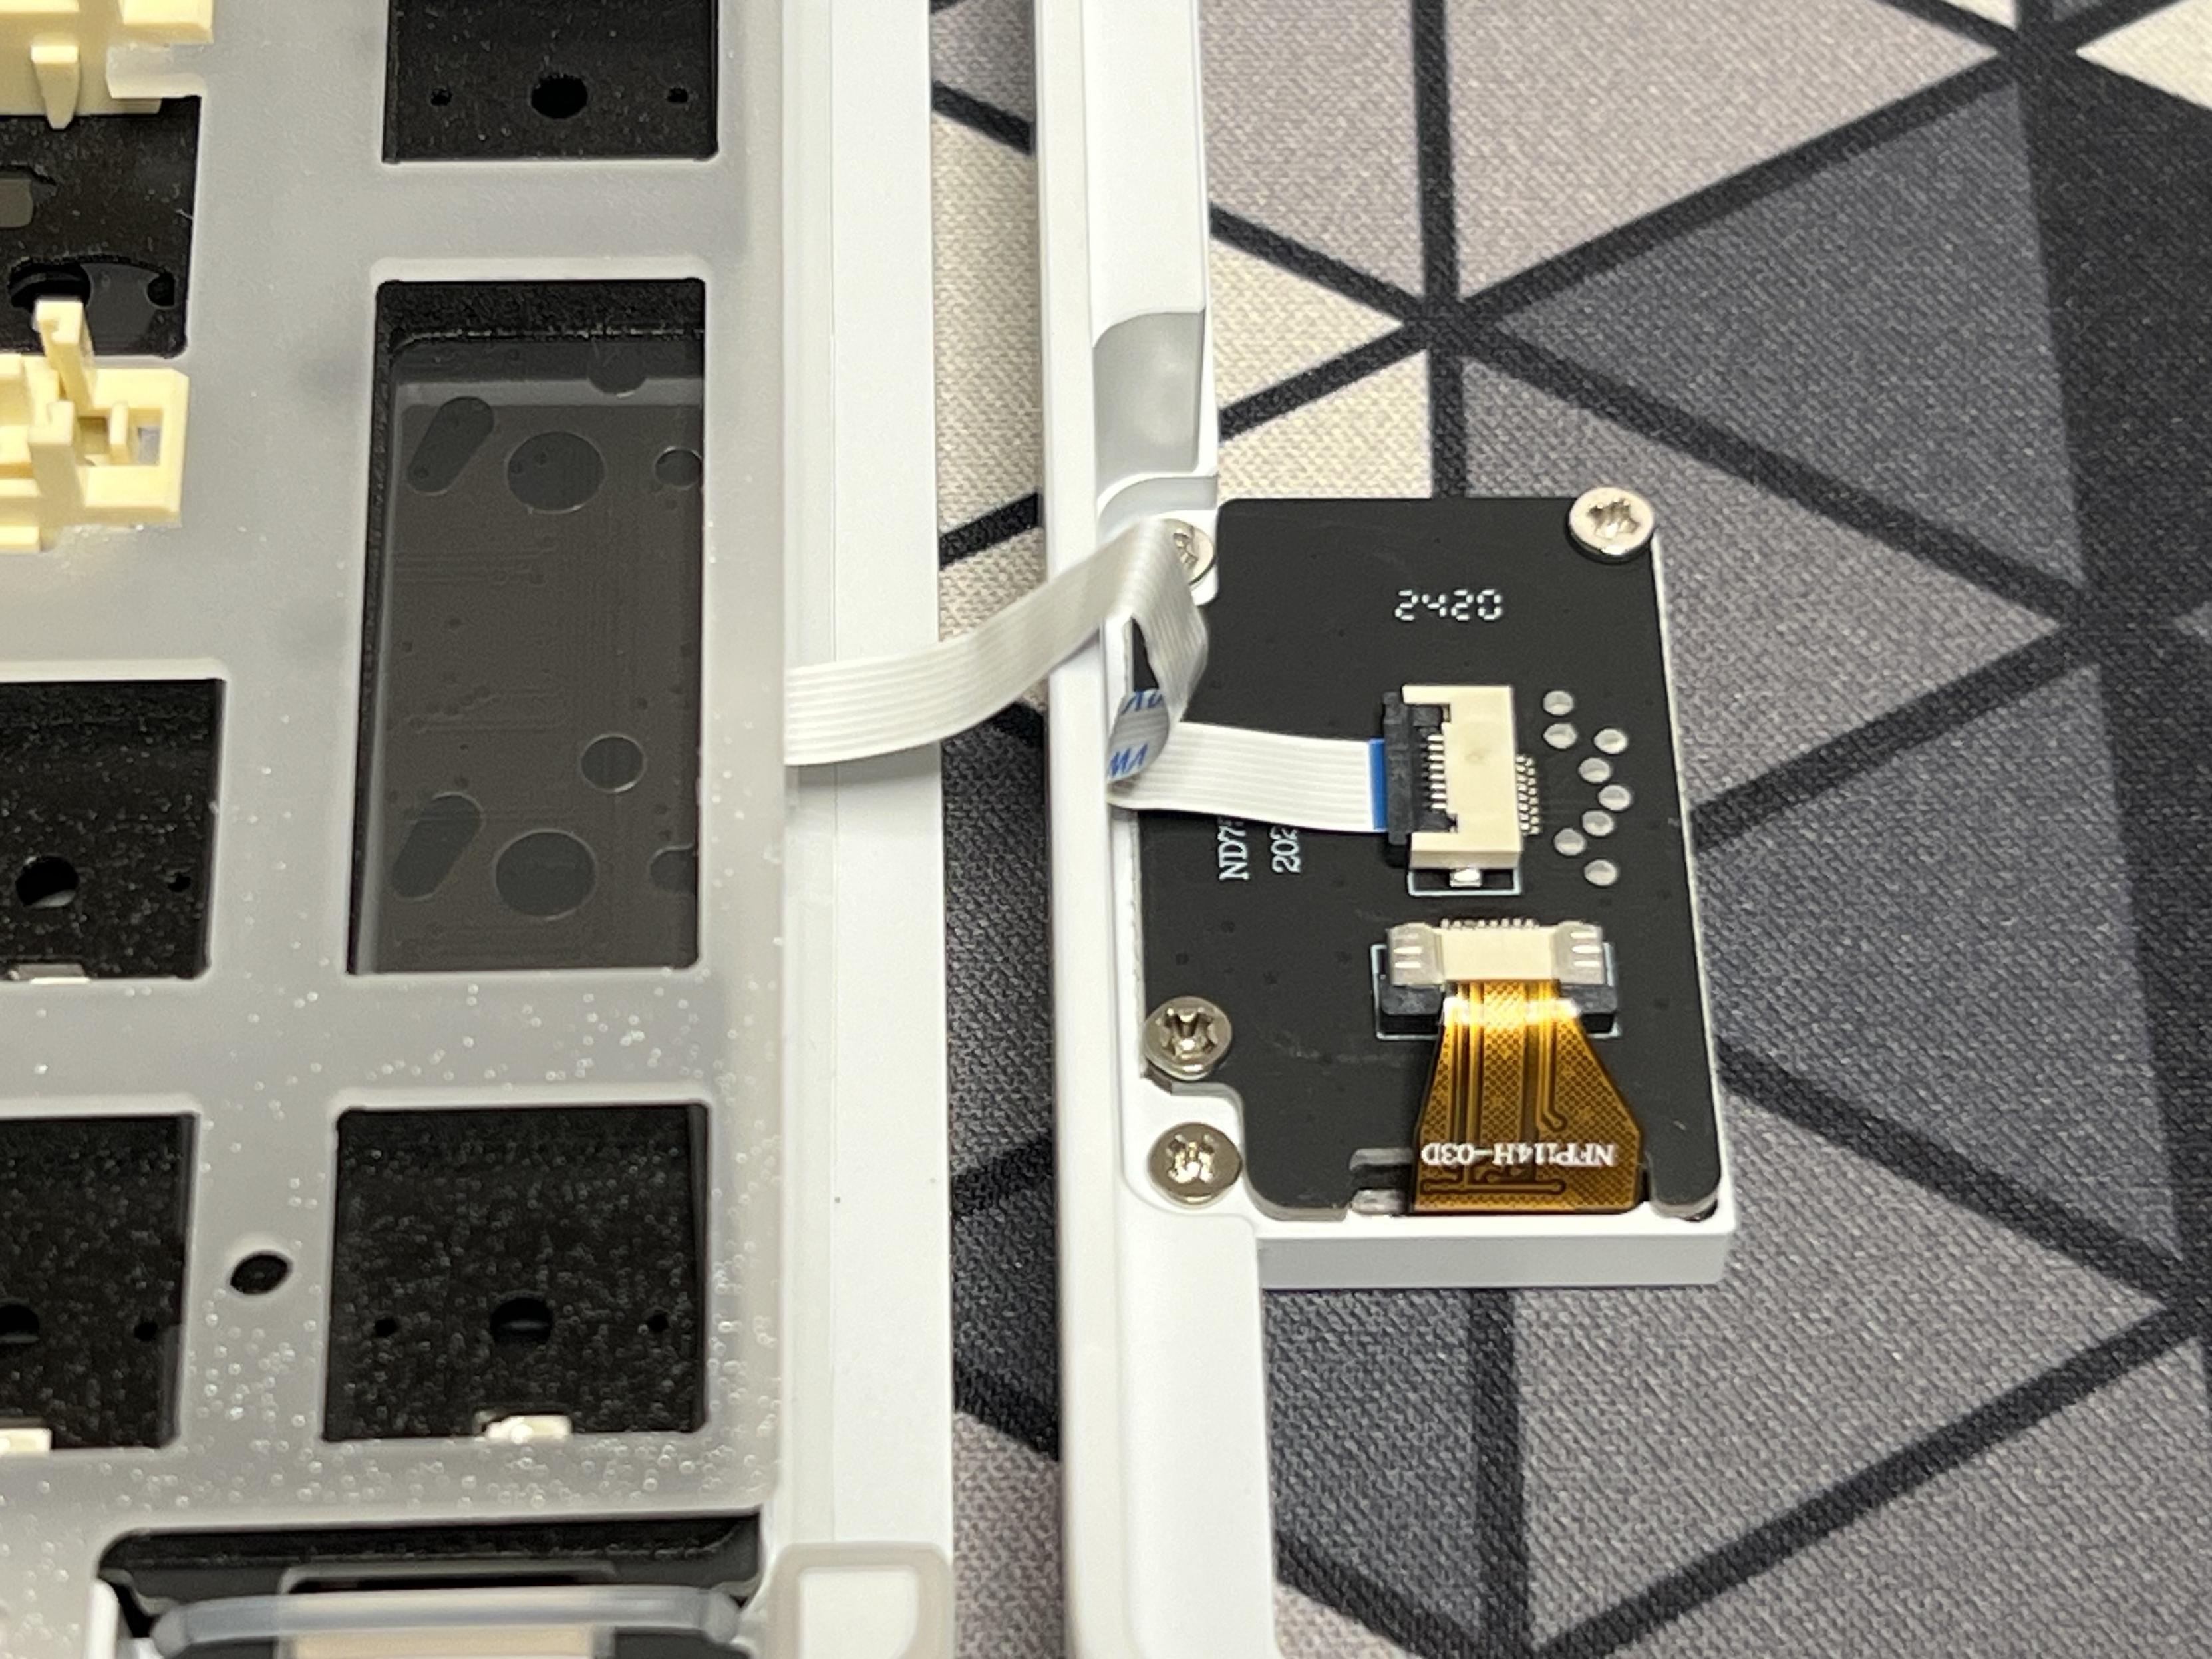
The flat flex cable that connects the LCD to the keyboard PCB is a bit vulnerable to … accidents.
The vulnerable flat-flex cable between the keyboard PCB and the LCD is a little unfortunate, especially when Chilkey have demonstrated mastery over clever magnetic connections. If the magnetic connector can handle USB signals, it can sure as heck handle SPI (yes I know the former is differential and the latter is not, but I can run SPI signals through a potato and I’m not about to guess the ND75 is driving the LCD particularly hard.) A magnetic LCD connector to avoid needing a warning on the packaging would have been a nice touch. If you make a habit of opening the keyboard top like a door and sitting it face-down on the right-hand side of the base, it’s no big deal. Using top-mount also solves the problem.
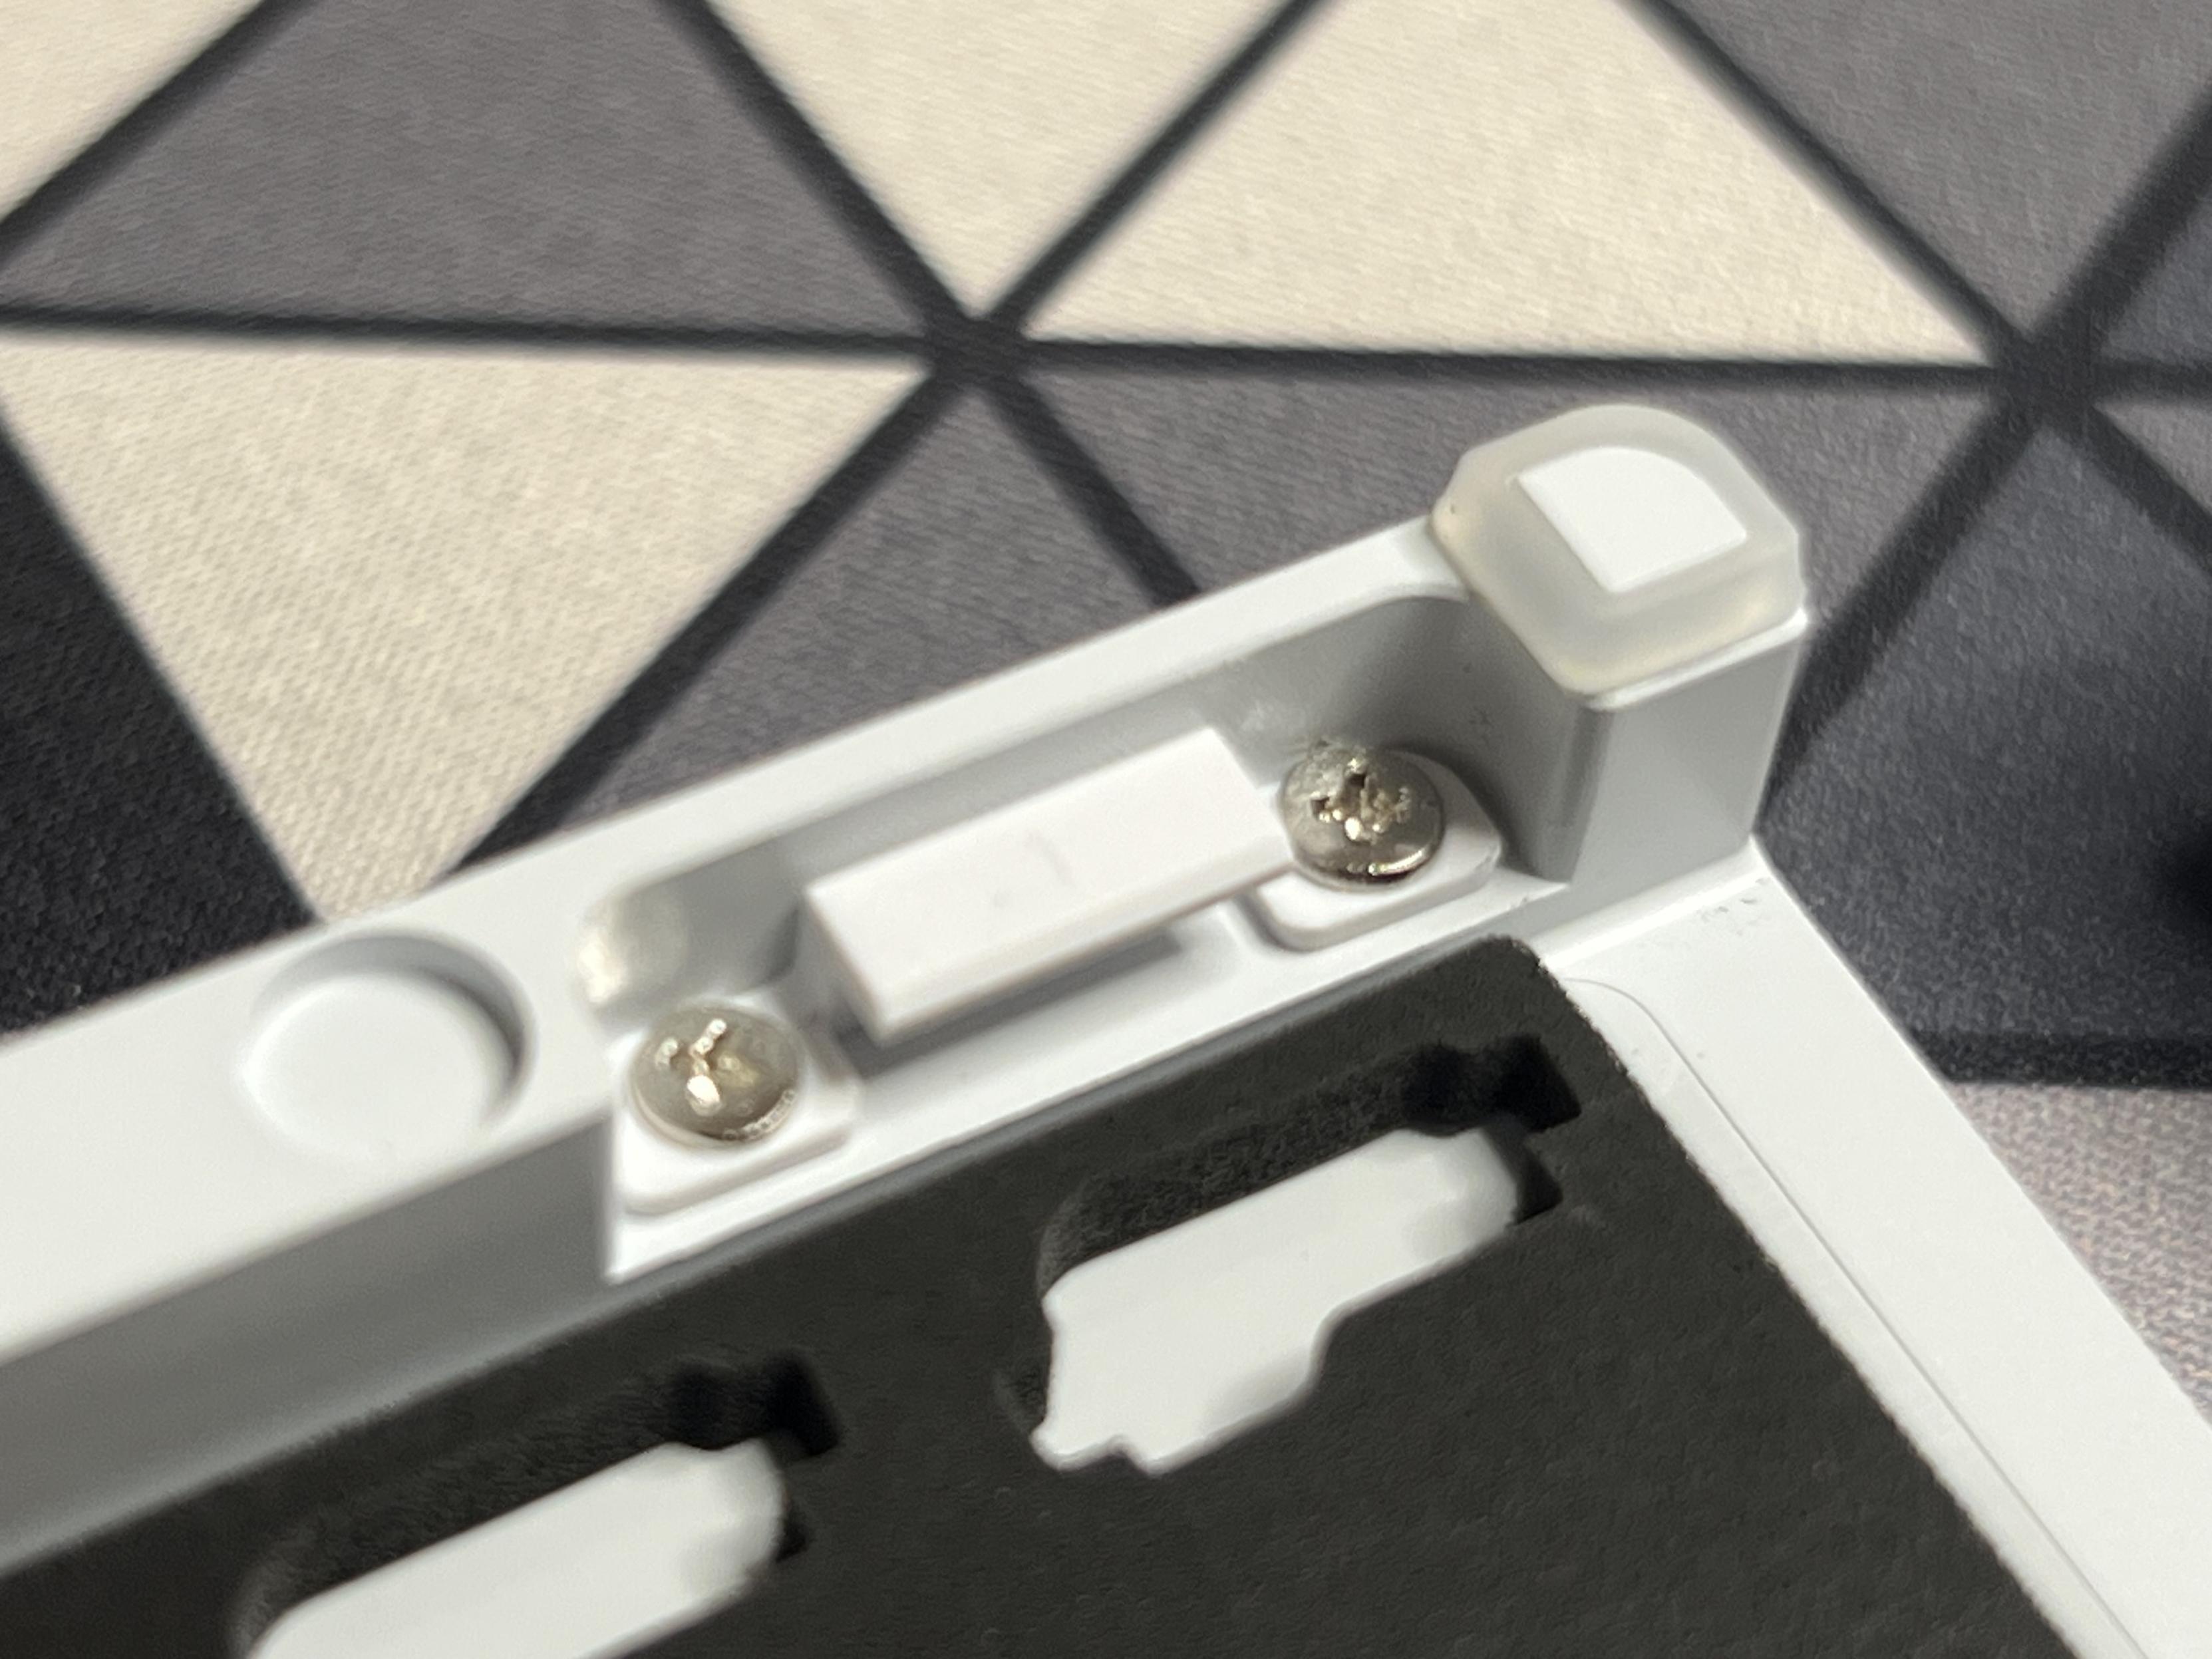
The power/mode (off/USB vs on/Bluetooth/2.4GHz) switch on the ND75 is also a point of contention. I still don’t know how to feel about it. On one hand… how often do you turn your Bluetooth peripherals off? Really. C’mon admit it, you don’t. On the ND75 the answer is never- the switch is hidden on the reverse of the PCB, accessible through a slot that’s itself concealed beneath the right-hand edge of the right-most Shift key. Without a key puller handy you can’t even remove the key, and without a pointy thing handy you certainly can’t adjust the switch. It’s meant to be switched once, into your desired mode, and left there forever.
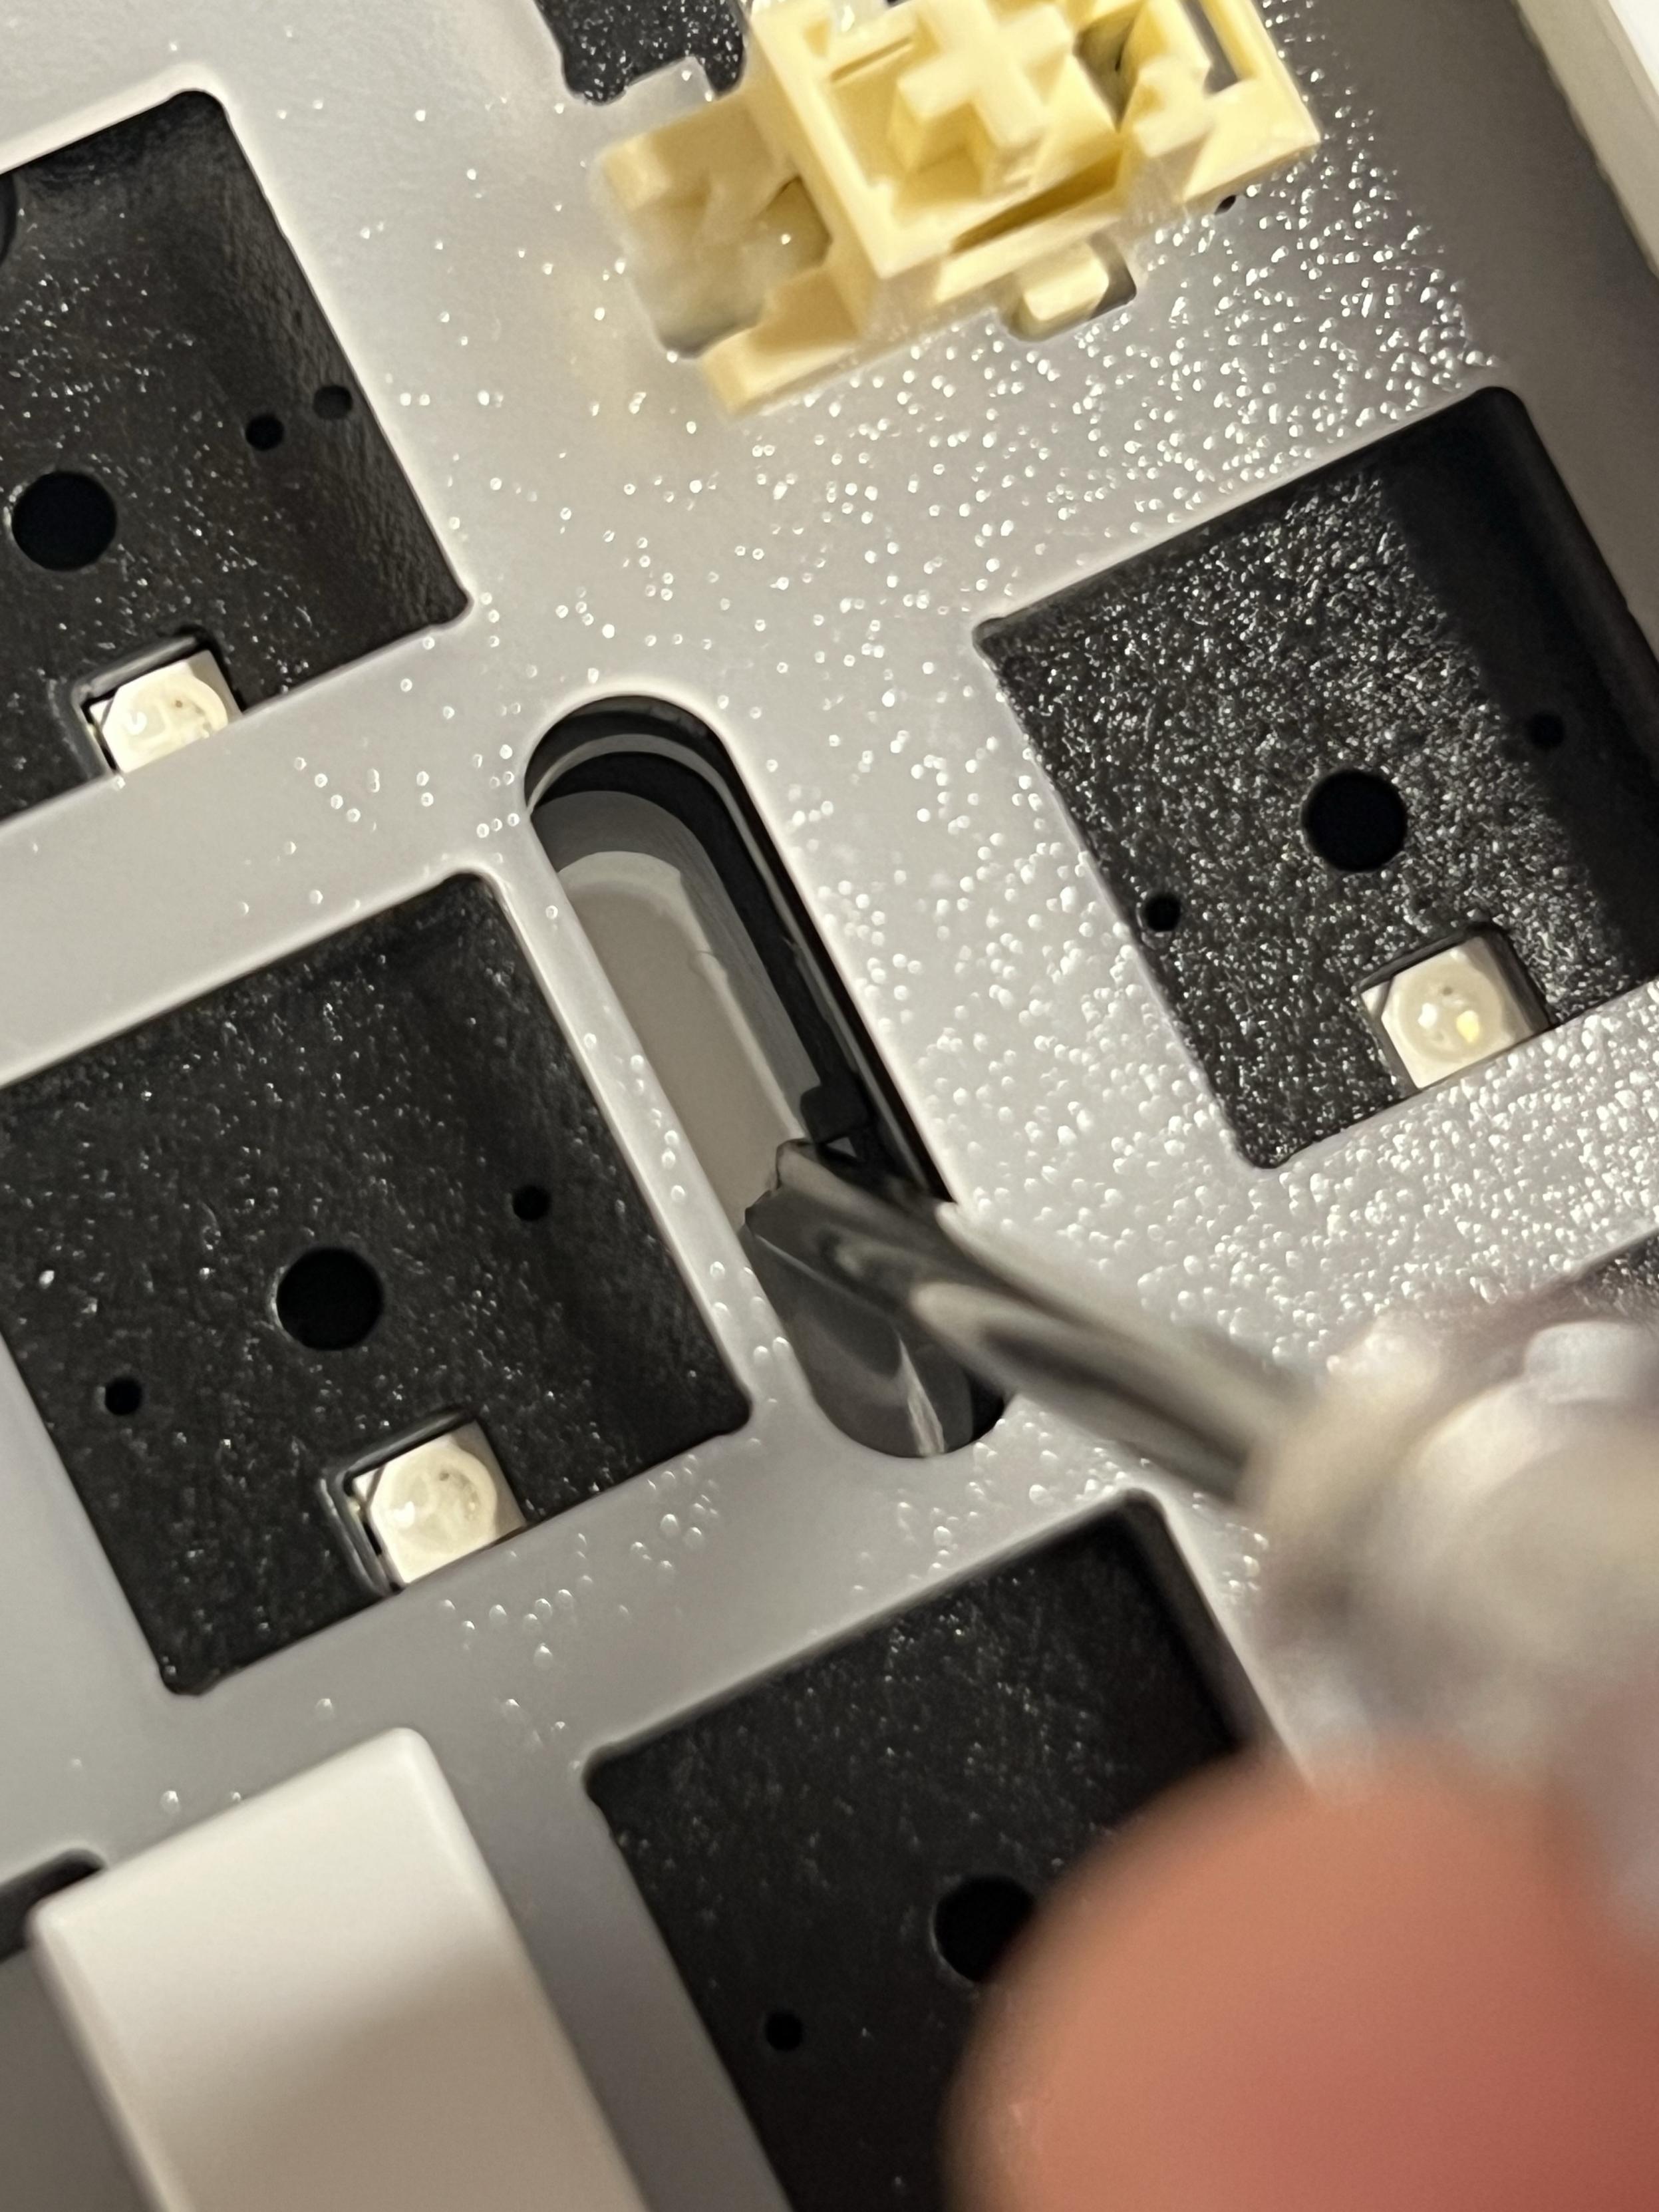
Yes… the power switch is tucked down there…
At first this infuriated me, since I was trying to test the board and its various modes, but then I realised I had put it into Bluetooth mode and forgotten about it. And then I tested other boards and left the ND75 in an alcove in my desk for weeks. And I picked it up to finish this review and… it was fine, it still had battery despite never being fully switched off. 36% remaining as I write these very words. It’s a non-issue. Switch and forget. Live a quieter life with one fewer switch to worry about.
Actual mode switching is available via the on-board software, so you don’t need to flip a switch between Bluetooth/2.4GHz mode.
Speaking of the on-board software and LCD menu, the keyboard shortcuts for accessing it are rather esoteric and difficult to remember. Rather than Fn + Arrow Keys + Enter, it uses Fn and the = (+) and – keys. Not only are these extremely counterintuitive, but a normal hand position hitting Fn (just to the right of the spacebar) and -= obscures the LCD… doh. You need to contort your left hand across the board instead. To be fair even the arrow keys would have made this awkward, but maybe Fn + WASD could have worked!
Finally the machined aluminium badge leaves a little to be desired, it’s intentionally very rough relying on raw tooling patterns for a radio dial kind of texture. Necessarily it has not been finished with any kind of surface treatment, so the tooling marks for the debossed logo are still visible. As something to introduce you to the idea of badges – a lavishly decorated and expertly customised yet hidden aspect of many artisan mechanical keyboard builds – it works, but I can’t help but want something a little nicer. I guess that’s the point?
Overall
The ND75 ISO is a fantastic midrange mechanical keyboard, and a great one-shot primer for many aspects of the hobby. You can DIY it with your own switches and keycaps, choose one of three PCB mounting styles and easily open it up for your own customisations – look up “tape mod” ha! It’s built well, it looks great and it works perfectly even with macOS- a quick and simple config change via the LCD menu.
It has a lot going for it, and very few minor quirks that only crop up if you’re tweaking settings often and – well – attempting to test it. With a complete kit for £180, shipped free from Computer Orbit, it’s cheaper than some 75% barebones out there and well worth shortlisting as your gateway into the hobby. You can build yours via their custom keyboard builder.
At time of writing you can crunch that down to just £130 by picking up a barebones ND75 kit standalone and claiming some free switches. They might not be ideal, but if you’re just getting started then having some switches to try out is a great deal!